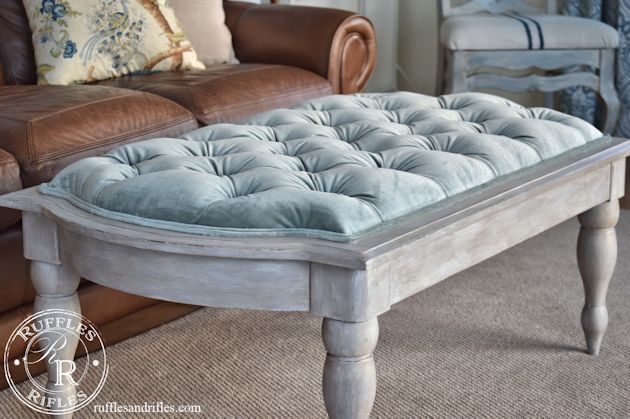
The Coffee Table That Became a Tufted Ottoman
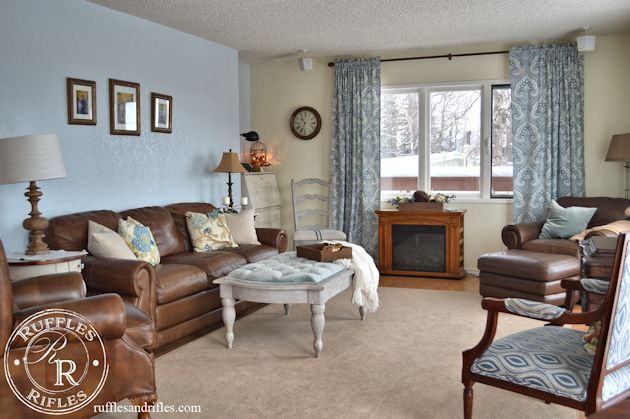
I am so excited to share my newest furniture makeover with you today. Those of who follow me may remember that when I photographed the Union Jack Coffee Table I had made for my brother, I discovered just how much I wanted a coffee table in our living room. We have a decent sized space, which was great for toddlers running around, but we use our living room so much for gatherings, that it would be really nice to have a place to put drinks. But more than a coffee table, I have wanted an ottoman. I like putting my feet up when I sit down.
A couple years back Dear Lillie shared a tutorial on how she built a tufted ottoman. I looked at Lowes and priced out the supplies determining that even building from scratch was going to cost a decent amount. So when I discovered this coffee table at a thrift store the day after I photographed by brother’s Union Jack Table, the creative juices got flowing. I knew $15 for the solid wood coffee table with unique curves and turned legs could be the answer to my ottoman/coffee table dilemma.
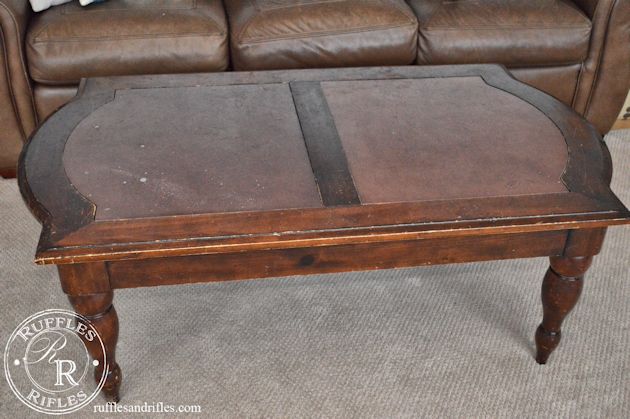
I explained to guests who visited our house for the month or so before I could work on it they were seeing a live “before” shot. It was a solid piece, a little banged up cosmetically, but otherwise in perfect order. The center pieces were also solid wood, but covered in some kind of 80’s vinyl extravaganza.
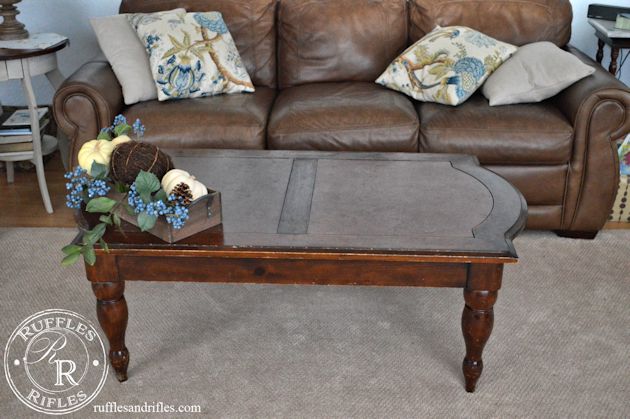
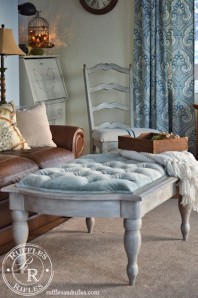
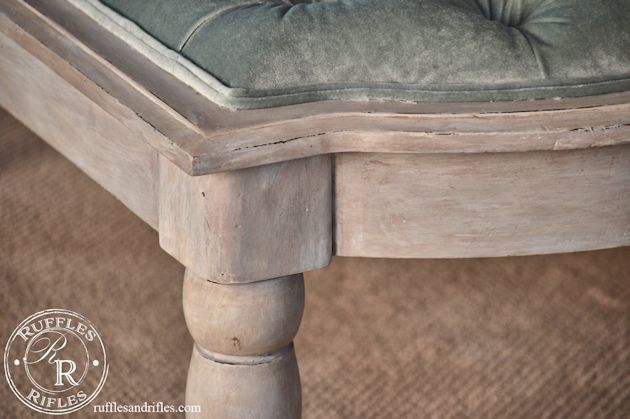
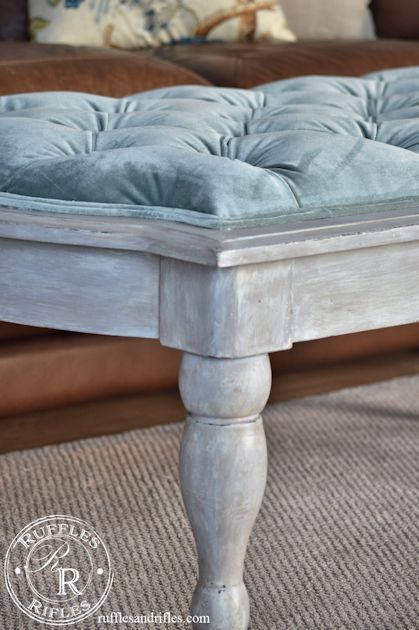
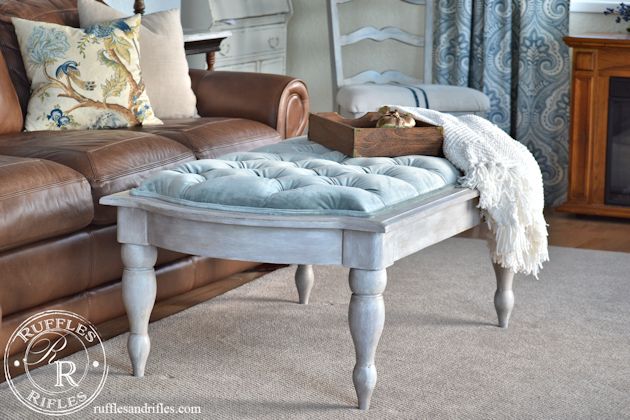
First I lightly sanded the piece on the deck, and the snow started falling, so it was pretty quick. But I knew I would be covering it with MMS Milk Paint with the bonding agent added so I wasn’t too worried about a thorough sanding. I used layers of Linen, Linen mixed with Curio, and Grainsack.
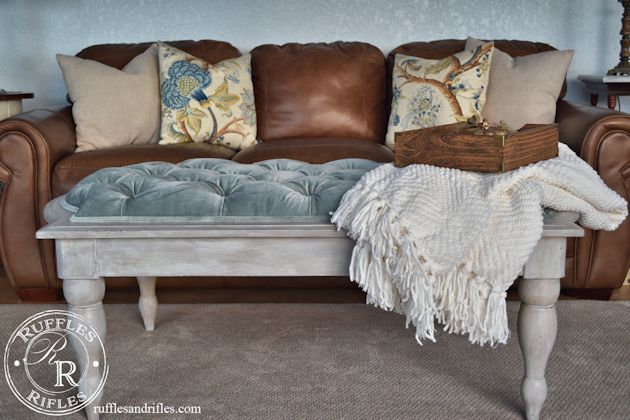
Then I sealed the piece with Mocha Burnishing Glaze. I didn’t want to finish it with wax because I’ve heard in the bad heat it can melt, and while we do live in Alaska, our giant wrap around windows act as a greenhouse on sunny days, and it can get extremely hot.
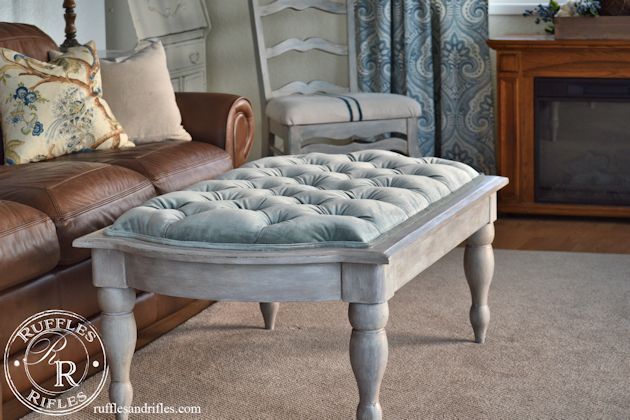
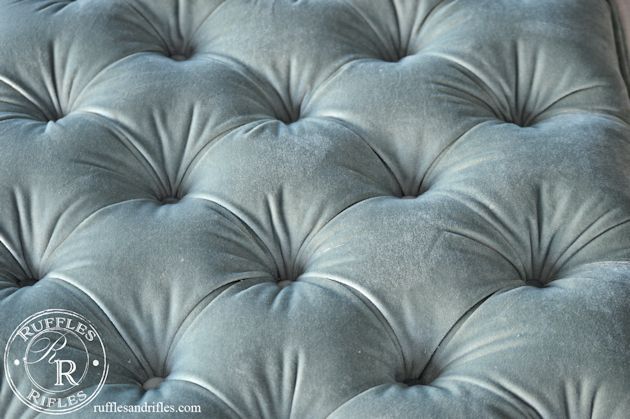
The most expensive part of the project was of course the 3″ high density foam. I got it half off, but it still is expensive. I followed an amazing tutorial from Addicted2Decorating for diamond tufting, and now have my own tutorial available here.
I considered making a tutorial as I worked, but I wanted to be sure I knew what I was doing first. Sometime in the near future I will do a diamond tufted tutorial on a much smaller scale. There are a lot of tutorials out there on tufting, and honestly, a lot done not so well. I chose the tutorial who’s product, in my opinion looked the most professional. And she did a great job explaining and teaching!
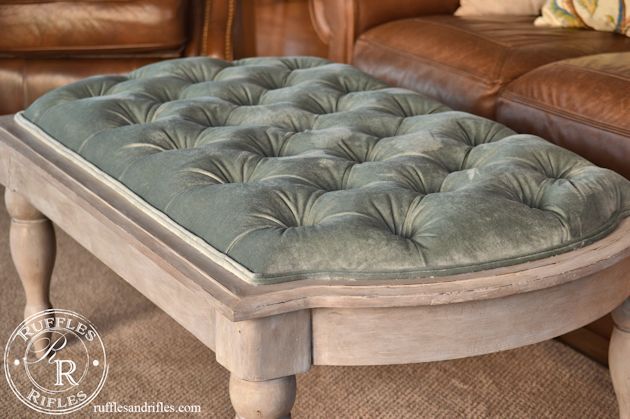
I was originally going to do the ottoman in linen, but after I painted it, the linen I had looked way too yellow next to the paint and it blended in rather blah like. When my husband and I were in California last year and purchased fabric in the fashion district (see this post for that adventure), one of the gems I picked up was 2 yards of this silvery blue velvet. I had thought about an ottoman at that time, but later determined linen would be better. But when the linen option didn’t work out, and I saw The Inspired Room‘s velvet tufted ottoman via Pinterest, which was amazing, I decided once again I would like the velvet option.
I used the screw and washer method for tufting (following Addicted2Decorating’s tutorial linked above). Not authentic, I realize, but easier to say the least. Then I covered the buttons and hot glued them over the screws.
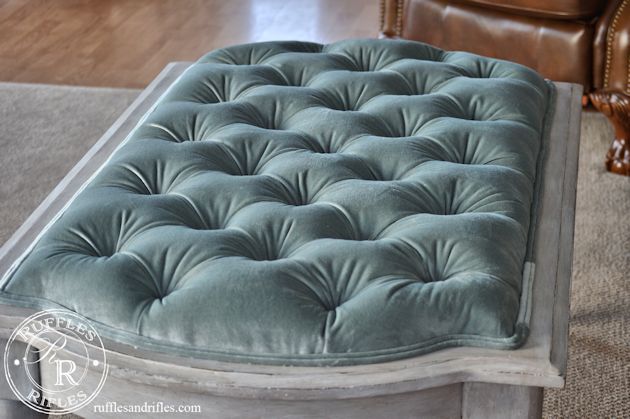
I decided to leave a bit of the frame for two reasons. One, I thought it was really pretty. For two, I only had enough velvet for that width because I had previously made a throw pillow from the same material. I decided finishing with double welting would leave it looking more professional. Which is true for the most part. Until you see one small section…
You see, velvet has a wale, just like corduroy, meaning the fibers lean a certain direction and it looks a different color if they are in opposing directions. I learned about this in high school when I cut out a jumper out of red corduroy, the back and front I cut different directionally. Let’s just say that one ended up contributing to the garbage bin. So I knew about this wale as I made the welting, and was careful, so I thought to work with it. Apparently not careful enough. My husband says it gives the piece character. It actually makes me the perfectionist laugh a bit. I was just thankful it’s for me and not a client, in which case I would have probably cried.
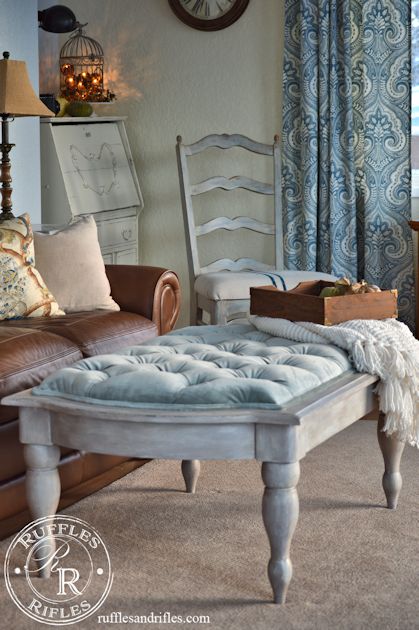
All in all I’m pleased with my tufted ottoman. It’s not perfect, but I am giving myself some grace since it is my first tufting project. I learned things that will be beneficial for the future of my tufting projects.
And I’m still looking for a tray. I want a rustic looking wood tray to balance out the velvetness against brown leather and a house full of males. Until then, the little rustic wood letter tray is going to have to do.
All in all I really love it. It looks so inviting to snuggle into the couch with a throw and put my feet up, and I don’t even like to read! Ha. At any rate, I’m pleased with my newest furniture learning adventure.
Thanks once again for stopping by!
To see the tutorial I have since made on making your own tufted ottoman, click here. And be sure to pin and share away!
This post was featured by:
The Curator’s Collection – Making the Broken Beautiful Link Party
French Country Cottage – Feathered Nest Fridays
21 Rosemary Lane – Share Your Style
Sharing with:


27 Responses to The Coffee Table That Became a Tufted Ottoman