

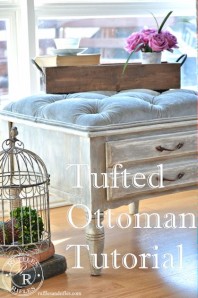
Tufted Ottoman Tutorial
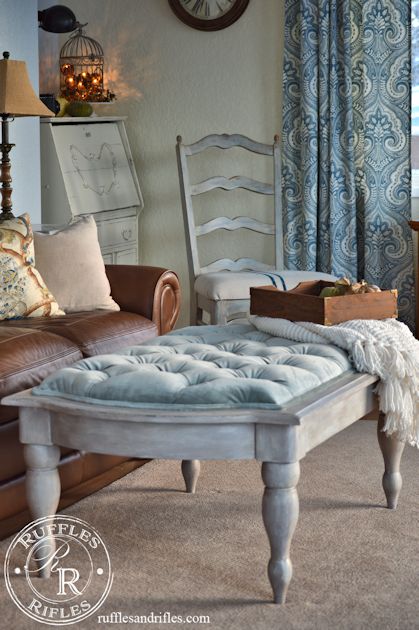
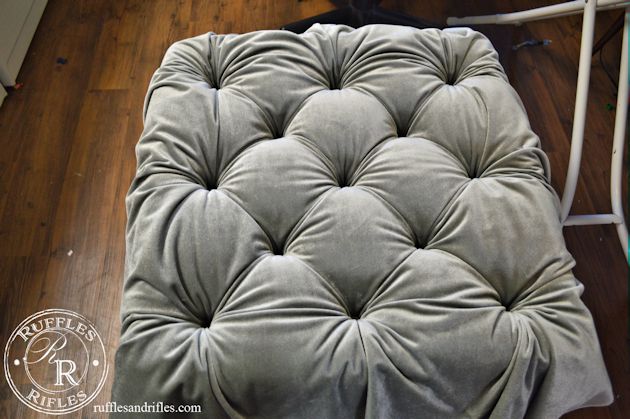
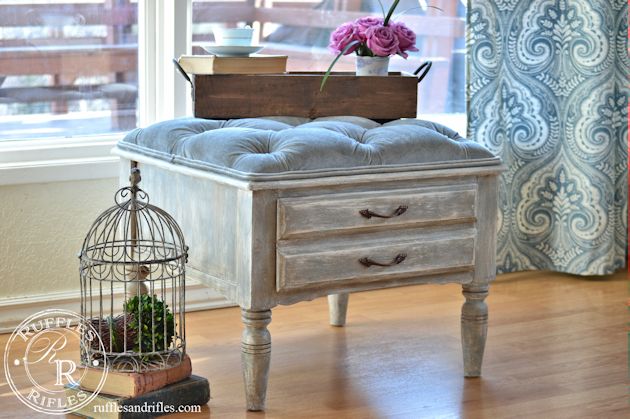
I am so excited to share this post with you today! Finally, after months of replying to people that I will put together a tutorial on how I crafted a coffee table into a tufted ottoman, it has arrived! Of course, I should have taken photos as I went along the first time, but I didn’t. So, I had to make an entire new ottoman, just to make a tutorial. But I get enough joy out of creating and teaching to make that seem worthwhile. And I wanted to be true to my word. Here is a photo of the original Coffee Table That Became a Tufted Ottoman that I created back in November.
You could start with a coffee table, end table, or I’ve even imagined a little bench at the end of a bed in a master bedroom.

So, here we go, this will probably be the longest post ever, and have a million photos, so bear with me. I’m not gonna lie, this is a VERY time consuming project. But the joy of it in the end is profoundly worth it to me.
First off, a list of supplies needed:
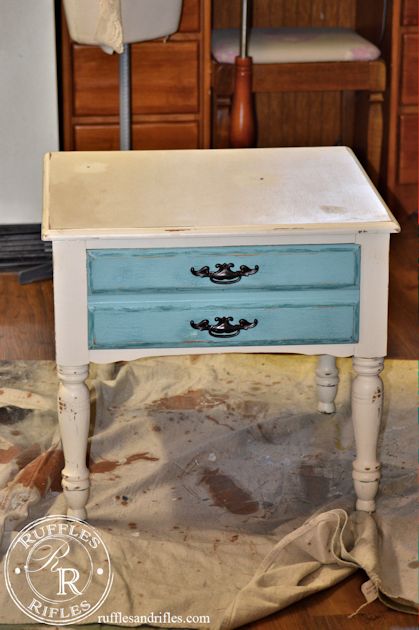
- A thrifted or old coffee table or end table of your choice
- Wrapping paper or butcher paper (to use to make a pattern for the tufting)
- 3” high density foam (I used 2” and extra batting on the second one, but I prefer the look of the 3”)
- Electric Bread Knife (thrifted) for cutting the foam
- High loft batting (at least enough to cover and overlap the edges of your project)
- Spray adhesive
- Scissors
- Upholstery fabric 2 yrds + (I used upholstery weight velvet both times and loved the result)
- ¾” buttons to be covered
- Upholstery staple gun
- Hot glue gun
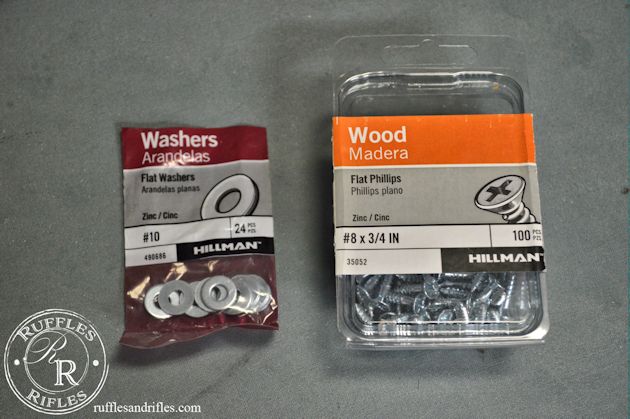
- #8 – ¾” wood screws (number needed determined by number of button tufts)
- #10 flat washers
- Cordless drill
- Glue adhesive that will bond metal
First off a disclaimer. This is not the real way to tuft. I am a DIYer, not a professional. I have training in sewing (garment construction) and I went to Bible college, not upholstering school. But, I really enjoy it and am learning a lot with every project I embark on. If you like my results then follow along. If you don’t, then please find a professional to follow.
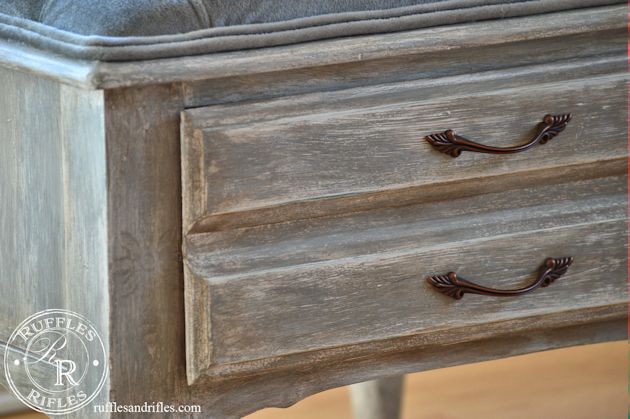
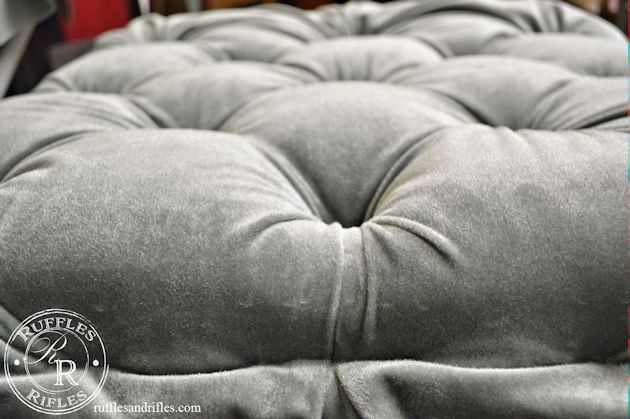
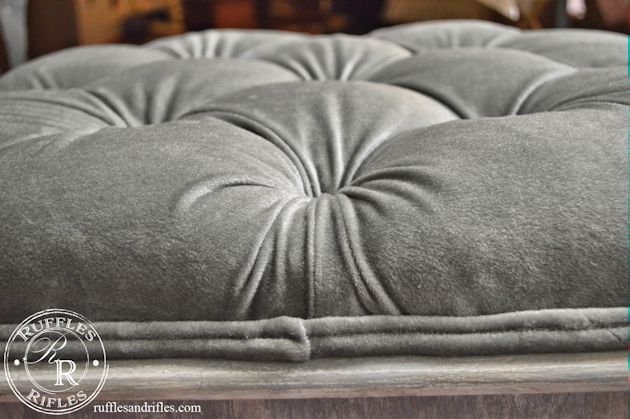
The first step, is to paint or prep the wood frame however you’d like it to look. I love the French layered look, so I did my signature layers of paint. I started off with Annie Sloan’s Chalk Paint in Old White, followed by some Miss Mustard Seed Shutter Grey, and then some light strokes of ASCP in French Linen, and then a little bit more Shutter Grey. I don’t have a particular technique, I just keep going until it looks “right.” I sealed it up with some MMS Furniture Wax and used some Antiquing Wax in the crevasses and corners to give it a bit of an aged look. (I forgot to take a picture of it just painted in it’s bare naked state, but here is a close up of the paint job).
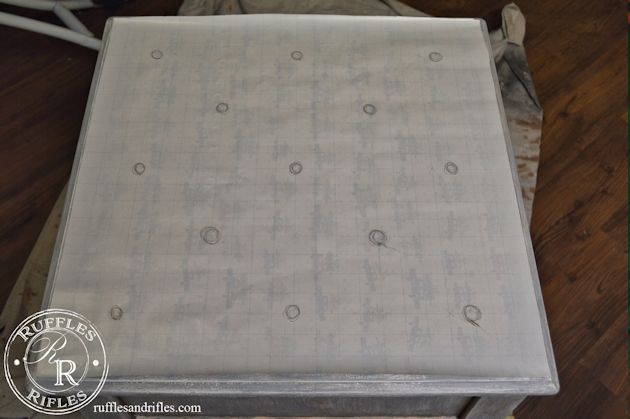
Secondly, you’re going to make a pattern of how your diamond tufts are going to look on top. This is where math comes a bit into play, and where I probably struggle the most. (My husband blames it on the high school I went to, but I can assure you, my brain was shorted the math circuit at birth). This is where it’s great to have a piece of paper and a pencil to play. (I like using wrapping paper because it has one inch squares marked on the back, making the job much easier). You can measure and do division and so on and so forth. Basically, you will want your holes staggered so as to make the diamond tufts. Mine ended up being 8” apart (but each row is 4″ apart), because I had a square to start with, it all came out even. But you could do say 8” apart across and 6” apart the long way. (I don’t know if that makes sense). Anyhow, mark it on your paper. And make sure it looks right. If you do less tufted (say 12” apart, it won’t looks as beautifully tufted, but it’s your call).
Next you’re going to cut your foam to the appropriate size of your table top. Mark it with a sharpie and cut using your electric bread knife. If you need more width, you can piece it together, relying on the spray adhesive and the batting to even it all out.
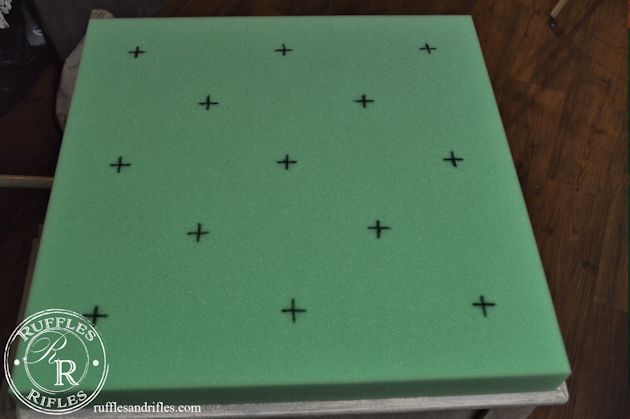
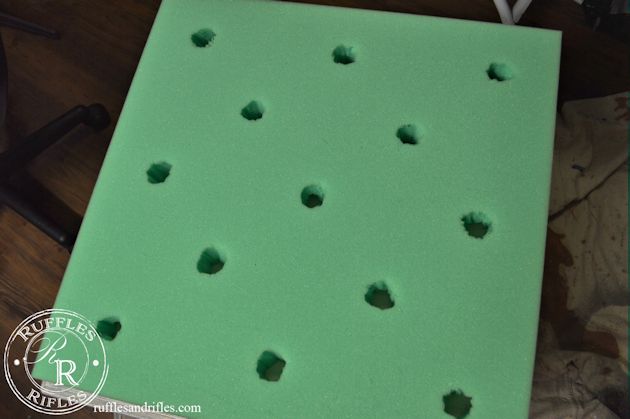
After the foam is cut (mine was precut to the right size this time), you will use your pattern to mark where your tufts will go. I made 1” Xs and then cut in with scissors and used the electric knife to make at least a 1”circular hole. With tufting, you don’t want a ton of resistance, so make sure the hole is a bit bigger than your button, remember you’re working with your bulky fabric and batting.
Spray your adhesive and put your holey foam in place.
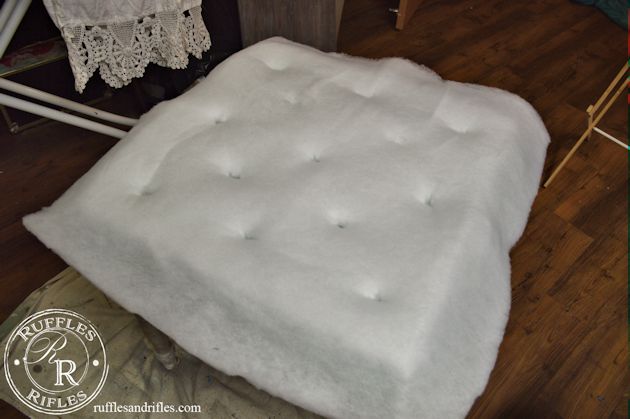
Next add your layer or two of batting, and spray them with adhesive into place. (Because I was working with only 2” foam (that’s all JoAnns had that day), I used extra batting – however, I like the look of the 3” foam better and 1-2 layers of batting). Lay it over and trim below where your staples will go, you want it to cover the top and sides of the foam. Then cut, poke and prod the holes open through the batting (remember, less resistance).
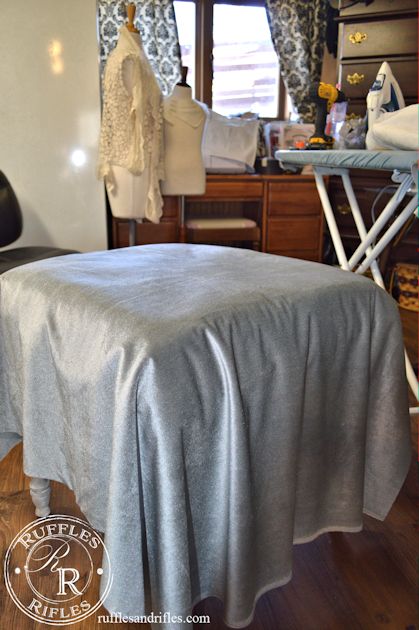
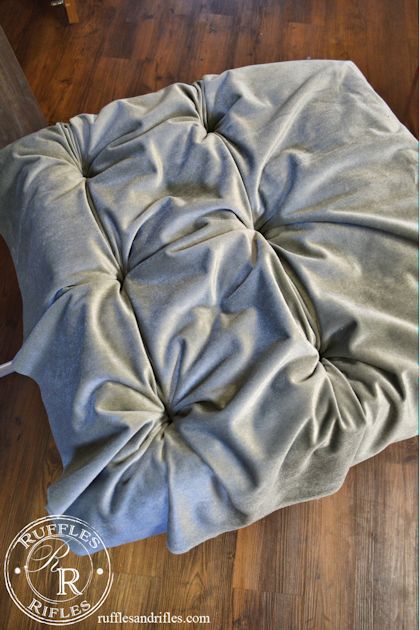
Next, lay your upholstery fabric over the top.
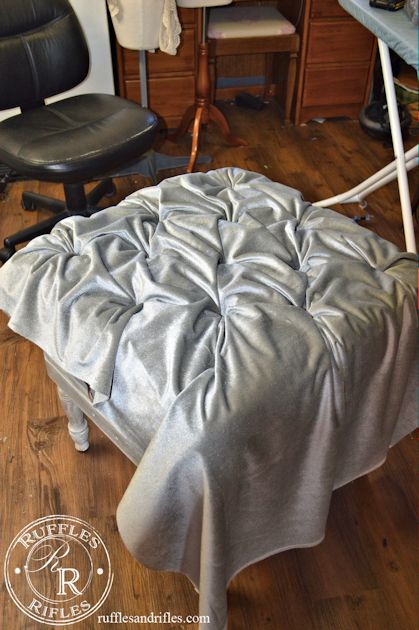
Then you’re going to use your finger to stuff fabric into each hole, this is where you make sure you have the fabric even on the edges, too. After doing this twice now, I would recommend stuffing it in all the way to every other hole in one row and leaving the next row barely indented, and the row after stuffed all in, etc. You need the extra fabric for making the diamonds, however, if you have too much fabric, it won’t be taught and you’ll get extra puckers and pleats, which of course you don’t want. (I had to readjust this after I had gotten started to make it look right, it was too loose).
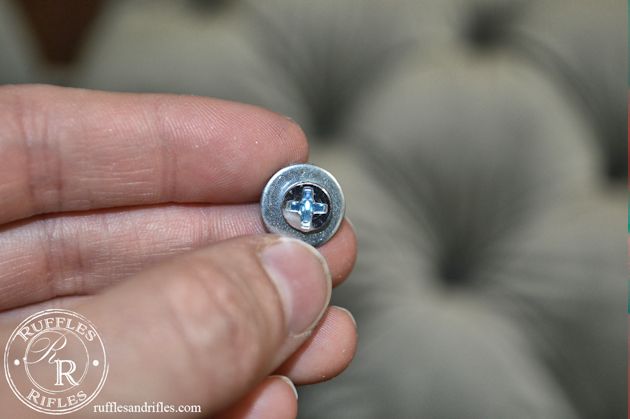
Now comes the scary part (or the magic) depending on which way you approach it. Taking a screw and washer, you are going to use your drill and screw the fabric in to the center of the hole.
My first ottoman, it worked like a dream. Super, super easy. This small ottoman, gave me fits, because there was a thick layer of 70s laminate over the solid wood table. So I had to drill holes with the drill, then screw and unscrew a hole with the screw, and then I had to blindly FIND the hole in-between the layer of velvet fabric with a tailor’s awl. My smaller table took longer than my bigger one! Lesson be had – find a table that is just 100% wood.
(Take note, that since you are not sewing the buttons on, your are screwing and making a hole in the fabric, it is a one time commitment. There’s not much room for error, which can be a bit intimidating.)
After you finish your 1st row, you will skip the kitty-corner 2nd row and screw in the 3rd row, skip the 4th row, and move to the 5th and so on….
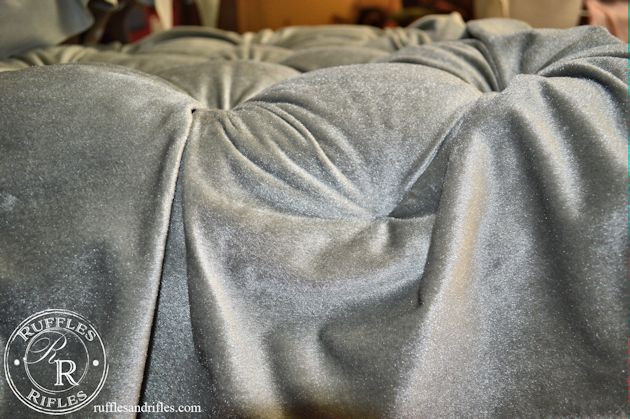
First two rows, with a skipped row in-between.
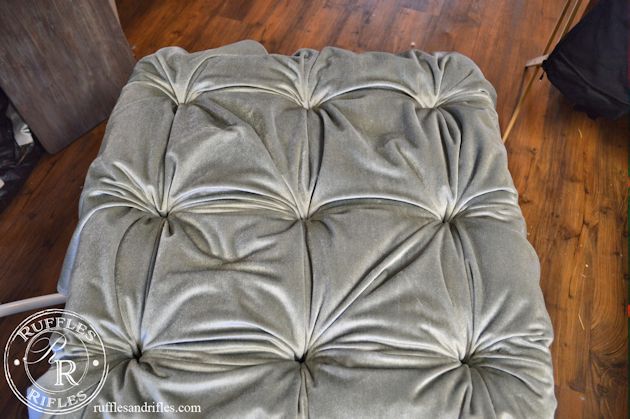
Three rows screwed in, with alternate rows skipped in-between.
Then you will come back to the rows you skipped.
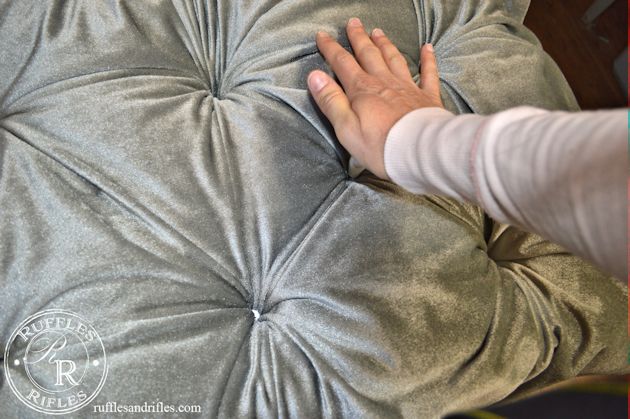

At this point, fiddle and fuss with the fabric to make the perfect pleats for the diamonds and continue screwing in your tufts. Complete all your tufts.
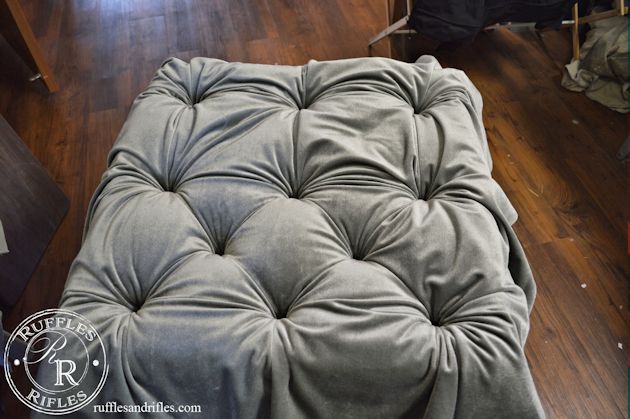
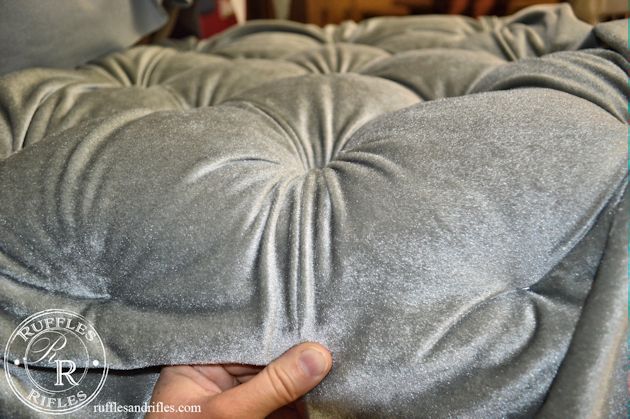
See the first diamond take shape in the center bottom? This is what your want it to look like.
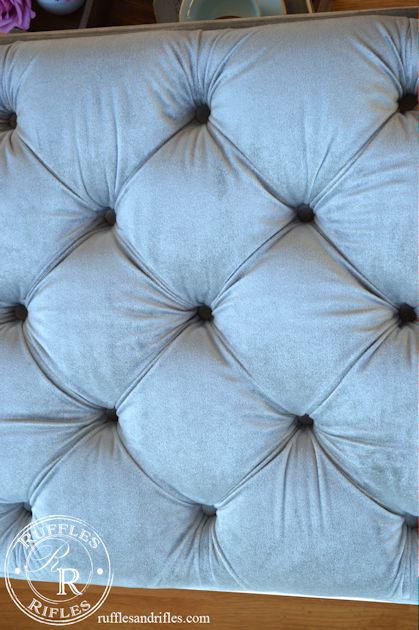
All the screws and washers in, making diamonds in the center.
Next comes start of the finish with your staple gun. If you don’t have an upholstery powered staple gun, I highly recommend it, especially if you plan on doing upholstery projects. A hand stapler just has a difficult time getting into the hard wood on furniture. I have this one, and it uses an air compressor.
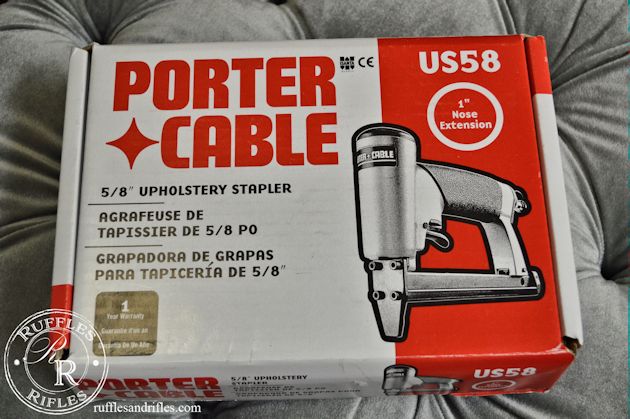
It is amazing. (And by the way, I am getting no kickbacks or sponsorships via this post. It’s just 100% my opinion and experience talking). I start first by taking the middle diamond and pulling it taught with one staple.
Then I work on the pleats adjacent to the buttons. It takes time to play with it and make sure it looks neat, even and straight. Once that is the case you can staple it down. Doing this part can make or break the entire ottoman. If there are puckers and pleats in the wrong places it will look very homemade, which is never the goal when redefining repurposed furniture.
Before I get to the last button and pleat on the corner, I make sure both pleats on either side of the corner are even. Again, it takes some playing with it. Then staple once you are satisfied.
The corner itself should not have any puckers or pleats. It should be smooth. I like to pull towards myself for even tension while stapling this portion.

Once your entire circumference is stapled you can trim your excess fabric and batting that is hanging off.
Then you will apply your trim with hot glue. You can find the tutorial here on how I made double welting. You can use gimp trim or some other trim, which is easier and less time consuming, but I really think it compliments the look to finish it off with a professional double welt trim.
Glue all around, and fold over the end to overlap.
Lastly you will complete the buttons. I use this button kit you can get from JoAnns or any craft store.
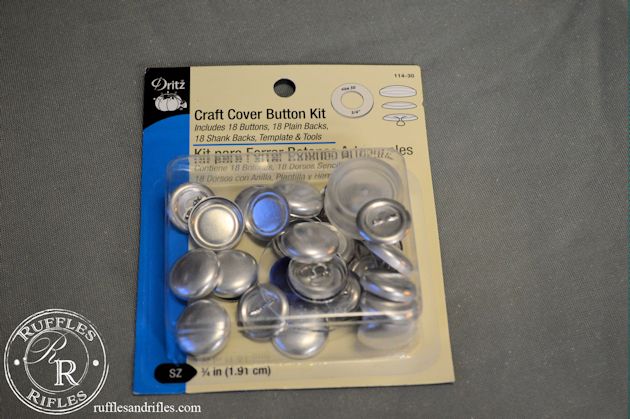
I covered the appropriate number of buttons and used the flat back so they could be glued on to the top of the screws. Be sure to find a glue that will work with metal. On my first ottoman I used hot glue. I don’t think one button has remained intact. Hot glue apparently doesn’t work on metal. I got some different glue for this ottoman, designed for metal and fabric. It was super messy and had all sorts of health warnings (before it dries). So I tossed it and will look for another option, but it dried and seemed to do the trick.
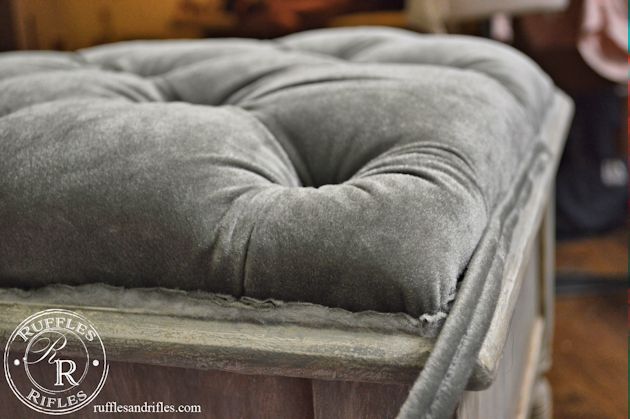
One last thing you may need to do is to saw off a portion of the legs to make it an ottoman appropriate height. We didn’t have to do this to the ottoman in our living room, but this one, I had my hubby saw off about 4″ on each leg. He was very hesitant to do it, but it would have been extremely uncomfortable to have your legs high-jacked 4″ above where you were sitting. And even if it were used as a bench, it was too high. After he sawed, I finely sanded the abrupt edges and put felt pads on the bottom of the feet.
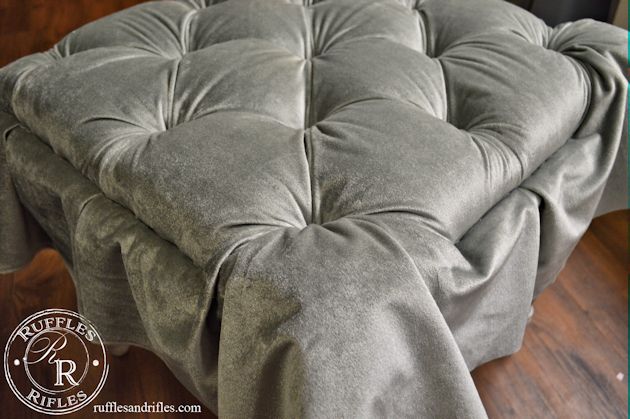
So, there you have it. A tufted ottoman made from a coffee table. If you have any questions, please don’t hesitate to ask me. I’ll do my best to answer. Also, if you embark on this journey, I’d love to see your results! Send me a photo or a link to your own posts.
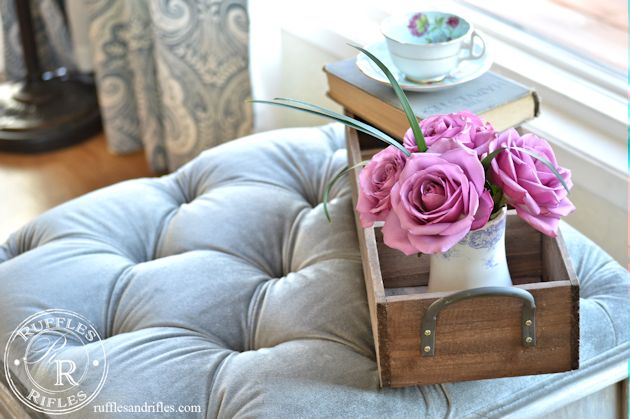
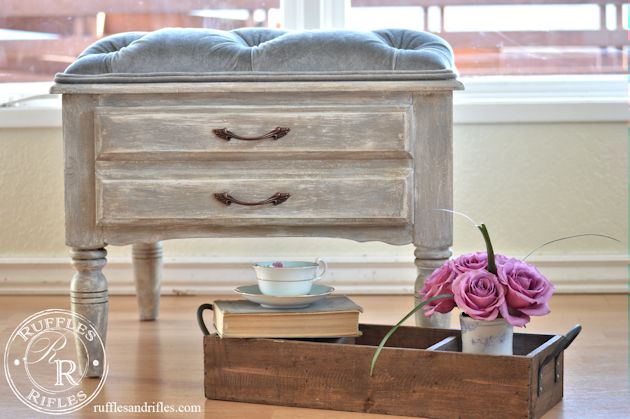
If you would like to see more photos of the finished small tufted ottoman, visit that post by clicking here.
Happy creating! And many blessings,
Cheryl
This post was featured by:
The Reinvented Collection – Favorite Things Blog Hop
The Painted Drawer – Friday’s Furniture Fix
Sharing with:
Making It In the Mountains – Creative Gallery
Cedarhill Farmhouse – The Scoop
Seeking Lavender Lane – Creative Circle
French Country Cottage – Feathered Nest Friday
The Chronicles of Home – Inspiration Gallery
18 Responses to Tufted Ottoman Tutorial