Tutorial How to Make Double Welting
In connection with the Tufted Ottoman Tutorial I wanted to share how I made double welting for this and numerous other pieces of furniture. To finish off the raw edge with the staples, furniture must be adorned with trim. You can purchase numerous types of trim, gimp trim being one of the more popular, and it is far less time consuming. However, there is a professional beauty about double welting, and sometimes it is just worth the extra time and effort.
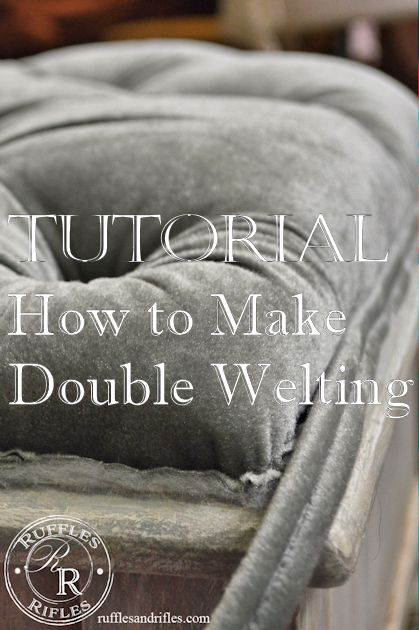
Double welting is made on the bias (diagonal cut of the fabric) making it more pliable and easier to fit on the corners and bends. Therefore it takes a substantial amount of fabric. In this case, I ordered 2 yards of velvet for the small tufted ottoman, knowing I would need some extra for welting. I was also grateful I had a bit of extra fabric when I put a few tufts in and decided to start over. So the extra fabric had a few holes, but that was easy to cut in between.
The first step is to fold your fabric in a triangle, matching cut edge to salvage edge.
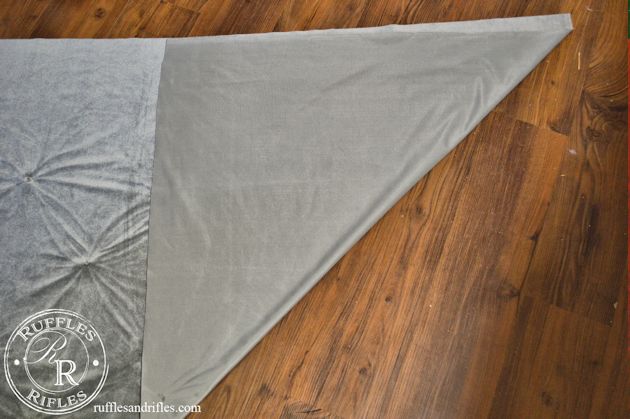
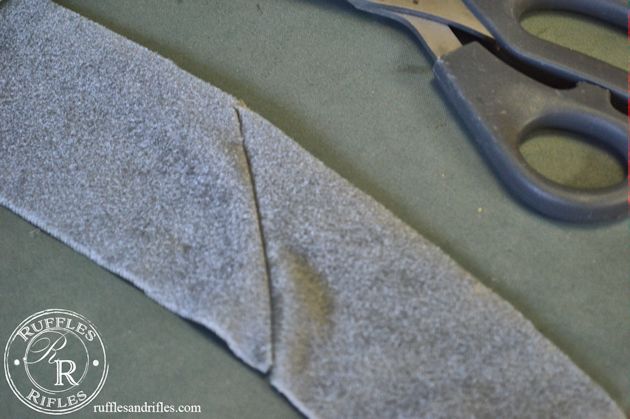
Cut right down the center of the fold.
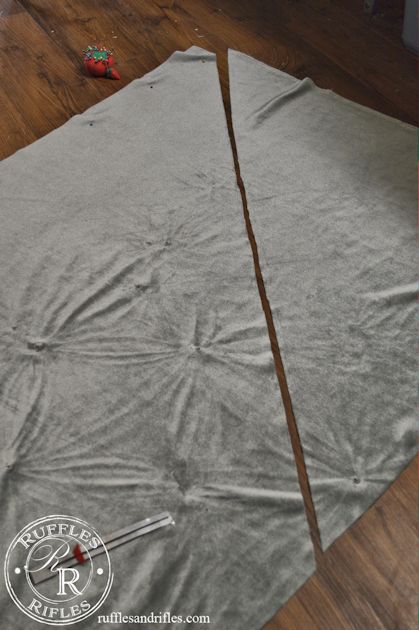
Open it back up and cut a strip, measuring from the cut, measure 2 or 2 1/2 in. in width. Cut as many strips as you need. Be sure to mark the same end of the strip of fabric with a pin (especially if it is velvet or a fabric with a wale).
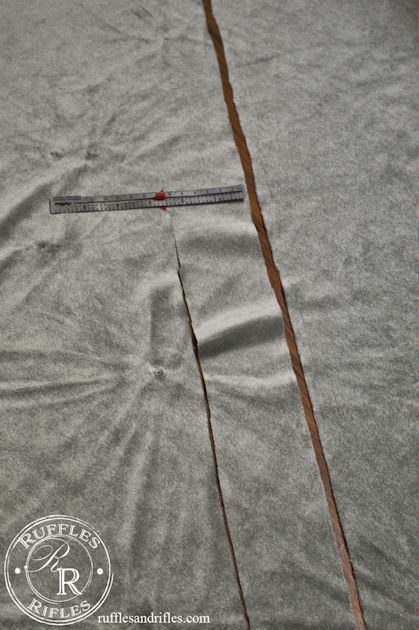
To join your strips, place one end over the other end in an L shape, sewing in a diagonal from one point to the other.
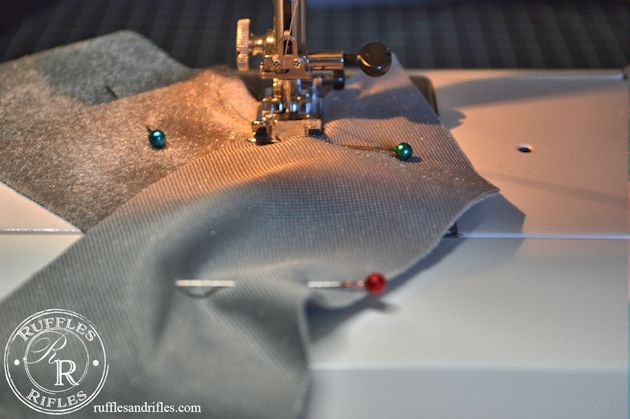
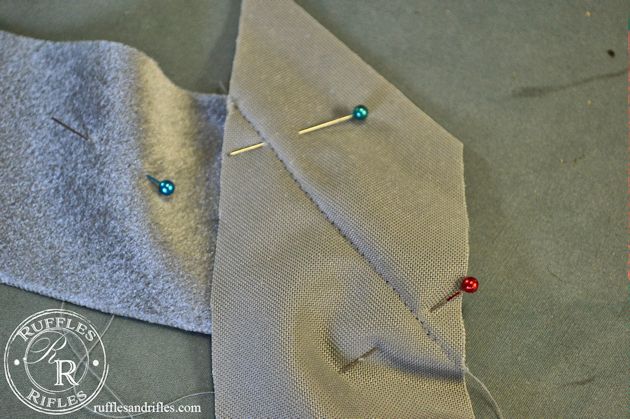
Open it up. You should press it (as long as it isn’t velvet, ironing velvet could crush it). Join all strips in the same fashion.
Next take one length of your cording and wrap a small amount of fabric around and sew it tight in. I highly recommend a piping foot, it makes it so tight and easy. If not, you can use a zipper foot. Be sure to fold over the beginning so that when your place it on your fabric it will have a nice finish.
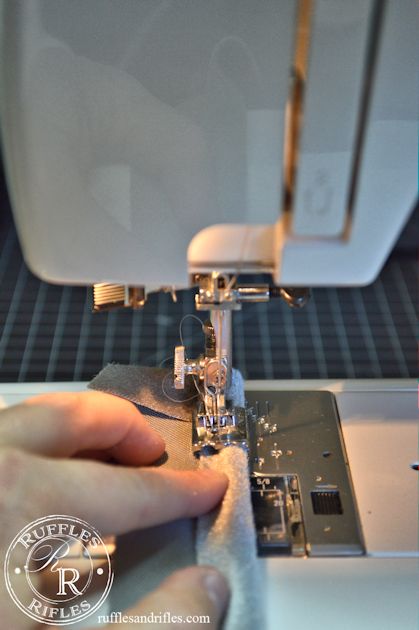
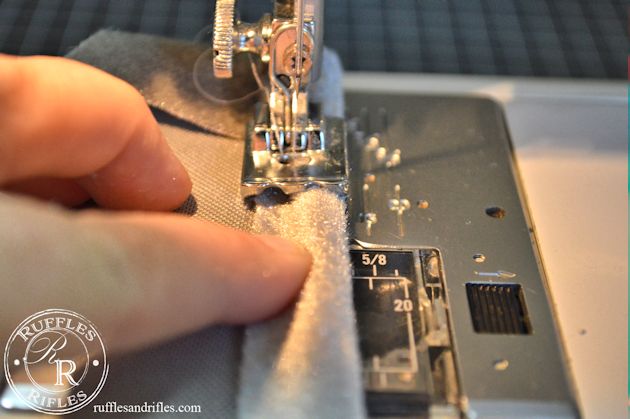
Take the second length of your cording and wrap the fabric around tight on the other side. Sew with the finished side up. This will indent center and hide the stitching looking the most professional.
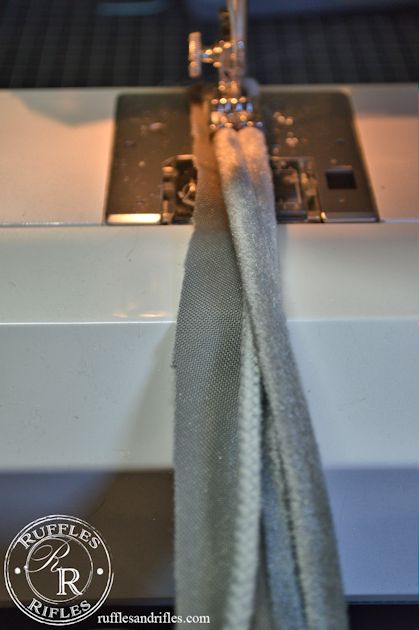
Trim the excess fabric.
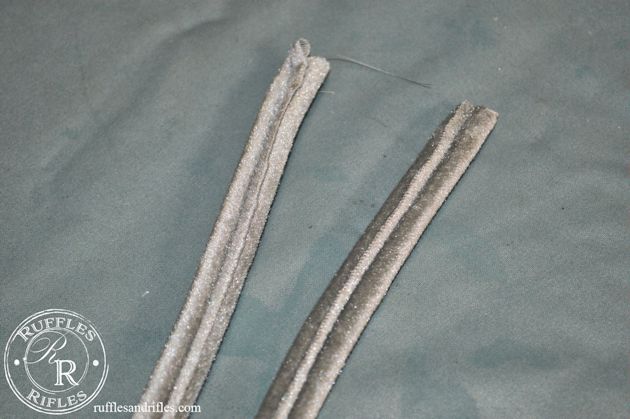
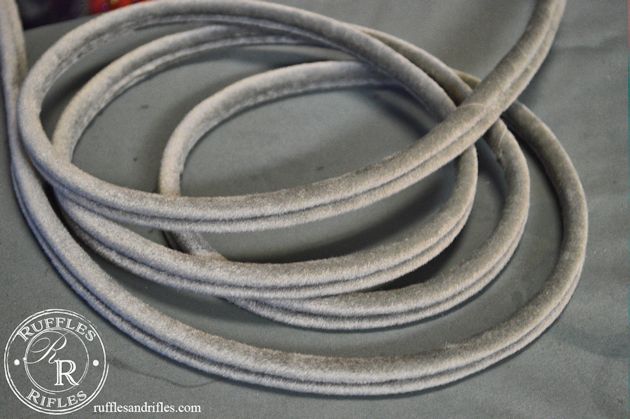
Now your double welting is ready for hot gluing on your piece of furniture.
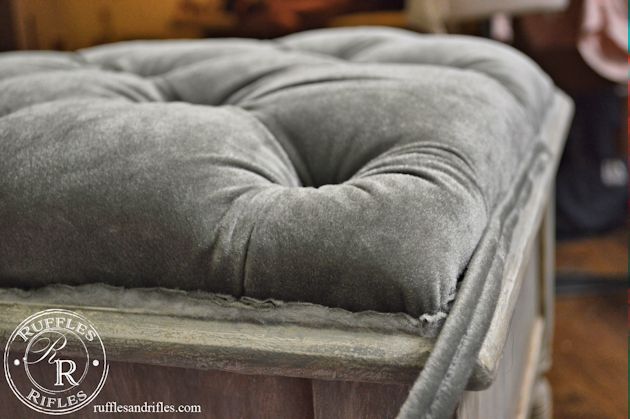
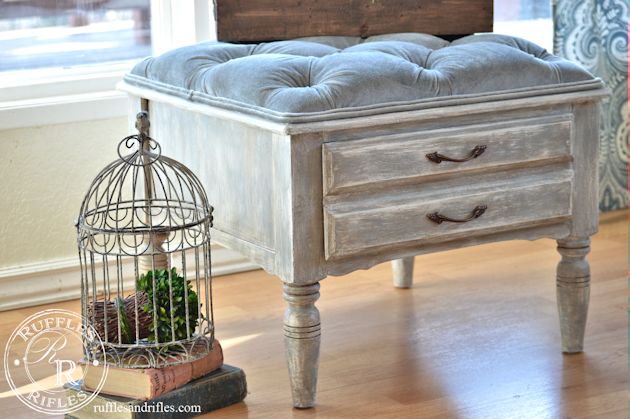
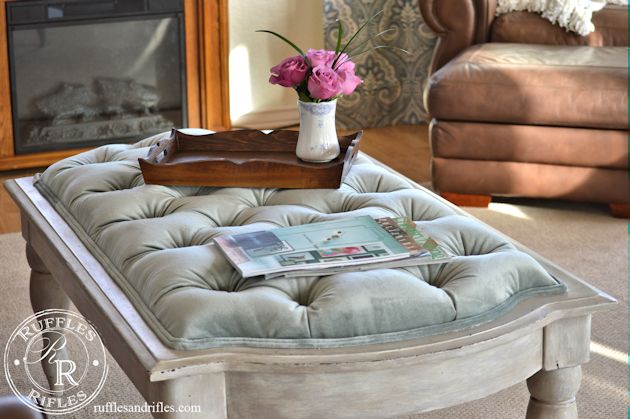
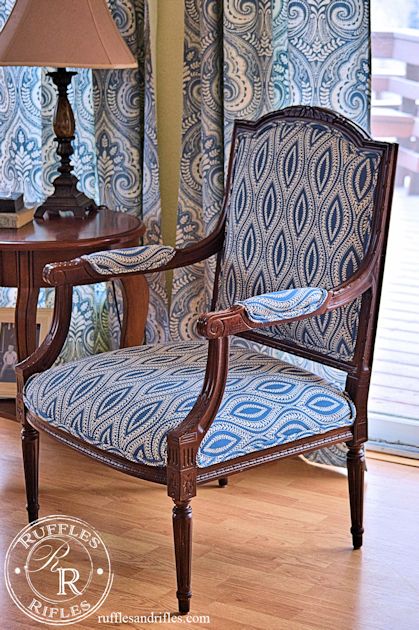
It makes such a beautiful finishing touch. Here are a few times I’ve used double welting on my furniture pieces. (Click on the photo to see the original post).
Thanks for stopping by. If you have any questions, please don’t hesitate to ask.
Blessings,
Cheryl


8 Responses to Tutorial How to Make Double Welting