Affordable Feather Throw Pillow Inserts
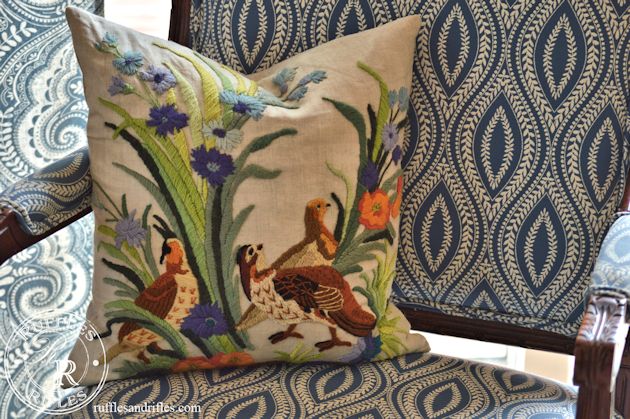
Hello, all! Today I wanted to give you all some hints on how I go about very affordably accessorizing my furniture with one of a kind throw pillows. My throw pillow posts have been some of the most popular, so I thought I’d give some further hints, if anyone out there cares for advice.
As I’ve mentioned before, I’m picky about my throw pillows. I don’t like stiff (or soft) poly-filled pillows. Their shape is never going to be moldable, and they’ll only flatten or get lumpy over the years. The majority of the trendy throw pillows you find are this, and if you don’t mind spending $25 on that, then go for it.
I really prefer feather pillows. I find they’re softer, moldable, and on leather furniture, (which is what we have in our living room), it is the only thing that would sit without slipping down or off.
But, the one hang up is that buying a feather or down throw pillow insert are expensive! I mean around$40-$60 expensive! (At least in Alaska). However, I have a couple ways around that.
The first, I have been doing more recently is scouring thrift stores and feeling all the pillows in the throw pillow section. Now, let me warn you, this can be scary. I always check them thoroughly before I can potentially bring them into my home. I sniff them, and I unzip their covers to look for gross stains or any disintegration. And there was this one time I unzipped what looked like a really great feather insert potential, and inside was a diaper! I was so grossed out I didn’t inspect if the diaper was new or used, but I dropped it like that and left everyone to view, and quickly sanitized my hands. Ugh! The thrift store adventures sometimes.
Usually, the used throw pillows I find are nicer, because they cost more in the first place, people who can afford them, take decent care of them until they no longer like them. Fortunately, feather pillows can be washed and bleached (for 5 minutes or less or the feathers will disintegrate). So I always wash them. I think a $2 feather pillow is worth the effort of washing!
Now, if that just completely grossed you out, I have an alternative affordable feather pillow insert tutorial to follow.
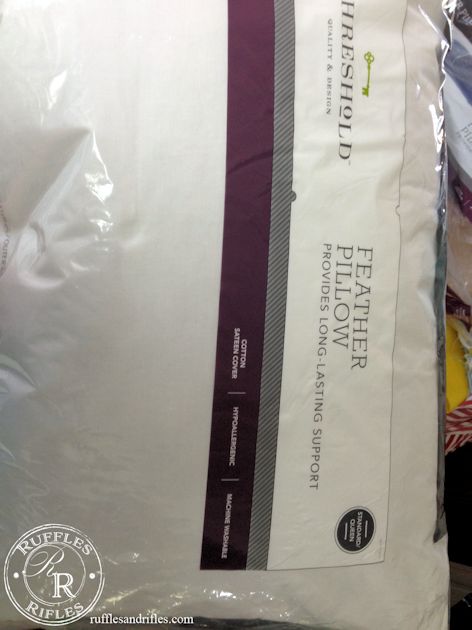
I call it pillow surgery. About a year ago I bought a couple of standard sized feather pillows at Target (it seems like they were $11 each).
I measured the length (which I believe is about 19 inches) and marked the pillow with pins to make a square.
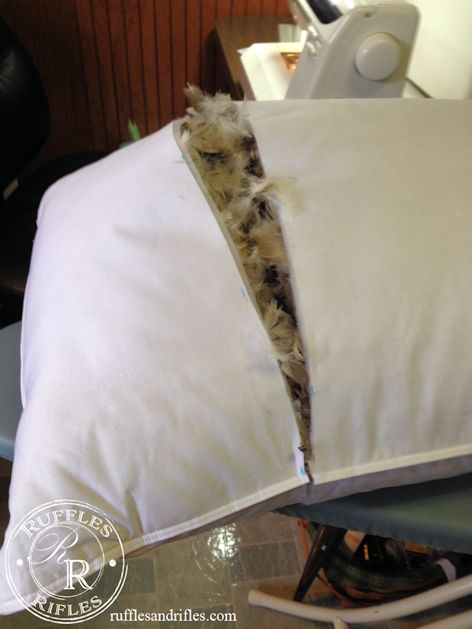
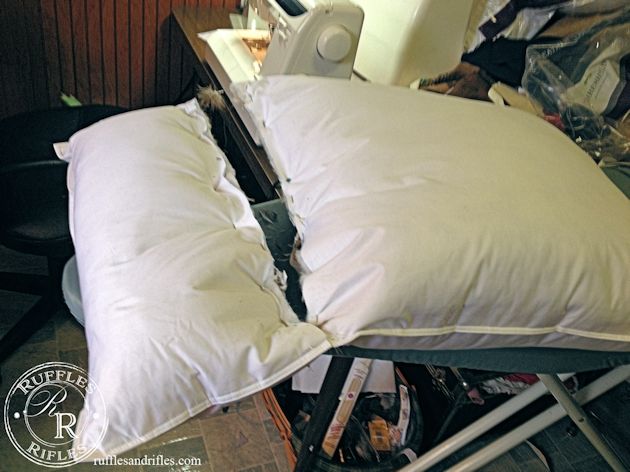
Next, I very carefully took a pair of scissors and started the incision into the fluffy place. It was a bit messy, but less than I thought it would be. As I cut, I pushed the feathers on either side of the cut and pinned to enclose the feathers.
I had a perfect square left, and a small rectangle, at this point.
Then I sewed by hand a blanket stitch along the edge to make sure all the feathers were secure before engaging any machines in the operation.
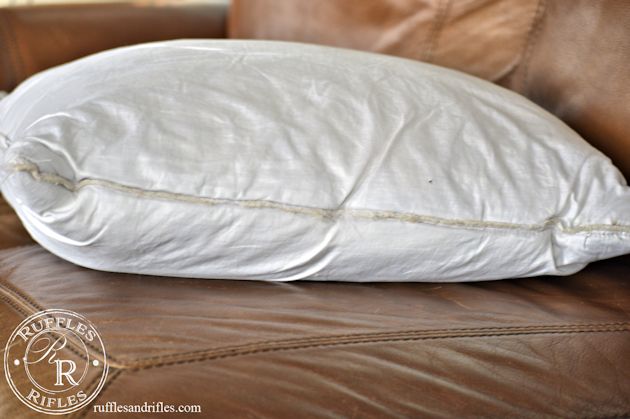
I then removed the pins and serged the edge with my serger. You do not need a serger to do this. You could stitch across with a strait stitch and a zipper foot. The hand stitching enclosed it well, I just wanted it to be secure, amidst them being thrown on the floor, at each other, etc.
And that’s it. It really was pretty easy. I took a roller brush to me after the episode was over, but it wasn’t bad. I also eventually used the extra feathers to fill some rather flat feather pillows I had bought at a really good price, (which really was because they were barely filled with feathers). You should always know when something is just too good to be true.
I hope you found some helpful hints! Thank you for stopping by!
Sharing with:




One Response to Affordable Feather Throw Pillow Inserts