

Adventures in Milk Paint and a Side Table
Two and a half years ago I first started my adventures with milk paint. I had been following Miss Mustard Seed for awhile and loved the results she got and the furniture she did. It just seemed to be an authentic antique look. I had only been accustomed to oil based and latex paints, neither one I thought did justice to furniture, however I just didn’t know any better.
I have had some questions about milk paint and chalk paint, and so if you are not a familiar, let me give you a quick review of milk paint. It is a paint that comes in powder form you mix with water, mixing as much as you need at a time. It is all natural (I think 5 ingredients) and it is milk based (so unused portions must be refrigerated for up to a week). There’s things I LOVE about it, like how incredibly smooth the finish is after a light fine sanding(nothing like sticky latex, that often has brush lines in it). I love that it looks authentic to paint vintage pieces — because it is an OLD formula, based on paint of long ago. And I love that when painted on raw wood, it acts partly as a stain and actually soaks into the wood, giving it such a depth. And I really love Miss Mustard Seed’s color line, probably because we have a mutual admiration for blue and white. The thing I like least about Milk Paint (and this is personal preference) is that it caters to people who love the chippy look. I have found, that is not my personal preference. I prefer paint colors in layers and light distressing. Therefore, I always use the bonding agent which helps the paint which would normally give an antique chippy appearance to adhere.
A local store started carrying The Real Milk Paint brand of milk paint a couple years back. The amounts sold were smaller than MMS products, and I thought it might be a good place to start. As it turns out, I probably should’ve just ordered what I liked, because I ended up experimenting and having to mix colors to get what I wanted.
Since working with both brands, I am impressed with MMS. I seems to dissolve and mix better without excessive foaming, it adheres better with or without the bonding agent, and okay, I just love Miss Mustard Seed’s color line!
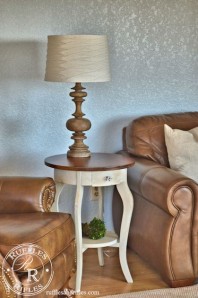
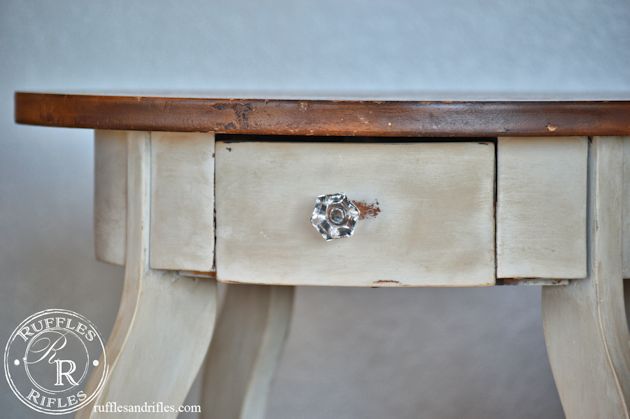
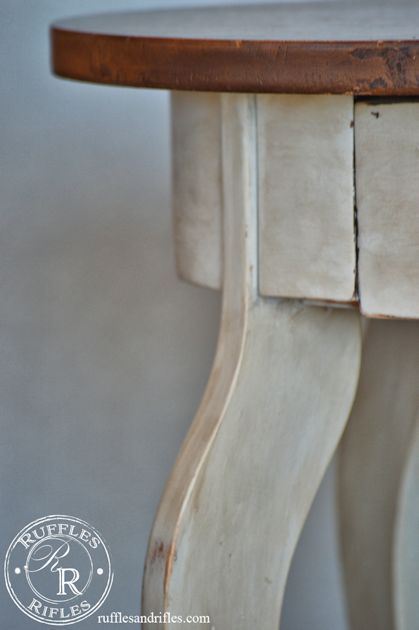
I had a little side table my hubby had bought me for Christmas several years before. It was from Lowes and one of the only “new” pieces of furniture we’ve ever had. Funny that I wanted to change it. But I love, love, love, the wood grain top with ivory legs, its just so French Country.
So I just finished my first chair, and had some milk paint left over. I thought I would give the little side table a French Country face lift. So I lightly sanded and added bonding agent, and put one coat of custom mix ivory milk paint on (milk paint is much thinner than traditional latex or chalk paint). I was so excited to see my vision accomplished.
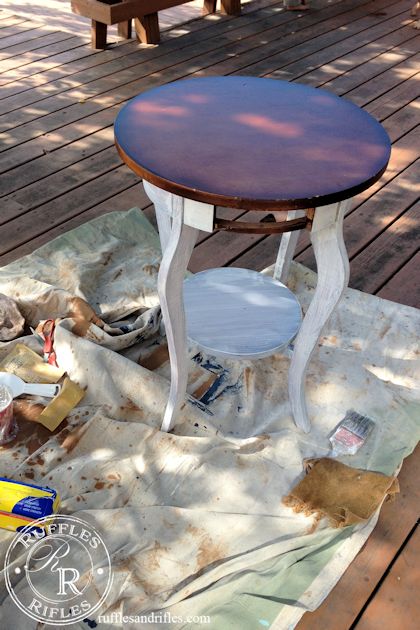
I waited for the coat of paint to dry. I could see the crackle chipping effect take place. But then I was horrified to discovered half of the paint I had just painted on, chipped and flaked off — with a light sanding and with bonding agent! (Remember, this was not MMS — I have found MMS to bond much better).
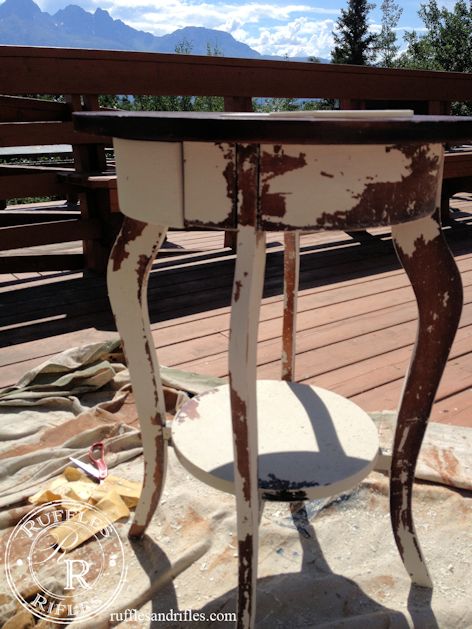
All I could think of was a Holstein cow! Instead of French Country I got a cow table. I laughed and was disappointed that I wasted a bit of time and money, and snapped this photo for my sister so she could feel my pain.
This time, I took the orbital mouse sander and sanded it down. It wasn’t even a shiny finish, so I was surprised at the outcome. I mixed up more paint, with the bonding agent, and this time it took. I finished it off with a Mocha Burnishing Glaze. The ladies at the paint shop recommended it, since I had not used wax before. They thought it was easier to apply and not get too much. Now after using both, I much prefer wax. I feel like there is way more control, and the soft glaze is amazing. But, all in learning and experiment. Adventures in milk paint….
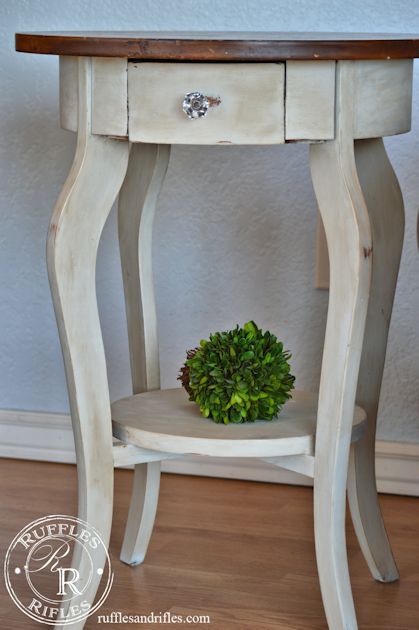
The original knob on the drawer was wooden, I got a crystal looking one from Lowes, it just sets it off.
To everything there is a learning curve. I try to do research on the front end, but there’s nothing like practice and putting your hands to something to become better at it. Another thing I’ve learned since this project is the less electric sanding the better, especially for the end when it comes to distressing. I prefer light distressing, but when you use and electric sander, it leaves little circles. And that isn’t so authentic for an antique look.
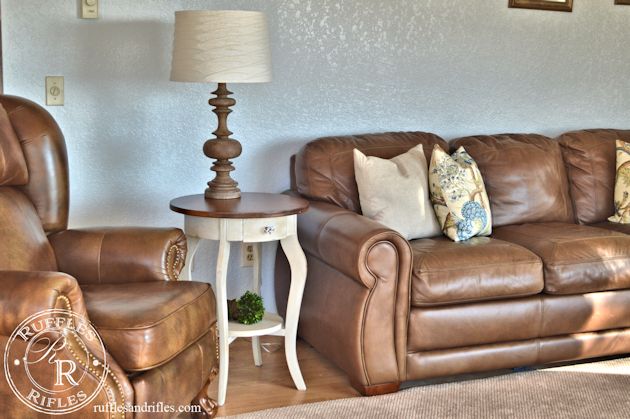
I really like how this side table turned out, even as one of my first milk paint projects. (And did you notice I replaced the Leaning Tower of Pisa Lamp see this post)? I love the pleated canvas lampshade. Target helped me out there. It’s all a process, one thing at time…
Thanks for stopping by!
Blessings,
Cheryl
Sharing with:
4 Responses to Adventures in Milk Paint and a Side Table