


Highland Christmas in the Master and a Plaid Tassel Throw Tutorial
I hope you all had a wonderful Thanksgiving weekend. We sure did. We also had some hiccups with the Christmas tree and a sick kid on Thanksgiving, but over all, it was such a relaxing, blessed weekend spent with family, (and decorating for Christmas of course). I want to thank you all so much for the encouragement from the last two posts. I am always overwhelmed and blessed by comments, shares, likes and emails. On the days I wonder why I do this, it makes it all worth it. Seriously, thank you so much!
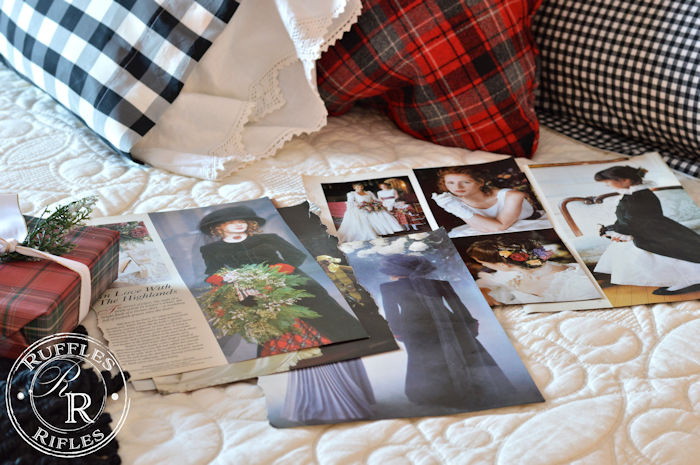
First this year, I wanted to share the master bedroom. Its something I’ve dreamed about doing for 20 years. I’m not kidding. In high school, I had a subscription to Victoria Magazine, and one Christmas there was a piece on a Highland Christmas, and I fell in love. And since it was literally decades before Pinterest existed, I did what any reasonable person would do, I ripped those inspiring pages out of my magazine, and filed them away for “someday.”
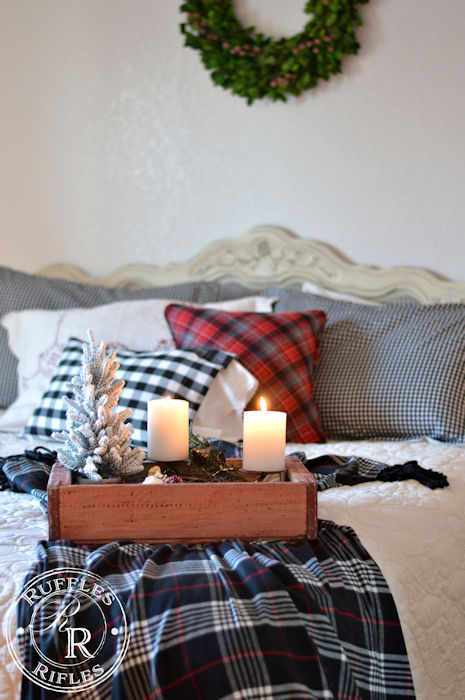
I knew, in order to carry off this black and red plaid look I had to have a neutral master bedroom, because those are not colors I normally decorate with. I bought an ivory quilt that I had saved up for at Pottery Barn on our winter vacation last year, and the neutral landscape of my master was materializing (see here for my original post on the master bedroom). For years before that, I had been collecting plaid fabrics from thrift stores, knowing that someday, I would have that bedroom for Christmas.

I want you all to know that. The look in this bedroom took 20 years. It probably isn’t that impressive for a 20 year wait, but as I was photographing it, I thought about how counter-cultural waiting is. Materialism allures us to have it all now. I’ll admit, at Christmas in particular, I get to feeling a little insecure about my small-time blog. So far, I don’t have any sponsored posts with gorgeous new products, and I capture it only a very beginner camera whilst fighting with the Alaskan dark winters. But, I think there’s is an important truth in this. Life takes time. Decor takes time. Change takes time. Instead of using it as our asset and ally, sometimes, we are tempted to think it is our enemy, and we fight it, rather than embrace it.
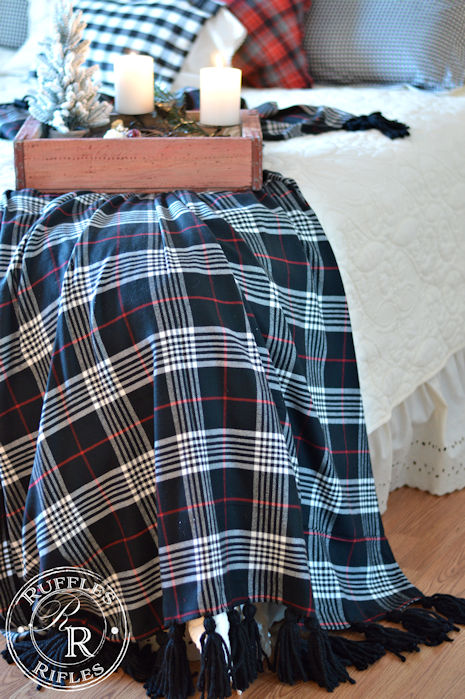
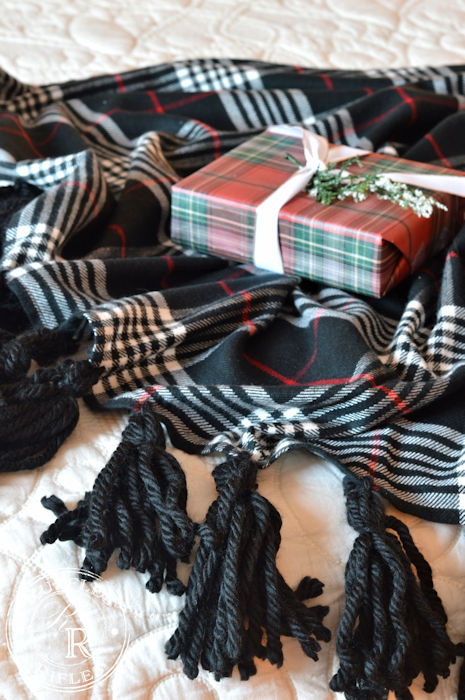
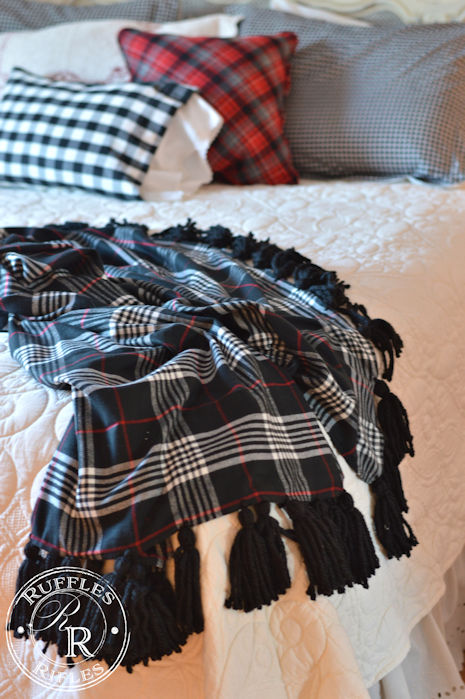
This room, it took time. Inspiration sat for 20 years, in a folder, in my sewing room. The fabrics for all the pillows I made; fabrics collected over years. Then I made all the pillows one by one, and the throw with the charming tassels. You can make one too, it’s really easy, keep scrolling to the bottom of the post for a tutorial.
Have you ever watched a child that ate a chocolate chip cookie creatively? I have one who eats the cookie and takes out all the chocolate chips, and delays eating them until the very end. I believe in this day and age, delayed gratification is a dying gift. But how much more rewarding is something that’s been longed for, prayed for, hoped for that finally is brought to fruition? Sure, a master bedroom is trivial, but there are the life things, promises and hopes we hold on to. Most of those things don’t happen tomorrow, or even next week. Remember Joseph, in prison? And the dream he had as a young man, that only seemed to materialize in an Egyptian prison? “Until the time that his word came to pass, the word of the LORD tested him.” (Ps. 105:19)

Time doesn’t mean it won’t come to pass, time means God believes in you enough to bring a beautifying and refining work, to make the delay all the more joyful and gratifying in the end. Time is actually a gift of boundaries in which we can be shaped and molded, like a pot of clay.
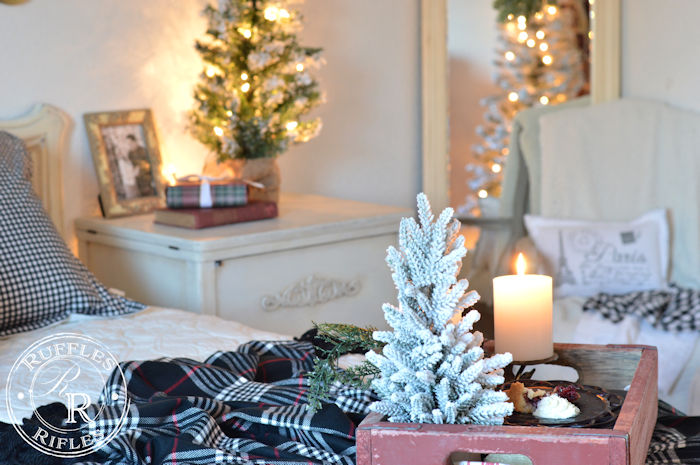
This room all cozied up for Christmas reminds me of my teenage decor dreams. But it also reminds me of deeper truth; God’s time isn’t the same as our time. But in the end, He makes all things beautiful.
Stay tuned for a very simple tutorial on how to make your very own Plaid Tassel Throw.
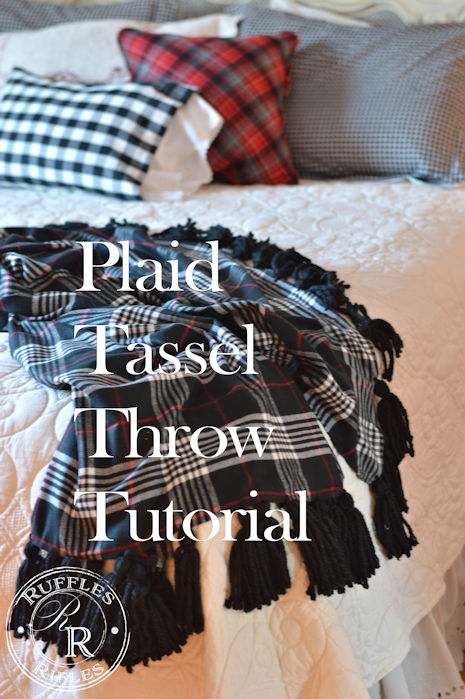
Plaid Tassel Throw Tutorial
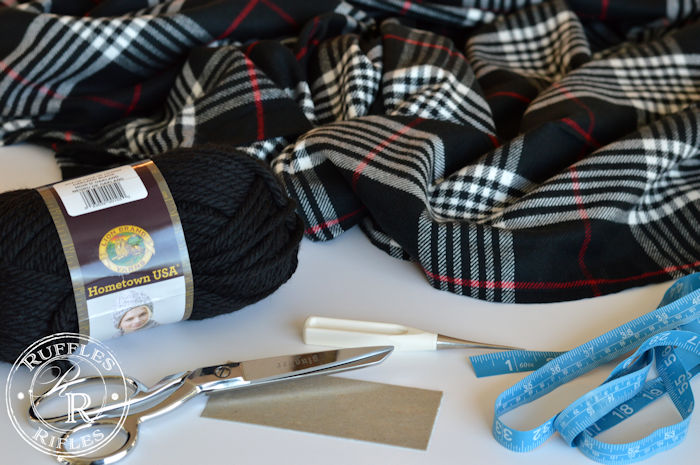
Supplies Needed:
2 yards flannel or soft plaid fabric
matching thread
2 skeins fluffy yarn
scissors
leftover cardboard from piping or trim
tailor’s awl
measuring tape
1. Make a 1/4″ narrow hem around entire perimeter of the two yards of fabric.
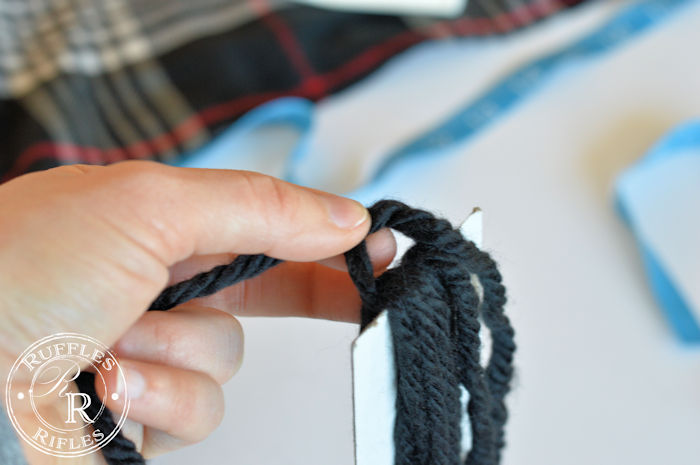
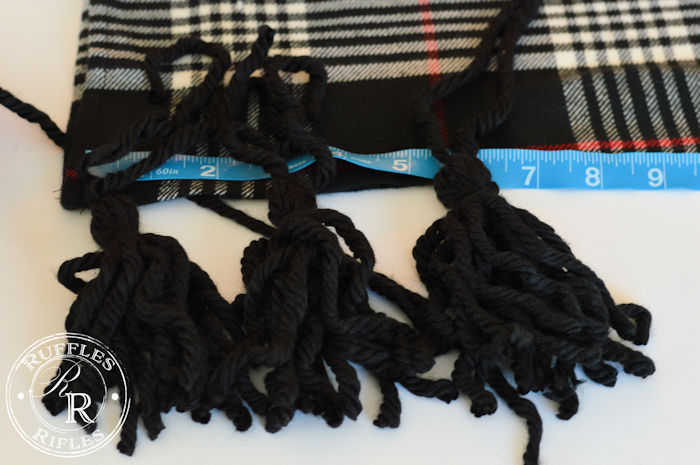
2. Start making tassels by winding yarn around cardboard 8 times.

3. Insert a long piece of yarn, about 8 inches at top of cardboard. Tie in a knot. Tie again to secure.
4. Cut bottom tassels at the bottom of the cardboard to release the tassel.
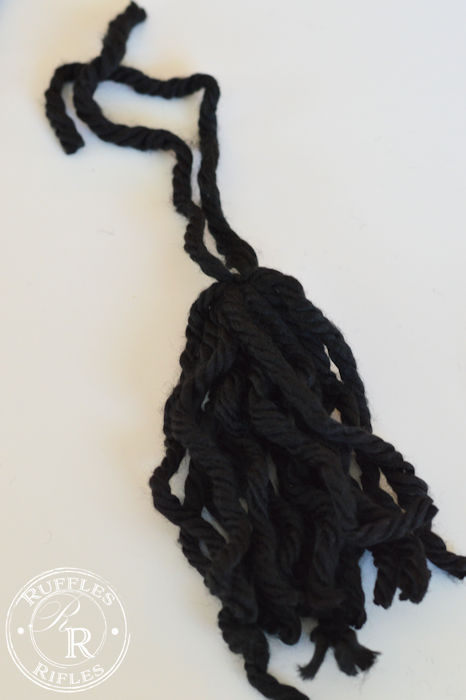
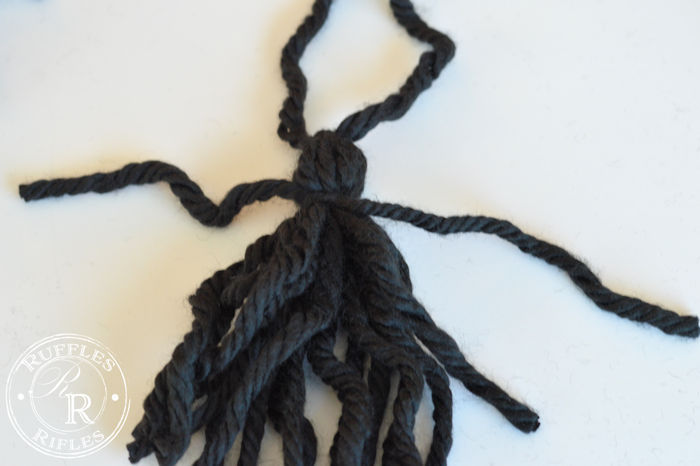
5. Cut another piece of yarn, about 8 inches. Tie near the top creating the head of the tassel, like an octopus.
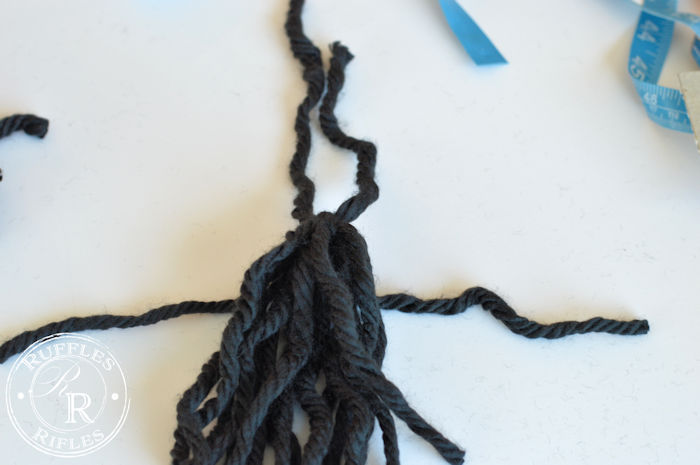
6. Tie once and then double knot. Let these ends hang down as part of the tassel and trim end to match length of the tassel.
7. Repeat this step with as many tassels as you want on each end, times two. I made 36 total, and spaced them 3″ apart.
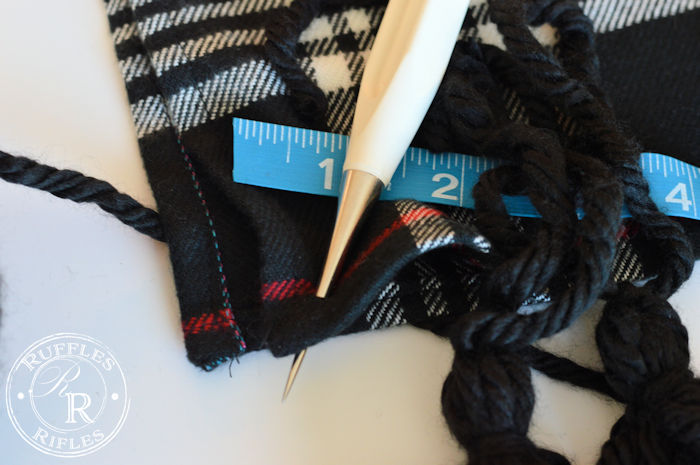
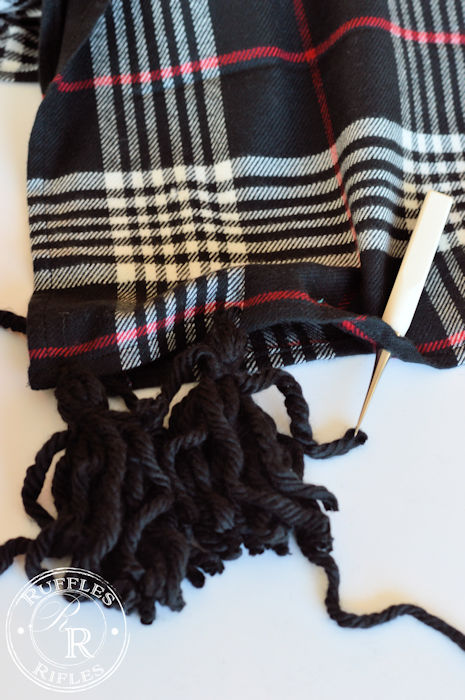
8. Take your tailor’s awl and make a hole in the place you want your first tassel. Make it big enough to easily thread the yarn through. This will eliminate the need for a yarn needle. The tailor’s awl makes a hole without breaking any of the fibers so there will be no continuous hole or fraying.
9. Once the hole is large enough, thread one end of the top of the tassel through.
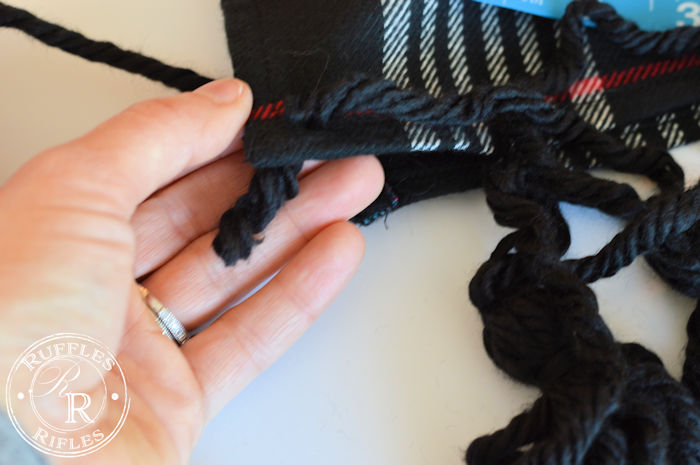
10. Tie a double knot to secure and trim loose ends.
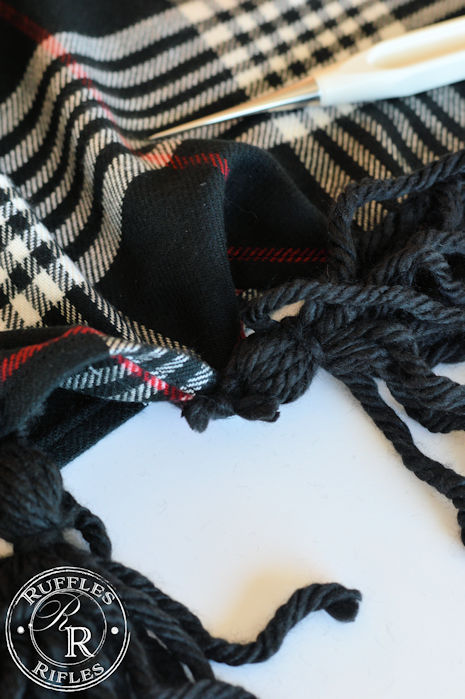
11. Continue this process until both ends are evenly dispersed with tassels.
And you are finished! This would make a great gift, as well as a wonderful seasonal throw!
I’ll see you back soon with more Christmas fun and inspiration! Thanks for stopping by!
Cheryl
Sharing with:
2 Responses to Highland Christmas in the Master and a Plaid Tassel Throw Tutorial