A Sneak Peak of the French Nursery and an Eiffel Tower Rosette Lamp Tutorial
I’m so excited to finally share with you a sneak peak of my little girl’s nursery! When I found out we were having a baby girl (after four boys), one year ago, I immediately had a vision for her little nursery. I wanted pale neutrals and a pale rose pink with a French Country theme drawing it all together, of course. But would you expect anything else from me, really?
I saw this pretty little nursery on diydesign and fell in love with this rosette lampshade, and that is when I thought to myself, I can do that!
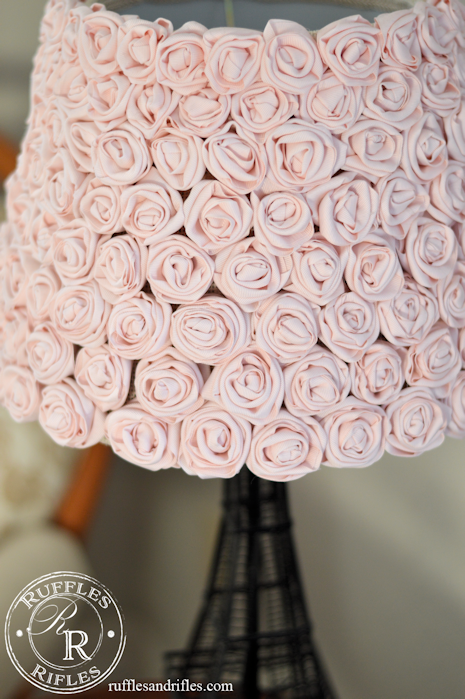
Here is my version. My husband calls it The Lamp of a Thousand Roses. That is a bit of an exaggeration; it has 200 roses and was one of the most tedious long and drawn out projects ever. But I knew it would be a statement for the very French-inspired nursery. And when you wait so long for a precious little girl, you do silly things like make a lamp with 200 roses.
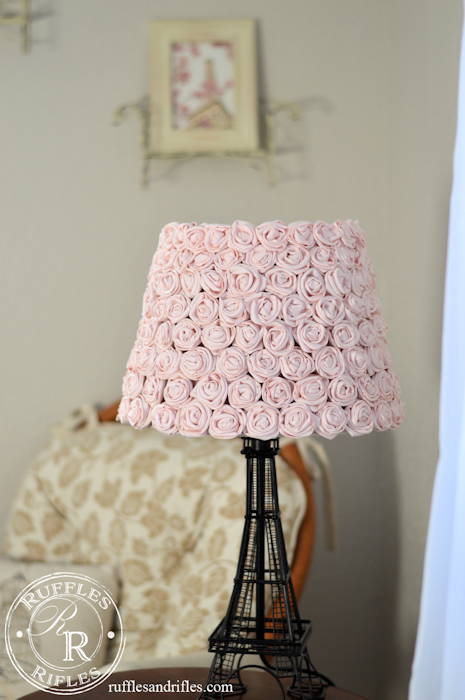
I had no idea of the magnitude of the project I was undertaking when I began. The lampshade I saw via diydesign was probably 1/4 to 1/3 the size of the lampshade that I decided to cover for my Eiffel Tower base. I ever so naively went to JoAnns and bought just three spools of grosgrain ribbon.
It was the perfect pale pink. I started making the rosettes about a month before our move (in April) in the evenings when the family was settling down and watching an America’s Funniest Home Video, I would put my feet up, plug in the hot glue gun and work away. It was actually fairly relaxing and a great break from all the packing. It was after I finished my first three spools of ribbon and glued them on the lampshade that I realized I had gotten in way over my head, in time and money.
So, if you’re looking at taking on this project, know that I ended up buying I think about 10 spools of ribbon, (I did buy it all on sale, but still). And my husband likes to tease me, saying I might be able to get $50 out of the lamp, when I spent probably a good 60 hours on it. I don’t have a total cost with the lamp base, shade and ribbon, but it wasn’t cheap. But it is custom. I could call it a designer lamp, then would it seem more valuable?
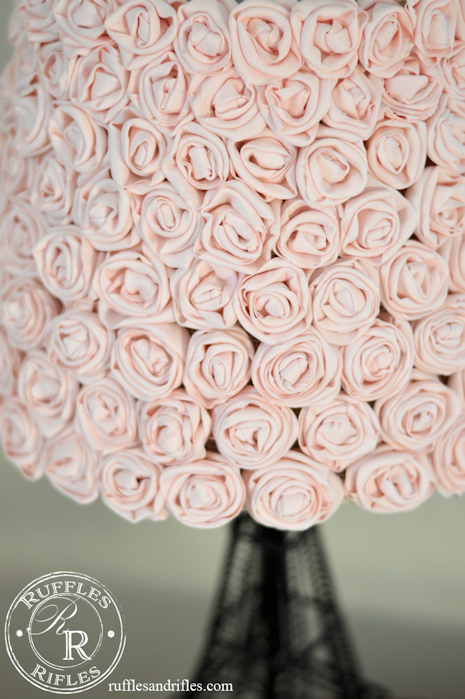
Though it was not a bargain, like so many of my projects, it was a joy to make an over-the-top lamp for my little girl’s completely feminine room. I ended up making 24-25 rosettes per row, and 8 rows in total height. The rosettes on the bottom are larger, to compensate for the larger circumference.
I make these rosettes with ribbon or with fabric torn in strips for girlie headbands and gift accessories as well. They really are simple to make. All you need is a strip of fabric or ribbon.
Rosette Tutorial
Supplies needed:
- Up to 10 spools of grosgrain ribbon
- Hot glue and a glue gun
- Lamp Shade
- Scissors
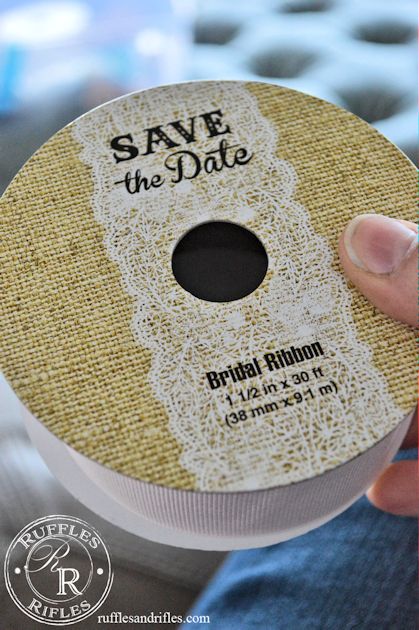
First take your ribbon and double it over.
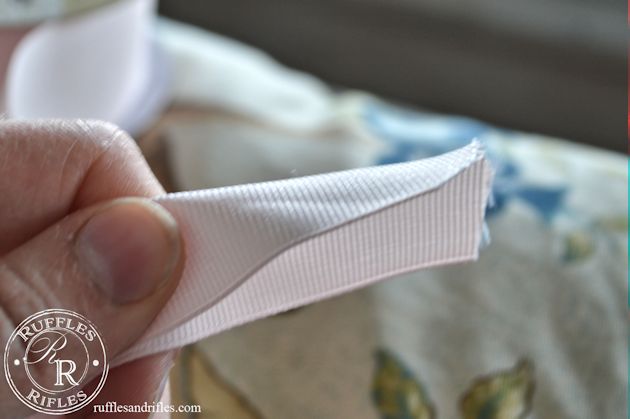
Make a knot in the end of it. I like to glue the tail end underneath as part of the base.
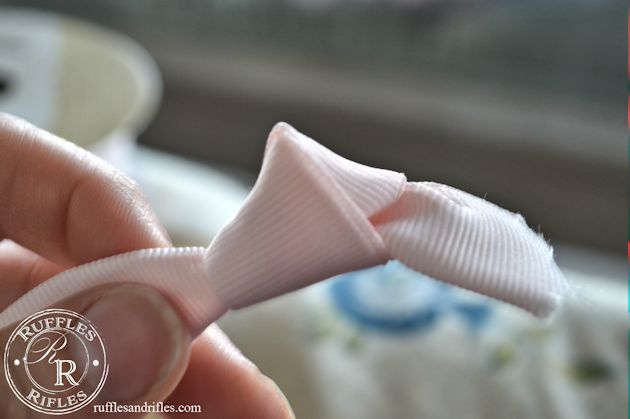
Then wrap the ribbon about halfway around the knot. When you get halfway, you are going to flip your ribbon, either up or down, making a bend, and essentially a petal.
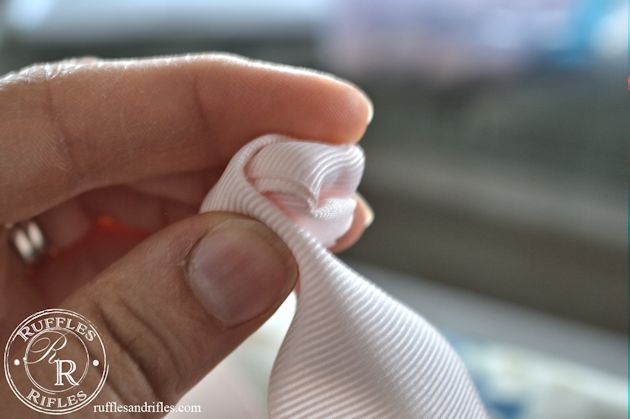
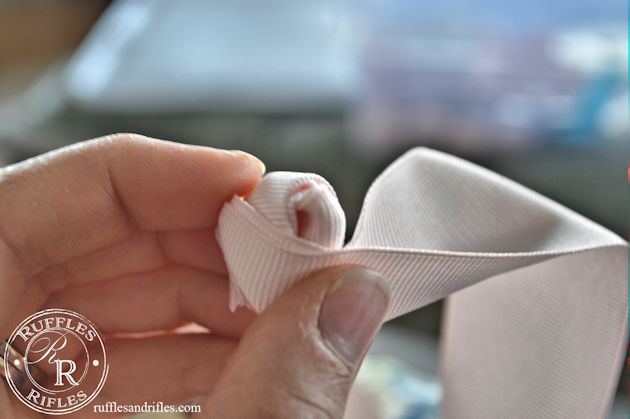
You then will just keep repeating this step. Continue to wrap around the center, and then flip your ribbon to make another petal, gluing as you go. It’s not an exact science, just use your eye to see what looks good. Maybe do a practice one first without gluing to see how you like it.
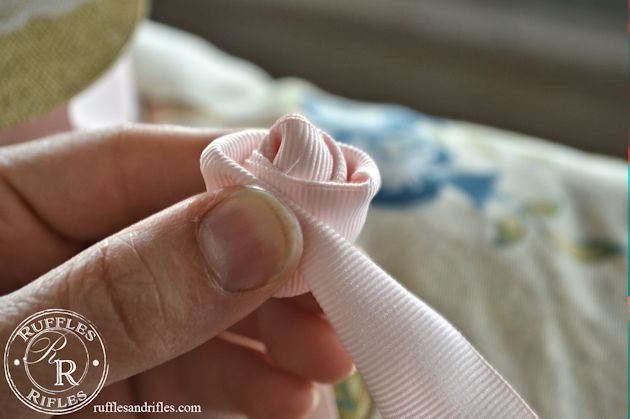
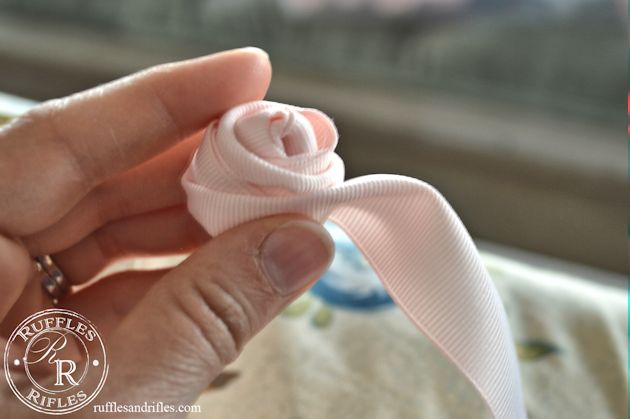
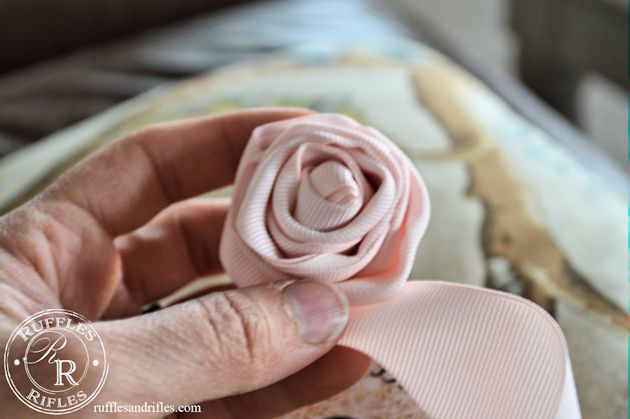
Keep wrapping and flipping the ribbon until you get it to be the size that you want it. Then ultimately fold the last “petal” underneath and glue it to the bottom.
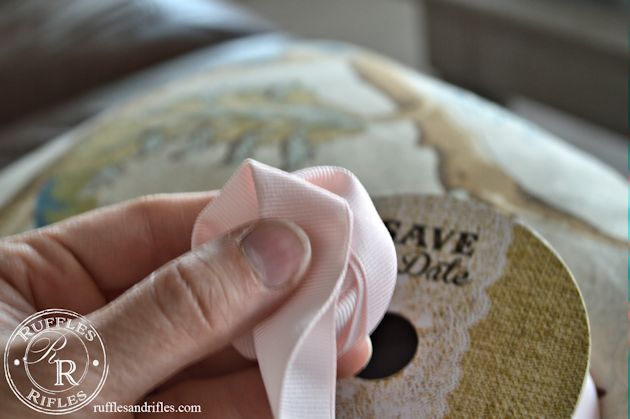
And you have a pretty little rosette that can be used for a number of different things.
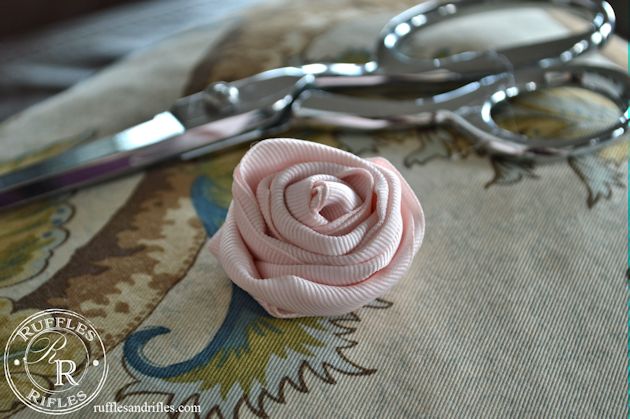
Like headbands…
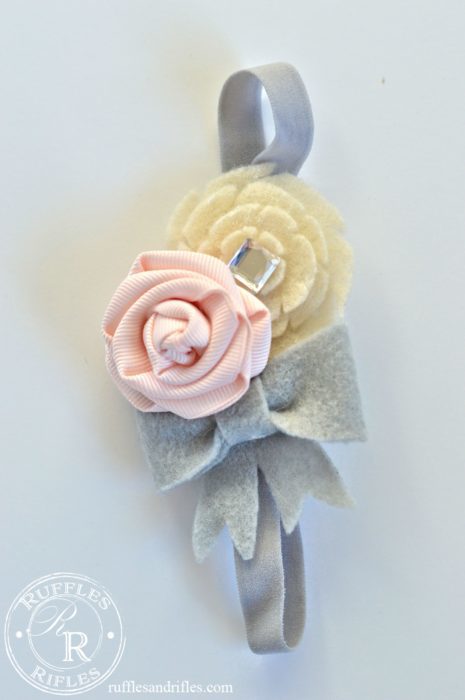
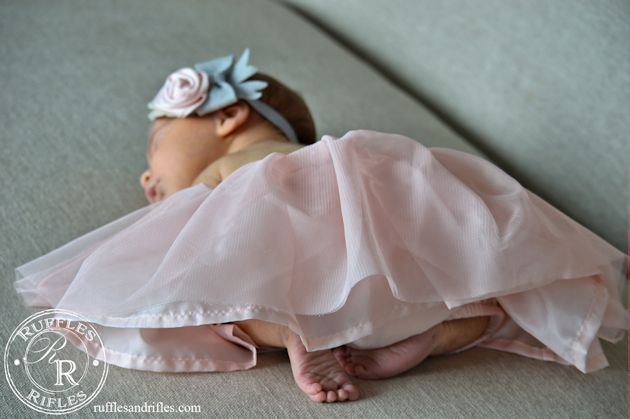
…or an over-the-top, Eiffel Tower Rosette lamp. Just hot glue your 200 roses on your lampshade, and you’re done, in approximately 4 months….
Thanks for stopping by. A full reveal of our little girl’s nursery is in the works. I still have a couple projects to do, and I’m saving for a new lens to capture it all with.
Blessings,
Cheryl
Sharing with:


6 Responses to A Sneak Peak of the French Nursery and an Eiffel Tower Rosette Lamp Tutorial