

Recreate: An Ottoman Slipcover Tutorial
Today I am going to show you how I went about creating the knife-pleated ottoman slip cover. The important thing about slip covers is that they fit properly.
Like an alteration or a custom-made clothing, a perfect fit will make all the difference. It can look like a slopping t-shirt or a custom made gown.
The first thing you need to do is to drape a piece of fabric (or in my case a washed drop cloth) over the top. Do not cut it. Just like no human is perfectly symmetrical, neither is most furniture perfect. The trick is, if it fits properly, it will look better than if the fabric is squared up perfectly.
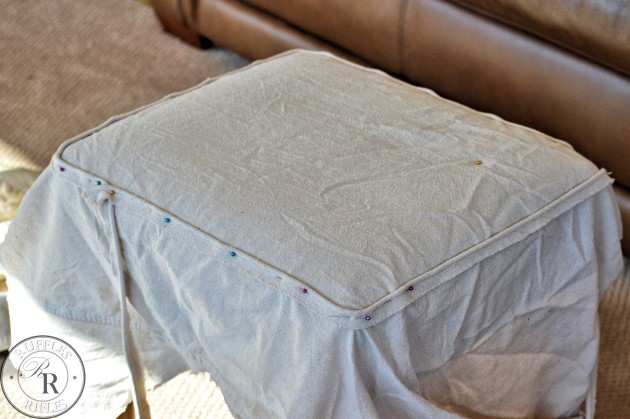
So when we make slipcovers the approach is the same. Custom made. After the large piece is draped over the top, you will begin pinning your welting (or piping) along the edge. (I already had welting pre-made for another project so this step is omitted. I can show this in another tutorial, and in the mean time, there are a lot of tutorials that can help you with this task.) This ottoman was slightly lower on one corner, but it looks good because it is fitted to the imperfections.
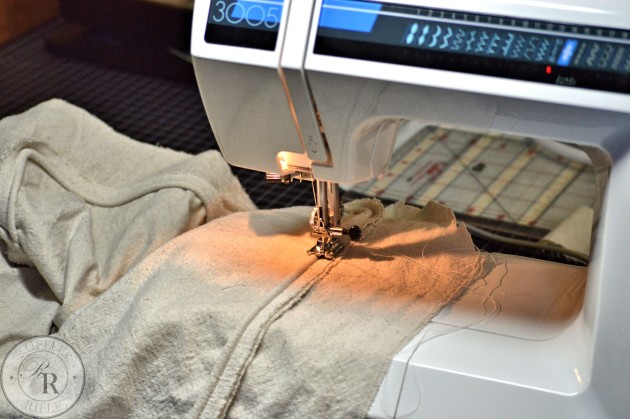
Next you are going to sew the welting on to the top layer. I use a piping foot, and I highly recommend getting one if you don’t already have one. It makes the welting/piping always look tight and professional. Trim the excess fabric from the top to 1/2″ around the seam.
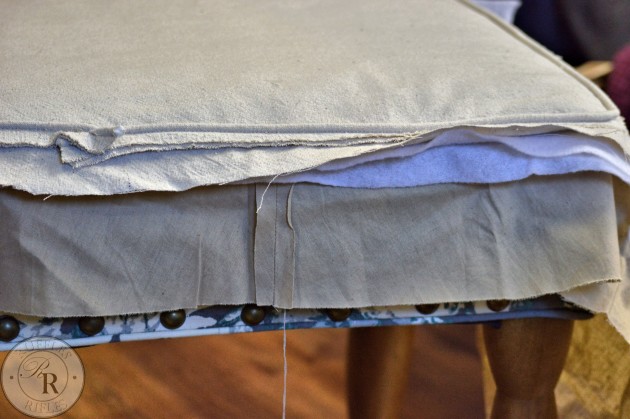
Next I added two layers of thin batting. This is not a normal step in slip covers, but the ottoman was tufted and I didn’t want it to look sunken in. Upholstery adds batting for a finished professional look, and it really made a difference here. I also added a layer of muslin to finish it off underneath. Sew the layers together.
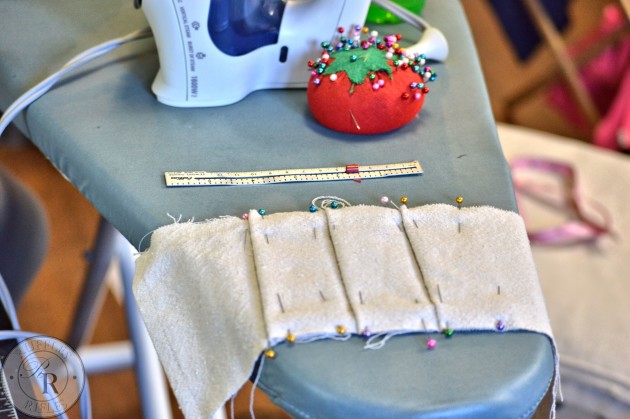
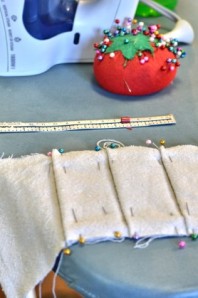
The next step is the most tedious in creating this slip cover, but it makes it! To create the knife please, measure the width you want, and add 1/2″ per seam allowance (1″ total). Then you are going to pleat and pin and press. My pleats were 1 1/4″ each. I don’t have a magical formula for the length (I don’t like math), I just kept adding it until it fit all the way around.
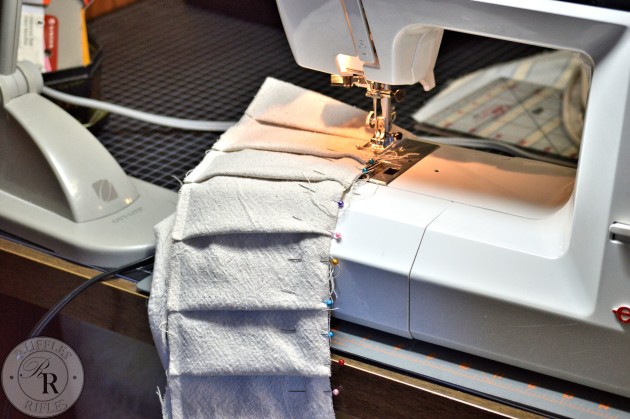
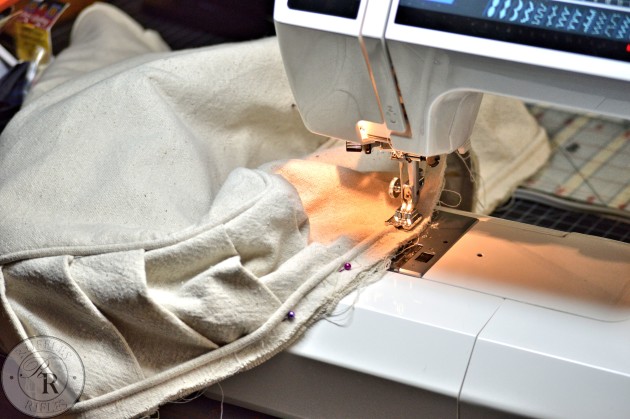
Baste your pleats and get rid of those cumbersome pins.
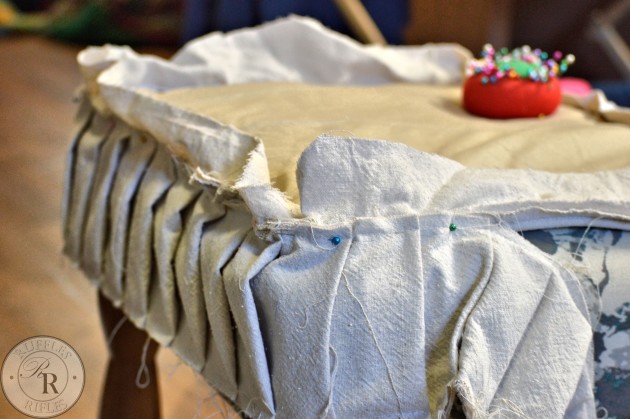
Pin your long knife pleated piece to the top layer on the ottoman. When you get all the way around fold it to look like the start and finish are seamless. Sew the ends together. Then sew the knife pleats to the top with your piping foot.
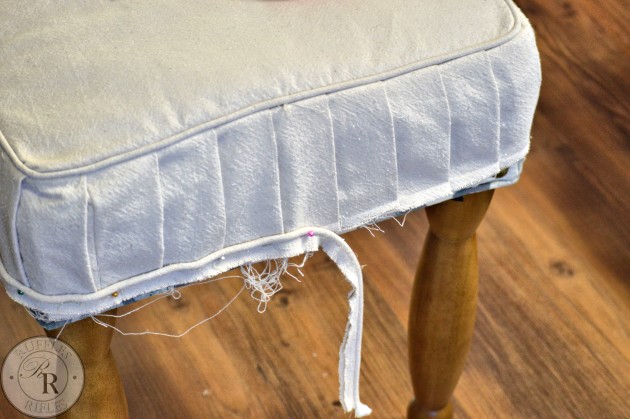
Add another cord of welting and pin it on.
Sew this together.
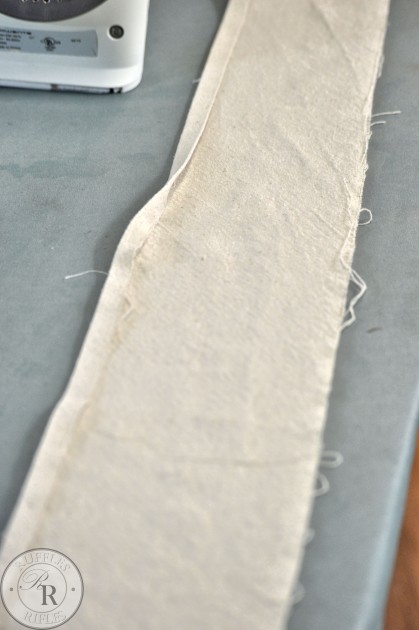
For the pleated ruffle at the bottom of the slip cover, you will need to finish it off with a 1/4″-1/2″ narrow hem. Then you will pleat it in the same method as the previous layer. The more accurate your meaurements, the more evenly they will measure up and look professional.

Pin the pleated ruffle to the last welting and sew.
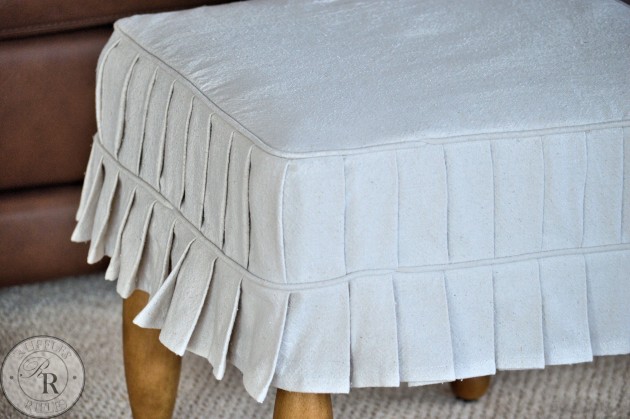
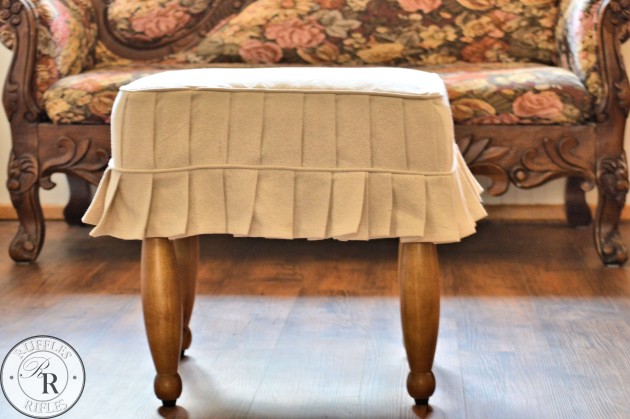
And there you have it! A beautiful, washable slip-cover for your ottoman.
2 Responses to Recreate: An Ottoman Slipcover Tutorial