The Table That Taught Me About Process
Several years ago, my mom was at a mutual friend’s house and heard they were getting rid of their dining room table. She told me right away, as it could extend a long ways, it had two leaves, and could sit maybe 10-12 people around it. At the current time we had a little military drop leaf table, which was solid wood, and well made, but the most it could fit around it was 6 people. With a growing family, and having friends over that all had growing families, it didn’t cut it. We had to break out the wobbly card tables to extend the table, and I’d throw a table cloth over to make it seem a little less, hokey.
So I told my husband about the prospect of the “new” free table, and he went over to get it, sight unseen. I don’t usually like getting things sight unseen, but my mom had seen it, so I knew it wasn’t terrible, and the fact that we could fit at least 10 people around, that I was excited about.
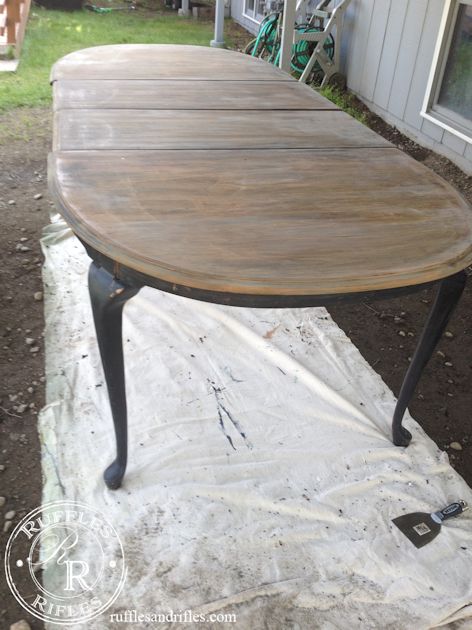
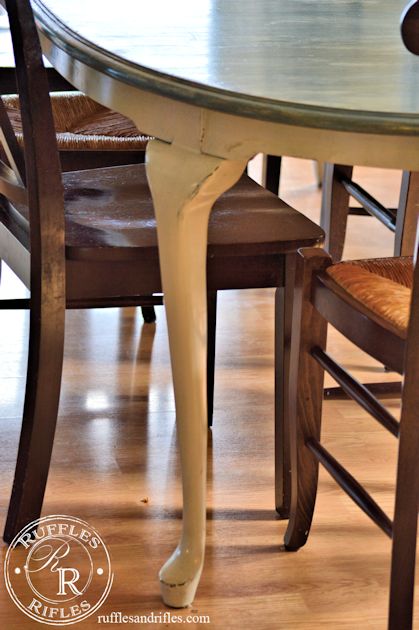
The moment of truth came in the door a little while later. I was pleased. It had Queen Anne style legs, and it was just long and oval, and had at some time been refinished in black paint. That was perfectly acceptable. The man who gave it to us said he had always wanted to re-finish it in a mahogany stain. I knew I eventually wanted to refinish it.
I waited a couple of years, and really decided the finished look that I wanted to go with. In fact, for a whole year I imagined this table, with a dark stain on top, and distressed ivory legs. A french country table of course.
So last summer, the day arrived to finally tackle the table. My hubby helped me carry it outside. I bought paint stripper, stain, milk paint, and all the needed accessories. I watched several tutorials (mostly from Miss Mustard Seed) on how to strip paint and clean a surface ready for refinishing. I got to work, hoping it would be a process of 3-4 days. After all, we were without a table, and it just upset the peace and order in our home a bit.
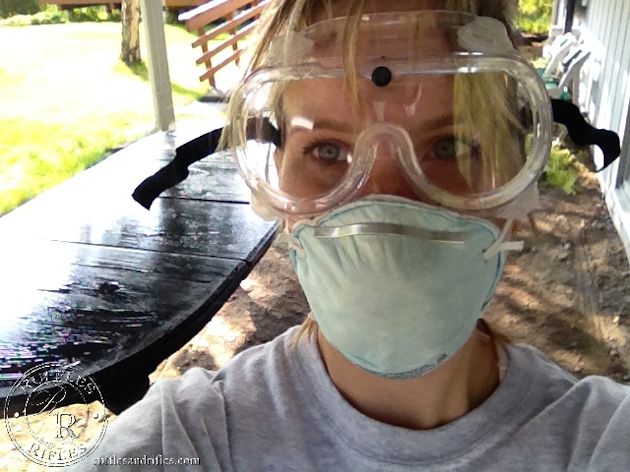
The only “before” photo of the table, with paint stripper on it. I don’t know why I felt inspired to take a selfie at this point.
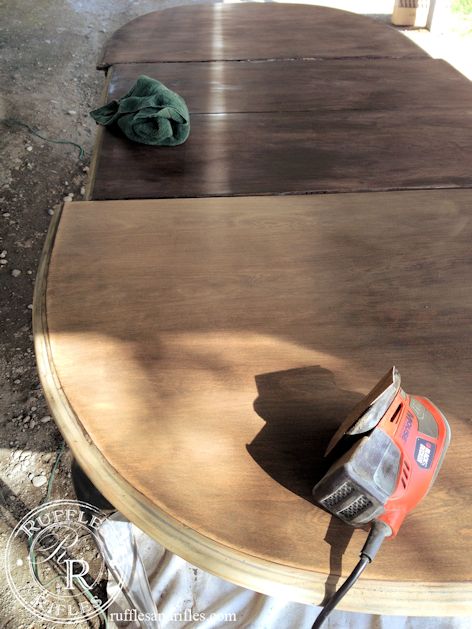
I stripped it with paint stripper, and used paint thinner to clean it really well. Then I took out the rotary mouse sander and sanded the table down, I couldn’t wait for the rich dark stain to penetrate the wood, and give it “a glorious transformation. It was A LOT of work! After I stripped the table top I came to a realization I was not prepared for. The table was not solid wood. It was pressboard, with a layer of veneer over the top. So the pretty curved edge wouldn’t absorb stain properly.
I was so sad, I felt like a failure. How could I be so dumb to not discover the reality of the composition before I dove into such a huge project and invested hours and hours and $ to refinish? I wanted to throw in the towel. It wasn’t going to be all that I imagined.
But, we still needed to eat on something, so I went to our local store that sells milk paint, I hoped to find some brown so that I could at least make it look like stain. But they didn’t have anything close, brick red was not going to cut it. So then I started thinking about a french blue. So I bought some and some stormy grey and thought maybe a layered french look wouldn’t be too bad.
I came home, still disappointed. I started looking on craigslist for a new table (there aren’t that many long tables out there). I thought I’d try one more thing. Maybe I could still stain the veneer, and just paint the curved edge? At least it would be closer to my vision. So I stained the top. I was excited. It wasn’t exactly what I was hoping for, but I thought it could work.
I did two coats of stain, and waited a day. I came out to view my work in progress. It was then that I discovered a very blochy finish. I stared reading about staining and realized that when re-staining furniture it’s good to first apply a conditioner so the end result isn’t uneven and blochy. I was sooo frustrated, and I knew I was enough of a perfectionist to just leave it would frustrate me every time I looked at it.
So, I started sanding again. I would get that conditioner and start over again. But the sander kept gumming up, and I realized the dark stain had completely penetrated the thin layer of veneer. My dream of a stained table top was quickly waning.
I called my mom crying (probably more than once, she’s used to me). She asked if I was learning anything? Well, yes. “Then it’s not a failure. Just count this as a learning project.” But I didn’t want to learn in the process! I wanted a perfect table! Then the Lord started talking to me about process. I was about a week in at this point. Nothing was going as I had planned. And He, in that still small voice was whispering things about it not being about the product, but the process.
Who was I becoming in the process? Was the hard stuff, like sand paper making me more beautiful or bitter and frustrated? I’ll never forget, telling the God of the universe, “but I don’t like the PROCESS, I want the end PRODUCT!”
Funny thing, the whole dining room table which I thought would be a 3-4 day process took about two weeks. My house was disheveled for two weeks. My plans, kept changing and the finished look had to keep evolving. I had to go with plan B and C and G.
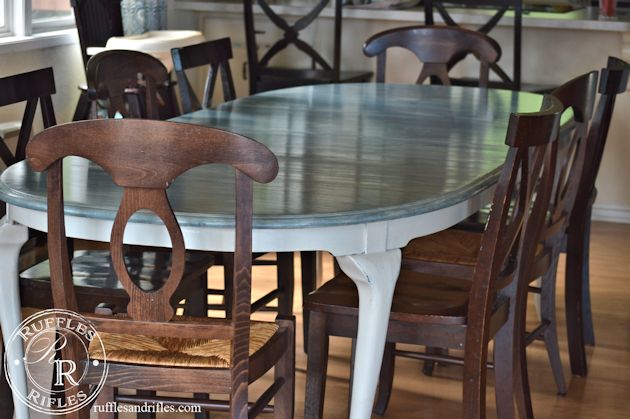
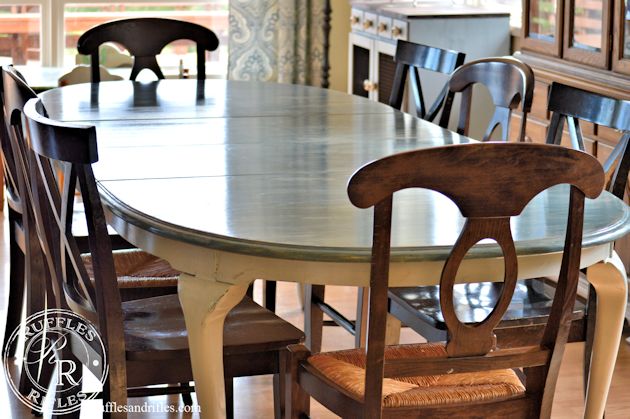
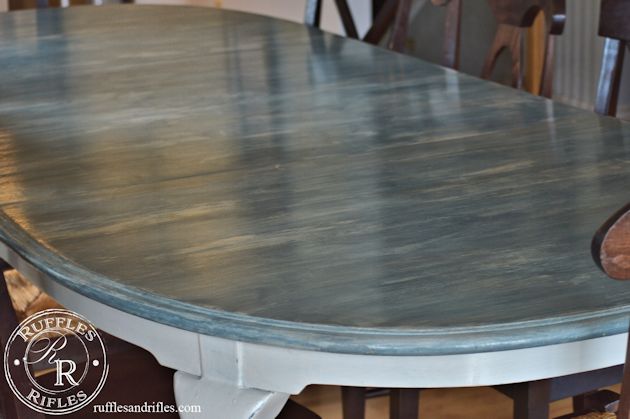
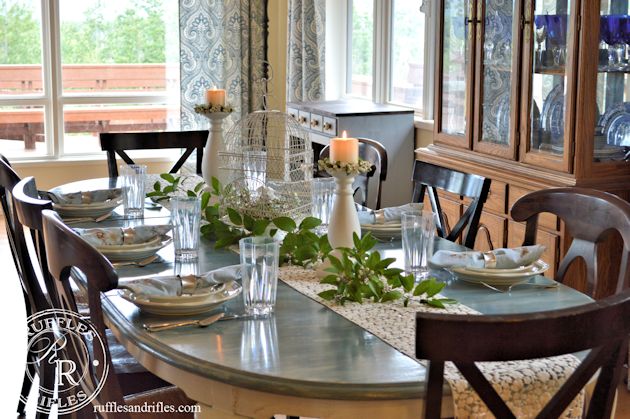
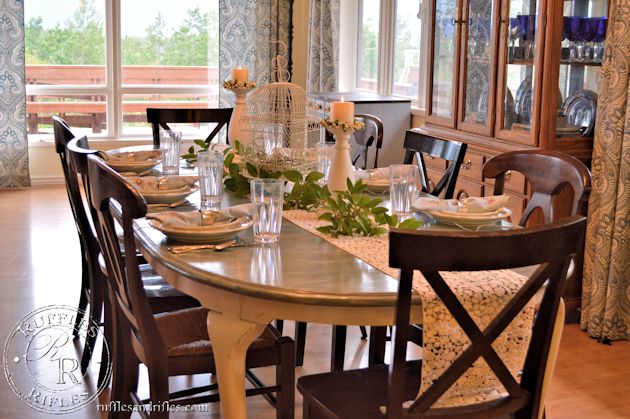
In the end, I did layers of grey and blue milk paint. It took several days, and playing with it. Milk paint is only done when you like the end result, otherwise you keep going. So I finished, and as a plan G, I was satisfied. I do love the buttery smooth feeling of milk paint. I finished it with a matte paste, I did not want it shiny. I asked the ladies at the store about durability. They thought it would be fine. I put the top finishing protective paste layer on, and the look changed again, it went from a more subtle variegated look to a more contrasted variegated look. Not what I was going for, but at this point I was done. Then after a month, I knew the finishing paste was not durable. I had been hounding the family about using place mats and not dropping water, and I knew I didn’t want to be that hyper about a family table. I want things to be pretty and I want them to be practical for our family.
So two months after the two week process, the process continued. Because really, the process is never over. There’s always more. More to improve, more to fix, more to make beautiful. I got some polycrylic and applied six coats (think four-boy proof). And, I honestly don’t love the poly look, but I love not being paranoid and hyper at the table. We spend a lot of time around the table. And I want it to be a happy, family table. For that it is perfect.
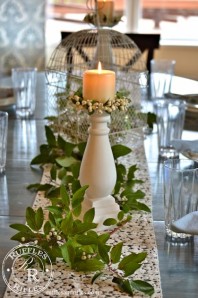
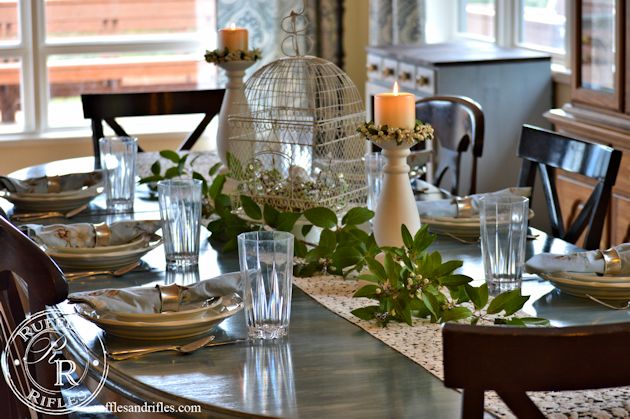
As I was setting the table for staging a pretty table scape, my boys couldn’t wrap their heads around why I would be setting the table so nice when no company was coming for dinner. “Why are you setting the table???” My deprived boys, they don’t have sisters to know girls like to play house. I had gone to the store earlier to look for a nice fresh bouquet of flowers. But none of them looked good to me (that may be due partly to the fact that by the time cut flowers reach Alaska they’re already a good 5 days old).
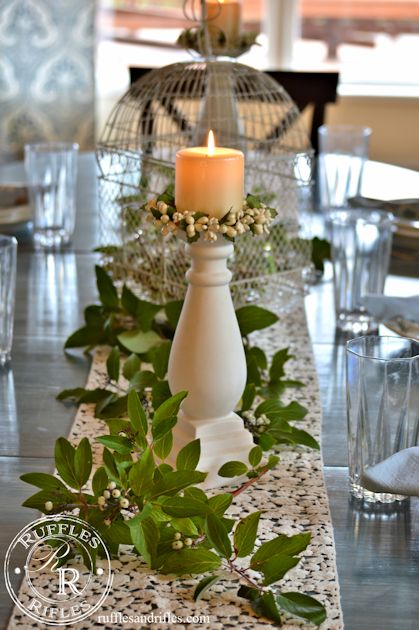
So I came home and did what I always do for tablescapes, cut things from trees and dig through my closets and make up a new piece of art. I don’t think I’ll ever grow out of playing house. Then one boy came up the stairs as I was photographing, “Mom! The table is beautiful!!!! Come look at the table!” he called to his brothers, “It looks pretty like at Christmas!” They were amazed, and they begged to eat dinner like that, so we had a beautiful dinner on a random Wednesday night. It was delightful. Maybe I should play house with the table more often.
I am still keeping my eye out for another large table that could be my vision of french country perfection. In the mean time I’m grateful. Grateful for what we have. I get compliments on the table nearly every time someone new sees it. Someone once asked me the techniques I used to achieve that look? A long process that didn’t go as planned but turned out looking like this.
I’m thankful for the two week process that I learned that life is more about process than the product. I am embracing the process a lot more these days. And who knows, maybe next year I’ll refinish it in Miss Mustard Seed”s “Curio” (her brown milk paint), or find the perfect table on craigslist.
It’s all a process.
Thanks for stopping by.
This post was featured by: From My Front Porch to Yours
Linking with:


15 Responses to The Table That Taught Me About Process