


Original Hem Tutorial
Hello everyone! I am quickly using up my stash of posts in my blog queue as we continue to renovate, pack, and get ready to move and turn our house into a rental in the span of the next week to three weeks. It will actually be a very unconventional move as we are actually trading places with our tenant (crazy, I know), we don’t have a moving date, but “moving weeks.” So coordinating renovations, cleaning, etc is a bit crazy, especially when we don’t want to displace our family or our tenant for a normal length of time as we get things ready. So bare with me, I may be missing here or there in the next month. But I promise I will be back.
This is how our house is looking these days. Piles of boxes packed and boxes ready to be packed. Our downstairs is pretty bare, and this week I’ll work more on the upstairs.
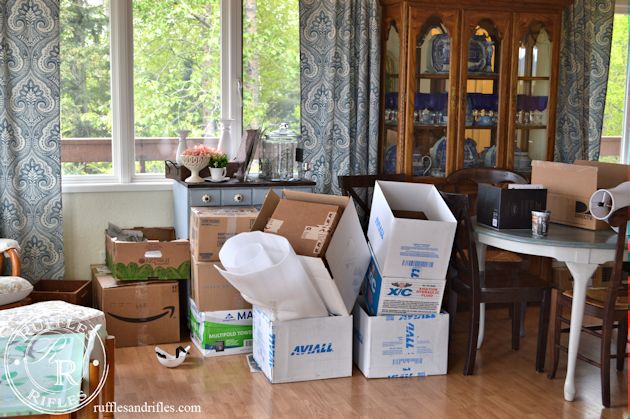
How come photos like this are never on the front of magazines? We only see the pretty, but, this is part of the process.
Recently I got a message from one of my best friends via Pinterest. She had attached a message to the Pin, something that was about hemming a pair of pants and leaving the original hem. Her question was basically, I have a lot of pairs of pants I need to hem for my husband, is this a legitimate method?
So I answered her right away. First off, the answer being yes, I have used this method for several years and LOVE it. It is my favorite way to hem jeans, it is by far the easiest, and it allows the wearer to try on the altered pants, before any cuts are made! My greatest fear in altering is always making a pair of jeans too short. But with this method, that fear is completely alleviated. This will not work on a pair of nice slacks or something that requires a nice hand-sewn hem, well you could I suppose, it just might look really ridiculous.
This method puzzled me for years. I remember buying a pair of nice jeans at Nordstrom after I had my first baby and was down with most of my weight. They asked if I wanted my jeans hemmed. Of course I said no, because, hello, I can hem my own jeans, and I wouldn’t have to drive an hour back to get them (Anchorage is an hour away). But the thing that puzzled me is, they would do a regular hem for free, or leave an original hem and charge $20. The illusive method puzzled me for quite some time, until one day, standing in a coffee shop, a friend who professes to barely sew at all showed me how easy it was to hem with this method. (She’s on the shorter side, like me. Us shorter people have this issue of needed pants hemmed, a lot).
So from that day forward. That’s how I’ve hemmed jeans. It’s so incredibly easy, you seriously probably only need beginning to beginning-intermediate sewing skills.
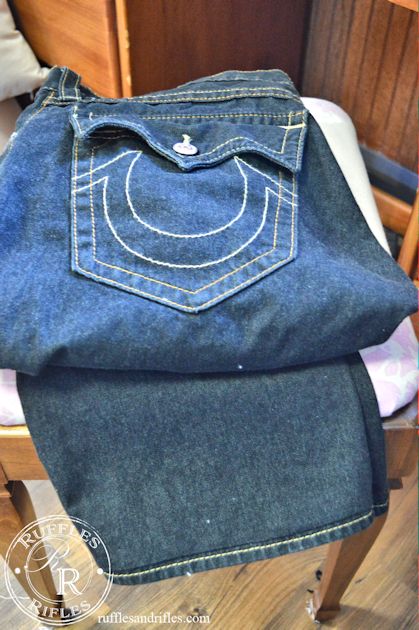
My husband, although around 6′, always needs his jeans hemmed, he has a longer torso and shorter legs. He finds most of them at Nordstrom Rack, and brings them home making comments like “I wish I new someone who could alter my jeans…” So I always wash and dry them, and then sometimes they sit for days (or in some cases weeks, I don’t really find that hemming is a great creative outlet, but a necessary task), and I have him try them on to fit properly.
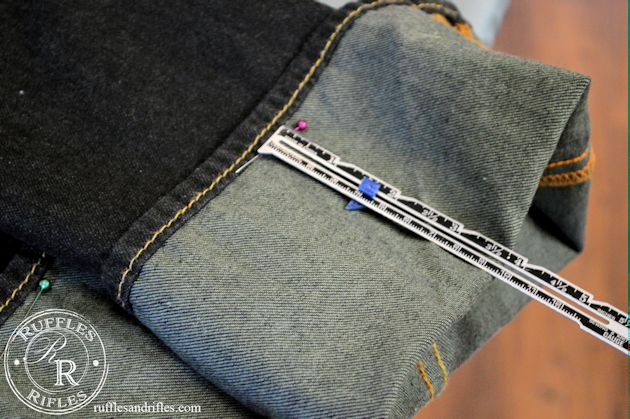
First off, have your subject try on their jeans. Fold up the jeans to the length they want them. Then measure the distance from the floor (or wherever the appropriate length would be) to the top of the original hem. In this case it was 3 3/4″.
(Please also note, most people are not perfectly symmetrical. I learned this in my sewing class in college. In fact, my first bridesmaid hem alteration I thought I had ruined the dress because on the hanger, it looked really crooked. But you always hem from the floor up. When she tried on the dress, and confirmed that she had a bent spine, the hem looked perfect. When hemming my own jeans, if I want them perfect, I know that one leg needs to be hemmed an 1/8″ longer than the other. It’s not uncommon at all.)
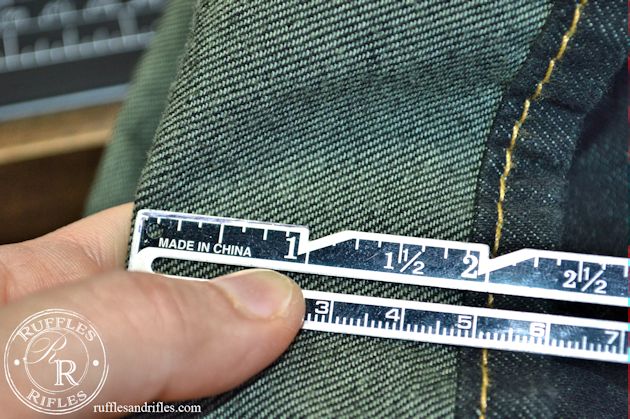
That number that it needs to be taken up, now is divided in half (I know, cringe, math!). You will measure that halved number from the top of the original hem to the fold. In this case it was 1 7/8 inches. This is the amount of the pant leg that is essentially being extracted to make the perfect length.
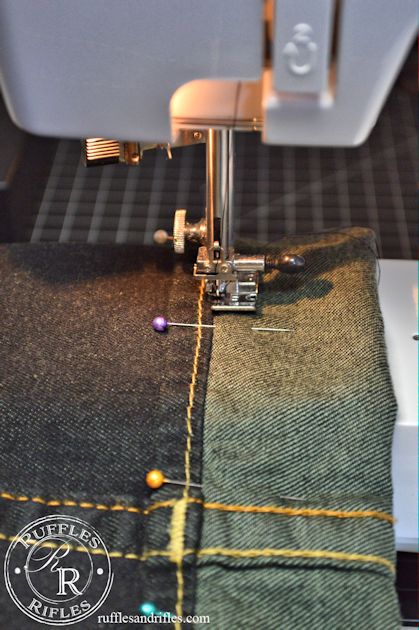
Pin both pant legs at this length.
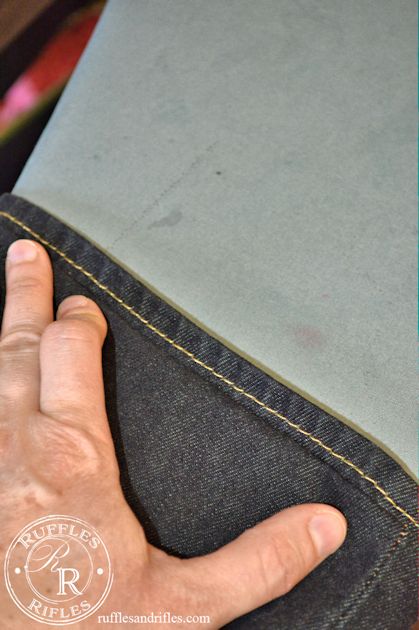
With a zipper foot, so you can get close to the original hem job, sew right along the edge.
Take your pins out and turn the “extracted part” up into the pant leg exposing the original hem on the bottom. Have your subject try it on to make sure it is perfect length. (My hubby always skips this part and says he trusts me. I never skip this part when doing my own jeans. I guess it depends on your perfectionism level.)
Now you will need to cut of all the extra fabric. I like to leave about 1/2 inch seam allowance.
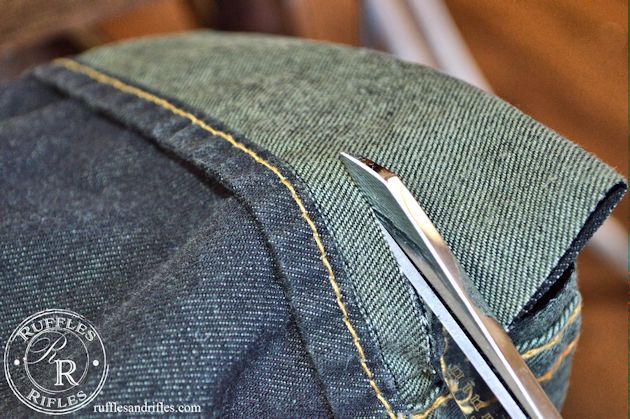
Then serge, zig-zag, or over edge the seam allowance to keep it clean.
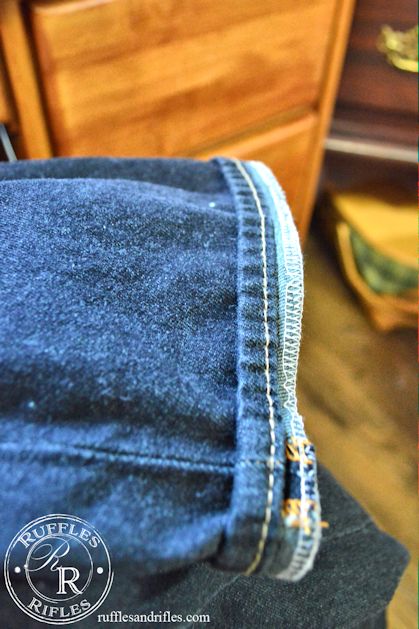
Turn your finished seam allowance back under and iron to get a crisp, flat seam line.
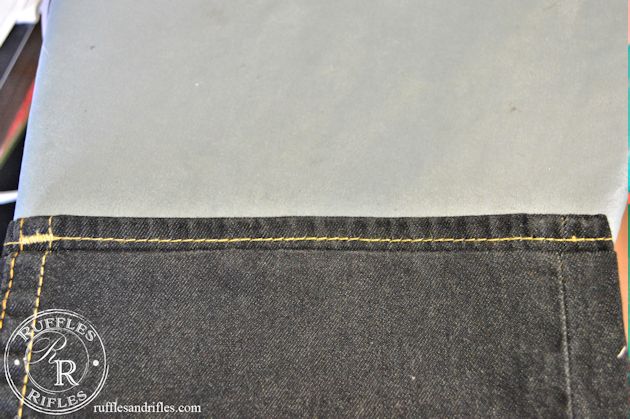
After that is done, I like to tack the sides in along the two seams, just to hold the newly finished seam in place. You don’t want your hem flipping up.
And, you’re done. As easy as that. Perfectly hemmed, designer jeans, just like they do it at Nordstrom. You don’t have to worry about cutting too much off, or finding the same color of topstitching thread. It’s done.
As always, if you have any questions, please do not hesitate to ask.
Blessings,
Cheryl
2 Responses to Original Hem Tutorial