Glider Rocker Makeover
Well, we are approaching the final countdown in our last weeks in our current home. With the excitement of the move, and more space, we also have the stress of so much to do! I have continued packing and sorting, the new décor in our house has become giant cardboard blocks and bare naked walls. All I can say is I’m grateful it’s temporary and for a greater cause. My husband has been hard at work doing some renovation in the lower level of our new home, it’s been feeling pretty non-stop. So, for my own sanity, I have to reward myself with every so many boxes packed, time to create. Otherwise, I would be really grumpy, and so I figure it’s best to just keep fitting in a little bit of creating time here and there, for may own sanity.
As you may have noticed, the way a piece of furniture looks is very important to me. In fact, my husband likes to tell people how it took him 10 years before he was ever allowed to have a recliner. When he did finally get one, I insisted that it be a refined looking one with brass buttons and claw feet, an overall classy feel, like it could reside in an English study. No boxy, rocking, velour recliners — I think they’re about the ugliest piece of furniture out there. I finally relented on the more refined one, because I knew it was very important to my husband, and we found a way to compromise.
But in the feminine world, of motherhood and nursing, there is a piece of furniture that also seems to lack beauty. But a glider rocker is so comfortable and practical. We bought a high end glider second hand eight years ago when I was pregnant with my second son. While it has never been anything to look at, it was always my go to chair, like a comfy pair of yoga pants. It was a cream colored upholstery, so even professional cleanings after a while didn’t do the trick. My husband pointed out several times in the last year that it was the last eye sore left in our living room. And it was. It kinda sat off to the side, and being the unsightly one, it was pulled out of view whenever I would photograph the living room.
When Christmas came around and the tree went up, the glider rocker went downstairs. Downstairs, closer to my sewing room where I started envisioning a change for this blessed chair. While it would never be a classy French chair, it will always be my favorite comfy chair, the one I nursed three boys in, and read to them, and rocked them in the middle of the night.
I couldn’t figure out what I wanted to recover the chair in. I wanted something light, but I do know the result of 8 + years of light upholstery. I bought some brown micro-fiber type fabric at JoAnns, but decided it really wasn’t me, and a few weeks later donated the yardage to my favorite thrift store. (Luckily it had been on sale, so it was only about a $16 mistake). Then, a few weeks later, my dear cousin stopped by with pieces of fabric she was cleaning out of her stash. “Do you like this one?” I did, and within a 24 hours had decided it was for my glider rocker. There wasn’t enough of it, perhaps a yard or more total, so I bought a tan stripe to coordinate. Turns out, I love the result.
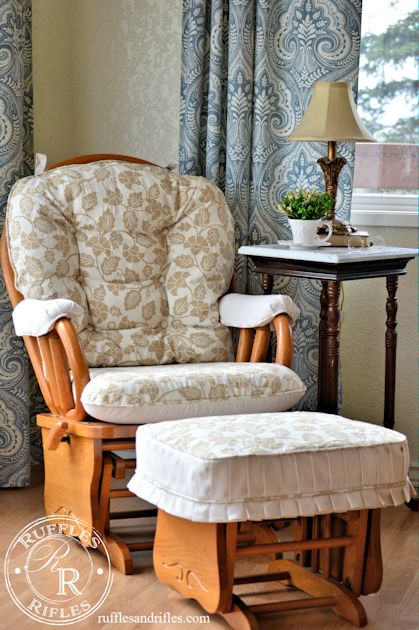
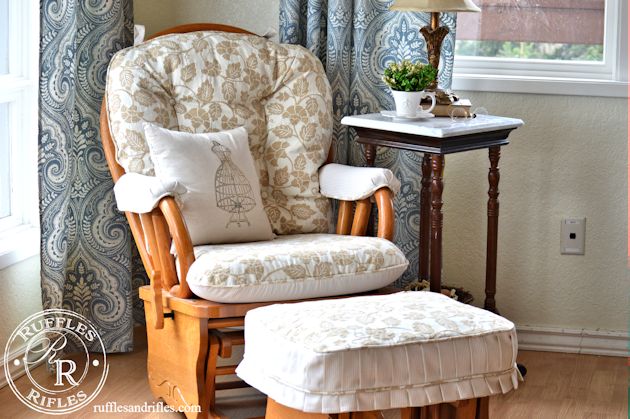
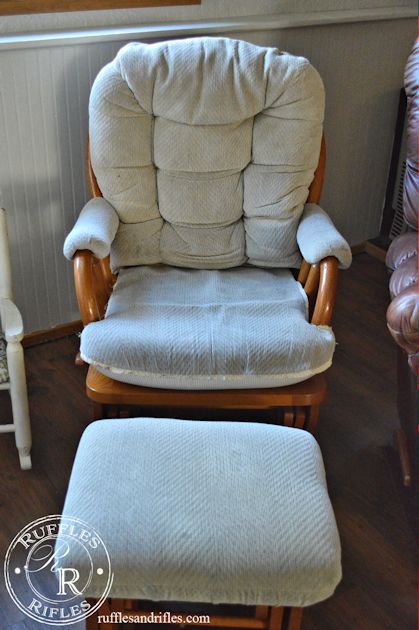
Of course, I had completely taken apart the bottom cushion before I remembered to take a before picture. You can see, it was quite discolored, from years of dust and dirt and I think the dye from jeans.
I recovered the bottom cushion by taking apart the original and using that as a pattern. I even re-used the zipper. I also added piping to the whole makeover. It just gives a sense of structure and a striking professional look, especially when I had two contrasting fabrics, it tied it all together.
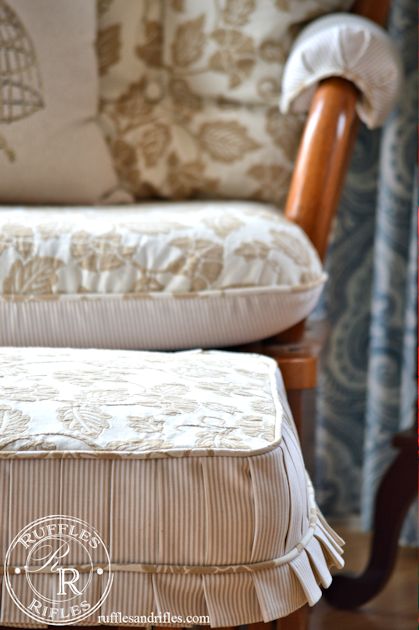
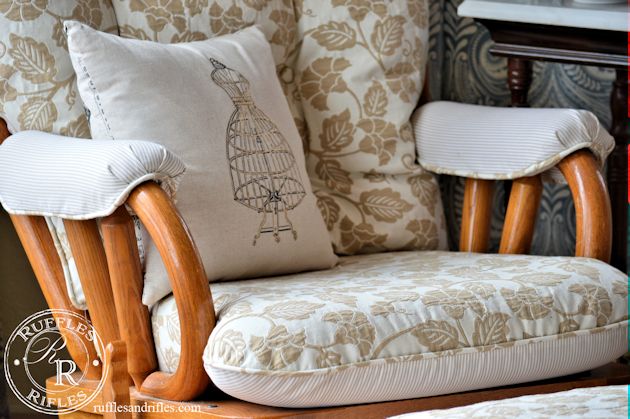
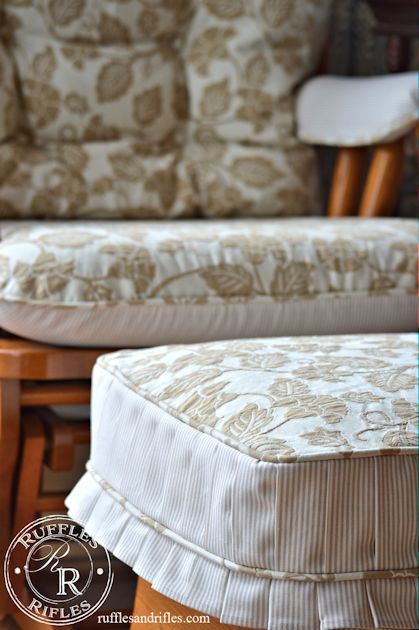
The rest of the recover job, I formed as I went, more like I was making a slip cover. I have to say, I looked at a lot of recovered glider rockers on Pinterest before I started on this. And I was a little concerned, because, honestly, I didn’t find even one that I thought looked good. (So I’m really picky, I don’t want to offend anyone, truly, just my perfectionism coming out). I think the key to recovering a glider rocker is to be sure to put in the same shaping lines, darts and pleats, stitching, and in my case I added buttons where it was tufted before. Without that, it would have looked exceedingly homemade (which is never the goal).
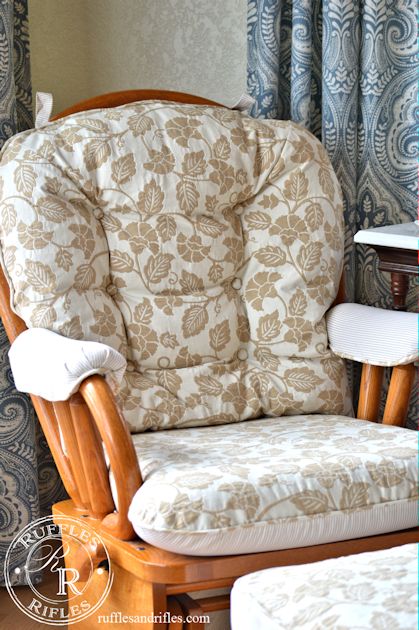
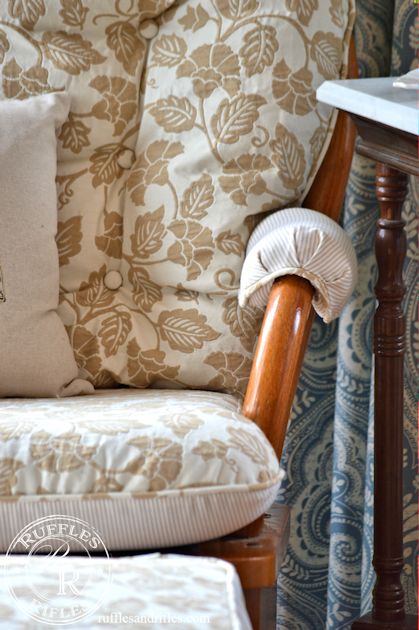
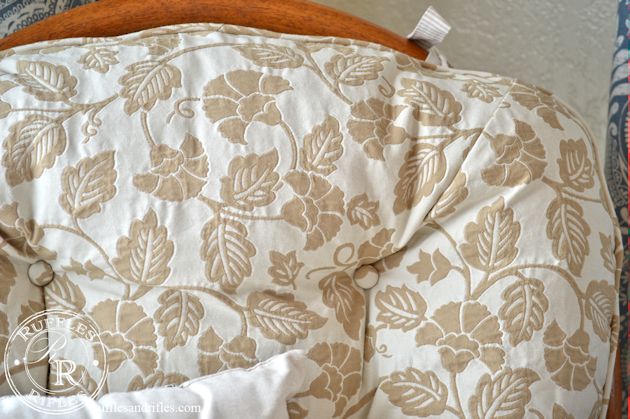
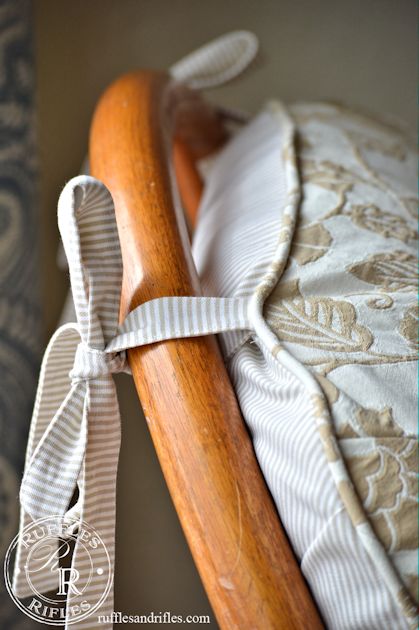
The original glider top cushion had snaps attaching it to the top. I decided to go with the feminine look and make some ties.
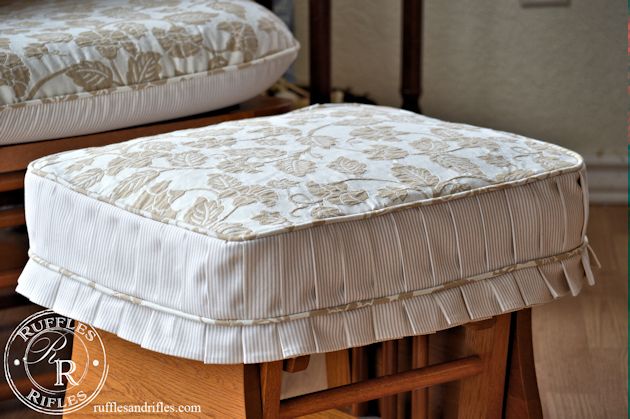
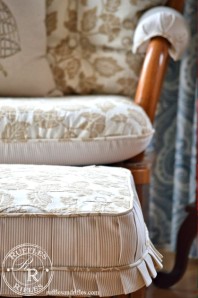
I thought about just reupholstering the ottoman, but decided a slip could be easier to clean, and more feminine with a pleated skirt. At first I made it without the extra pleats, and it just looked boring. I wanted to tie in the pleats that were on the arm rests. Besides that, Terry at The Curator’s Collection has done several re-upholstery and slipcovers that she did extra pleating, and frankly, she has inspired and ruined me for any ordinary slip cover ever again. They take a lot more time and a lot more fabric, but in the end, it’s like the difference between JCPenney and Anthropologie. The details make all the difference.
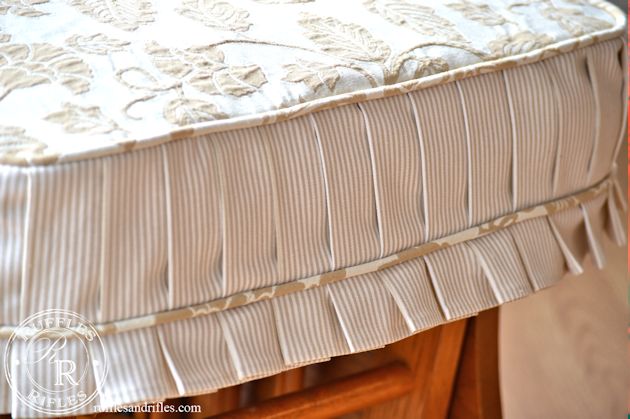
I also sprayed some scotch guard on the fabric to hopefully repel the inevitable. For the most part, it is my chair though, so, I am not too worried. Also being two toned, it also has capability of camouflaging better than a single light tone. Our duvet cover colors are the same, and I am amazed at how good it still looks, with gym bags and luggage being placed upon, and boys lying and cuddling and/or wrestling on it.
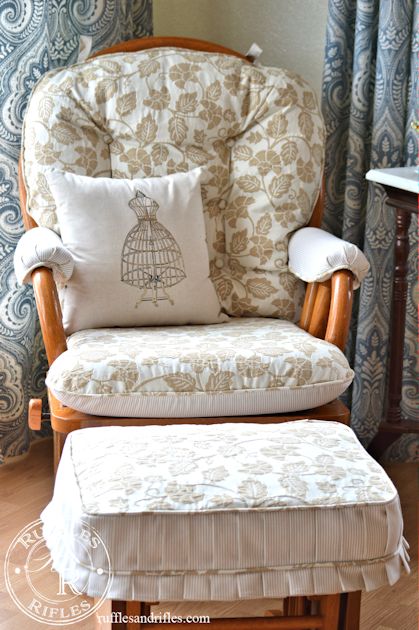
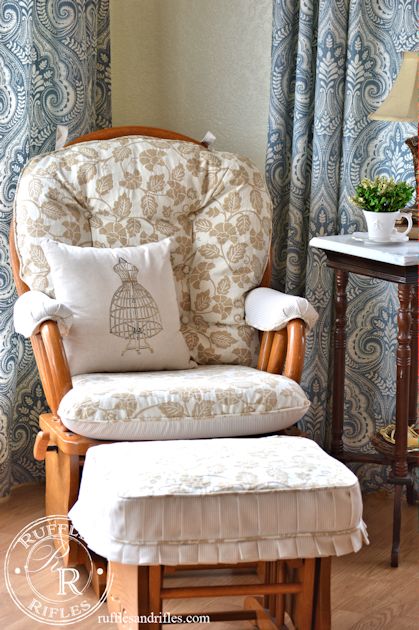
The throw pillow is from JoAnns. I rarely buy a throw pillow, but this one had my name all over it. I couldn’t resist.
I’m super happy with the end result. Now my glider is beautiful and comfortable, perhaps it’ll last me another eight years….
Thanks for stopping by, as always.
Have a blessed day!
Cheryl
Sharing with:


10 Responses to Glider Rocker Makeover