Sneak Peak of the Nursery and a Crib Sheet Tutorial
You may have long given up on seeing the nursery. I know, I promised a reveal over a year ago. And I can assure you, it is coming. It is unquestionably the sweetest room in the house. I still am so delighted that I got to do a girl nursery.
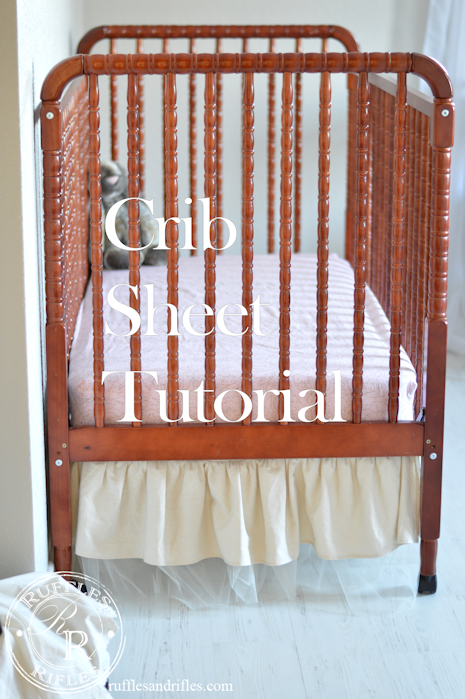
One thing I did in the process of making a very custom nursery both for my daughter, and our all of our sons, (see our last boy’s nursery here) is I made crib sheets. Sure you can by crib sheets anywhere. But with the all the safety these day of leaving a crib empty of blankets and crib bumpers, a unique crib sheet is a way to make a simple and practically safe statement in a nursery. It is also a super easy project.
Here is another sneak peak of my sweet girl’s nursery. I love walking by the open door. It brings me so much joy. The soft femininity speaks not only my creative language, but it speaks of a story of a promise fulfilled. You can read more about the story of our daughter here if you missed it last year.
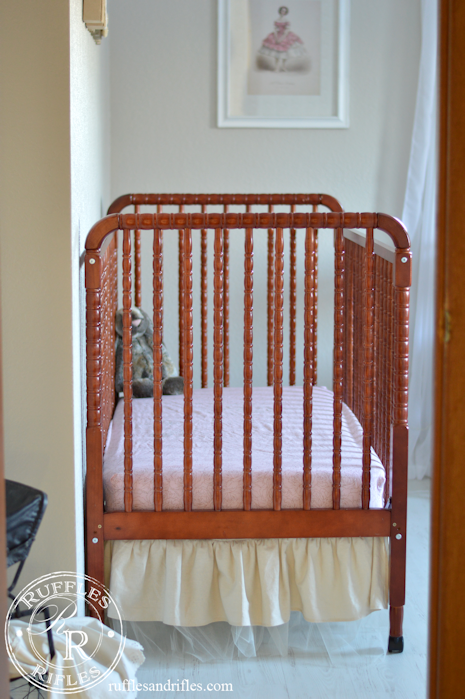
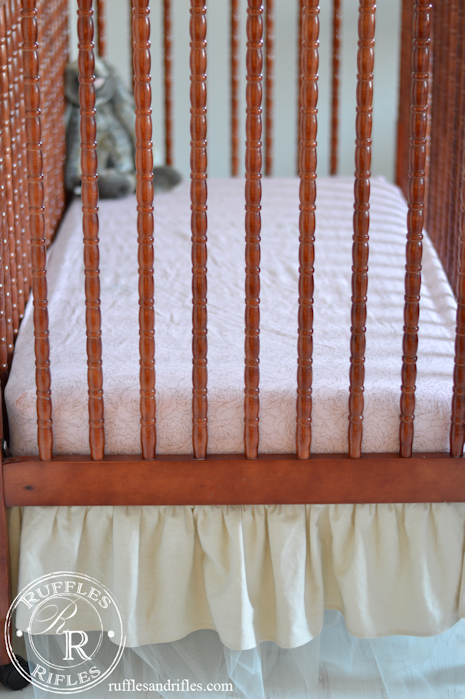
I made a couple of sheets, so we could always have a spare. I also made the tulle and linen crib skirt, simply because I had a girl, and I could. And that antique doll carriage, that makes my heart all giddy, it was my great grandmother’s. It’s over a hundred years old! Until recently, it’s sat there telling a story of little girl’s play for centuries. Now I have it hidden as my very mobile 12 month old doesn’t quite understand it’s value.
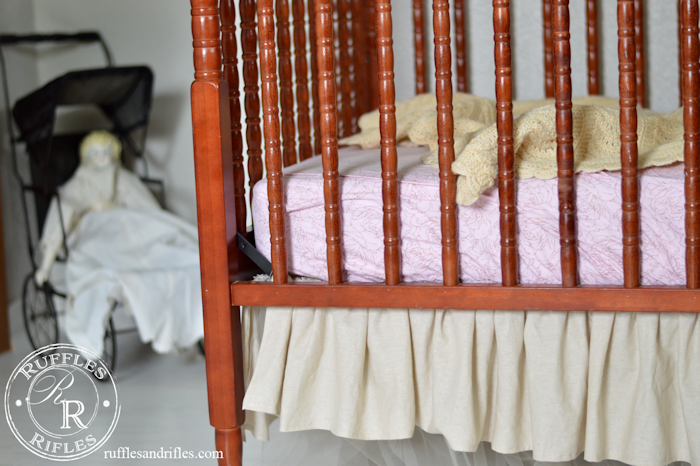
I also made the sheets for our sweet vintage boy’s nursery several years ago. You can see more of that here.
Tutorial – How to Make Custom Crib Sheets
What You Need:
sewing machine
fabric scissors
2 yards cotton fabric
thread
80 inches of 1/4″ elastic
ruler
1 small safety pin
- Cut your piece of fabric in a rectangle of 45 inches x 67 inches. (If the width is a little less than 45 inches, it will be fine.)
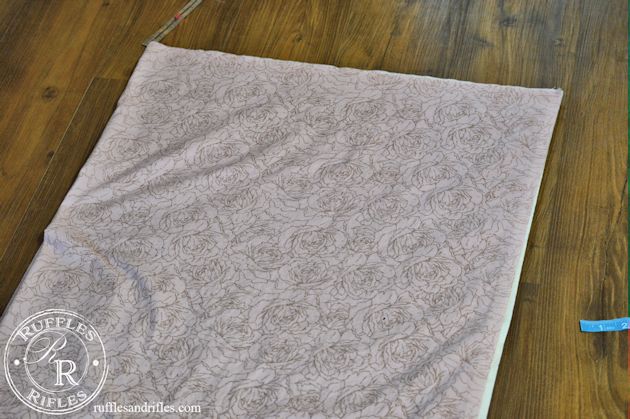
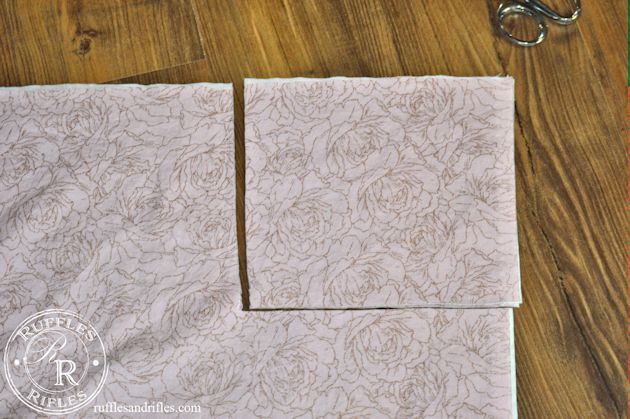
- Cut an 8in x 8in square in each of the four corners of the large rectangle. If you fold the fabric in half lengthwise, you can cut two layers at a time.
- Bring the 8in square piece to form a triangle. Pin and sew with a 1/4″ seam allowance.
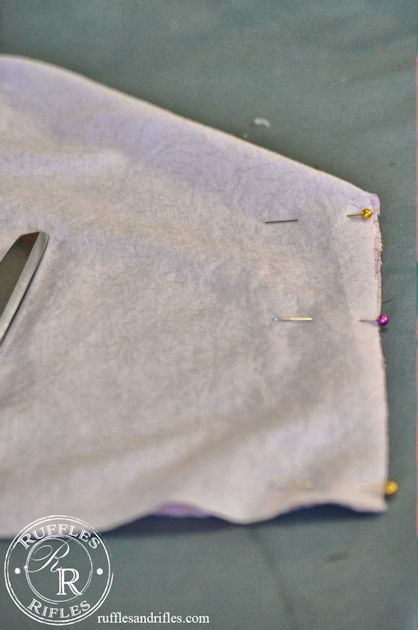
- Serge the edge for a professional finish. Do this to all four corners. Iron the finished seam to the left on all four seams (this will make threading the elastic much easier).
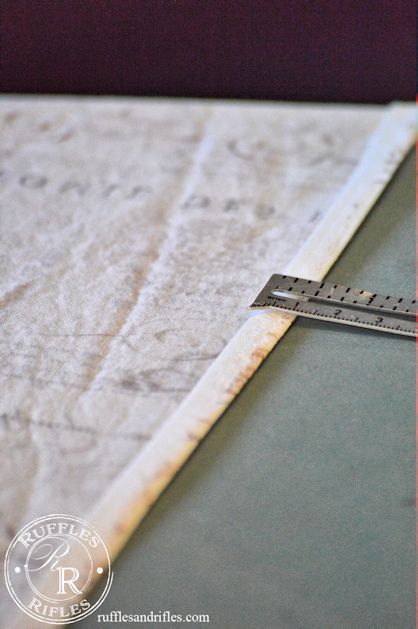
- Fold the raw edge around the entire edge under 1/4″. Fold under another 1/2″ and sew around the edge making sure to provide at least 3/8″ for the elastic casing. Leave an opening of 2″ to insert the elastic.
- Use a safety pin to secure one end of the elastic and thread through the casing to make the fitted sheet.
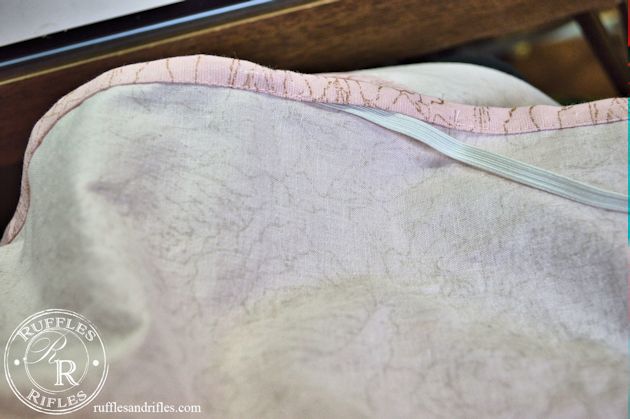
Sew the elastic together with a forward and backward stitch several times. Sew shut the opening. 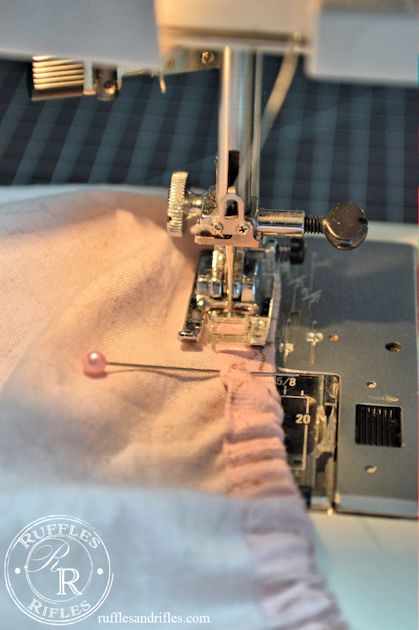
And you’re finished!
Bassinet Crib Sheet Measurements
If you would like to make bassinet crib sheets for a bassinet, or I used a bassinet mattress on my changing table, the directions are adaptable with smaller measurements.
Cut your fabric in a 26″x 39″ rectangle. Cut the squares in the four corners to be 6″. And use 40″ of elastic around the edge.
I hope you found the tutorial helpful. The full reveal is coming soon! I promise!
Cheryl


4 Responses to Sneak Peak of the Nursery and a Crib Sheet Tutorial