

re Upholstery 101 – Part 2
Hello, everyone. And Happy November! I cannot believe we only have two months left this year! Before I get started on today’s tutorial, in keeping with the theme of the month, I want to share something I’m thankful for. I hope that being thankful has found it’s way into your life more than in the month of November. We have noticed a decided difference in our perspective, as we are thankful for the things we have, the things we see, the beauty around us, people in our lives. We’ve watched how being thankful can changed a whining, grumpy boy to one filled with joy. It’s a principle and way of life that is truly life changing.
This week marks six months since the start of my blog. I am so incredibly thankful for the people who have believed in me, encouraged me, and helped me start on this journey. I read several months ago that the average blog last six months. So, I am at least average :), okay, so I’m just joking. But I just wanted to say, how thankful I am for this outlet, and thankful that you my readers, friends I know and don’t know, have joined me along this journey. Thank you for your Facebook “likes” and shares, your comments, your emails, and encouragement along the way. Thank you!
With that being said, today I want to share with you a continuation of re Upholstery 101. If you missed the re Upholstery Part 1 where I talked about things you should know and the supplies you will need, and where to get them, before you get started, check it out here.
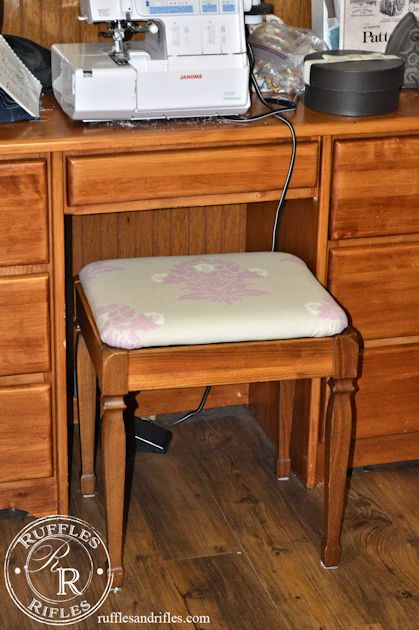
For this tutorial, I have introduced a basic type of reupholstery as you get started on this fun DIY journey, which consists of a chair or stool with a cushion that can be removed. I bought this little stool at a garage sale, fully intending to gift it away.
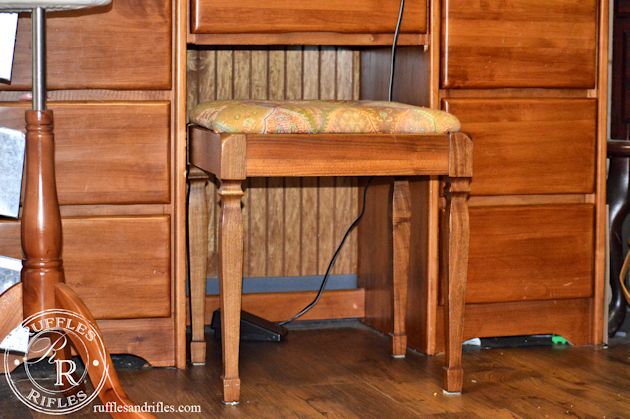
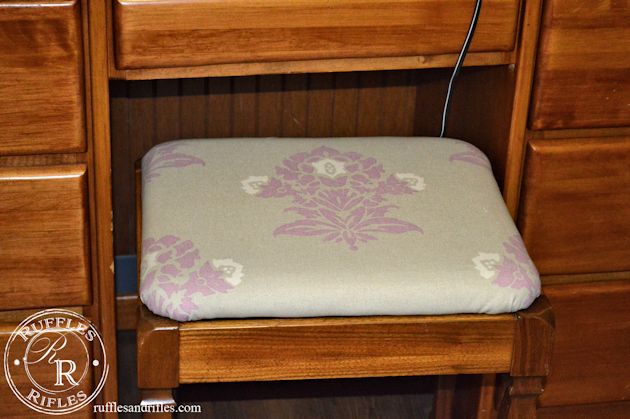
But when I got it home realized it worked so perfect at my desk where my serger sits, that I decided to keep it. It, is even the same orange stain as the desk (which, I don’t like, but I haven’t been able to bring myself to paint over nice wood, yet). There really was nothing wrong with the upholstery in this case, I just thought it was ugly. So I found some heavy weight upholstery fabric that would be an improvement, though, I don’t know if it will last forever. It’s a quick changeover, at any rate.
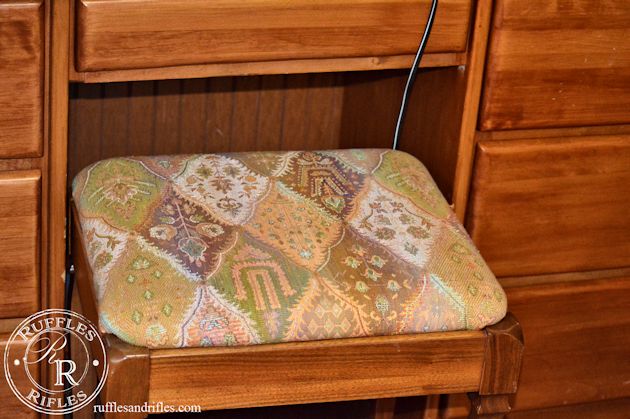
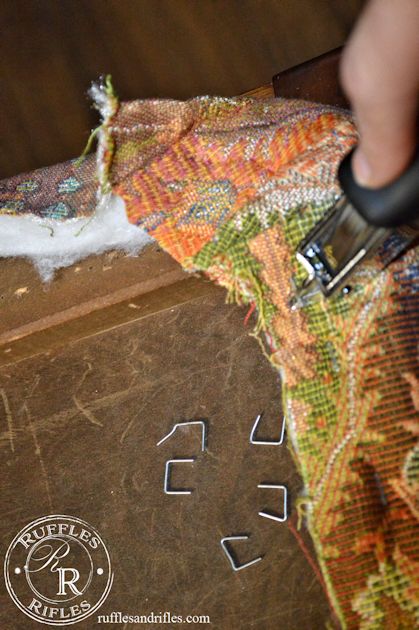
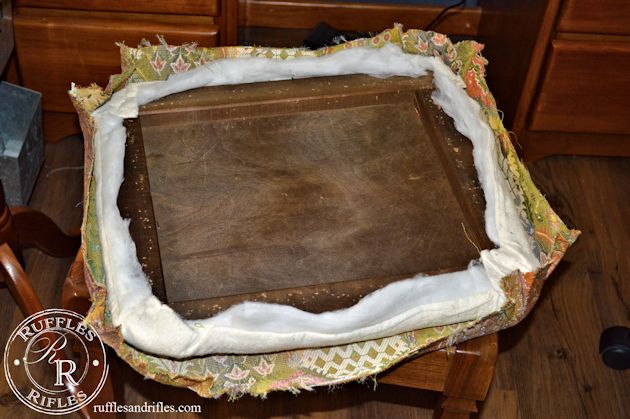
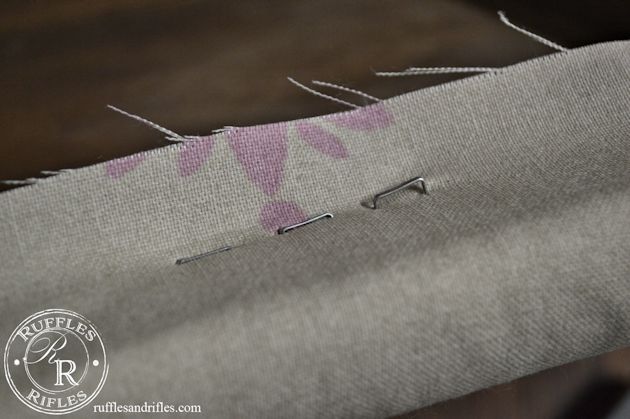
The first thing you will need to do is remove the seat cushion with a screwdriver, or in my case, just take the lid off. From that point you will start removing staples with your handy-dandy staple remover. (A flat head screw driver can be used, but it is not preferable).
Have your iPhone to take photos of how you take it apart. These pictures will aid you in putting it back together as you found it.
Once your staples are all removed, save your old upholstery piece as a pattern to cut out a new piece.
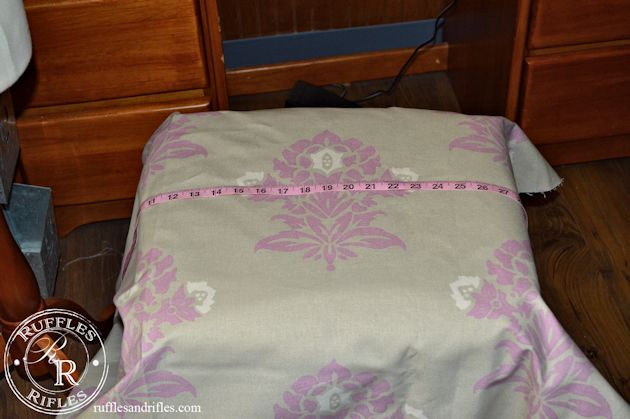
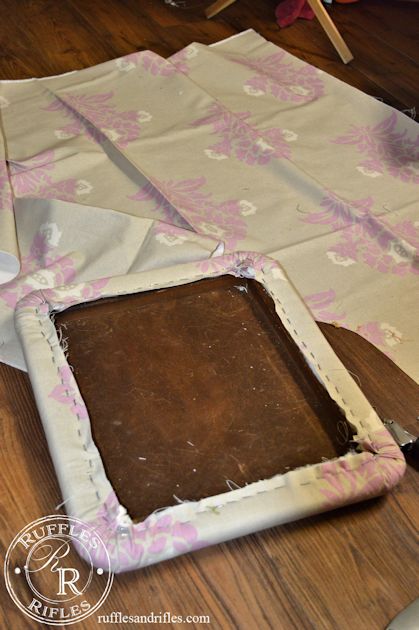
If your new fabric is patterned and you want to position it strategically, lay it on your chair or stool, to make sure you have it centered correctly.
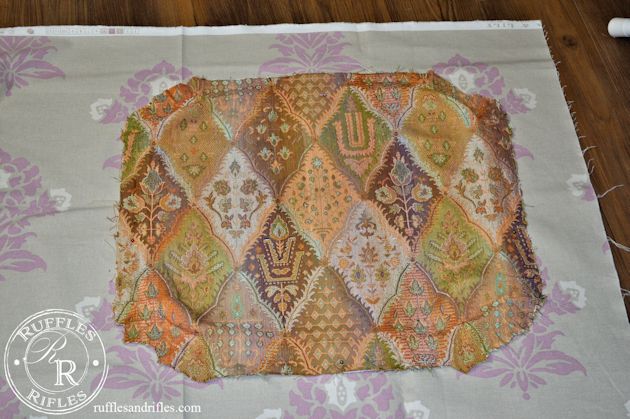
Lay your old piece of upholstery over your fabric as a pattern and cut around. It is usually a good idea to give yourself an extra 1/4″ to 1/2″ around as the piece you just took off has been stretched.
Next check the condition of the foam. Foam generally doesn’t need to be replaced unless it’s disintegrated, or has bad odors. High density foam is not cheap. Therefore, it is not always the best to replace that in your DIY projects. This stool had layers of batting rather than foam, and I didn’t have extra foam, so I just recovered it as is. To get the most professional look you will need to cut out a piece of batting the same size as the fabric as the layer in between the foam and fabric.
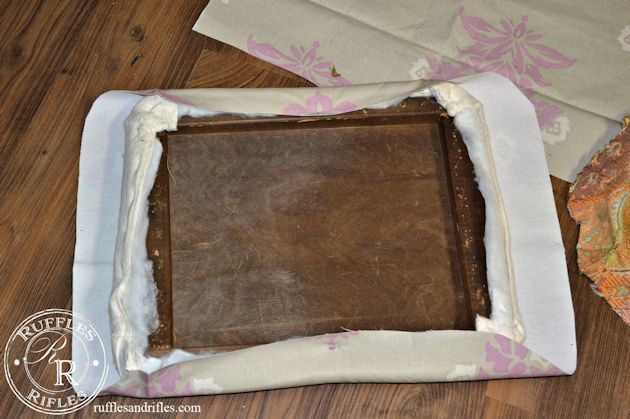
Now you will lay your piece of fabric right side down, followed by the batting and then position the foam and seat cover, centering it appropriately. Flip it over to make sure it is in the right position.
As you staple, you will go from north to south and then east to west, stretching evenly as you go. Stretching the right amount takes practice. You’ll get better as you go.
Don’t be afraid of using your staple remover as you go. I carry it like my seam ripper in sewing. In order to get professional finish, you have to remove puckers, tucks, uneven stretching, and staples that didn’t go in all the way. Periodically flip the piece over to make sure you are stretching the fabric evenly and there are no puckers or pleats.
For this small project, I didn’t get out my big air compressor staple gun. It was small enough I just used a hand staple gun. If you are having trouble getting staples to go in all the way, be sure you are applying enough pressure (use both hands and arms). Also, consider using staples that are shorter in length. A lot of furniture uses hard wood, making a manual stapler hard to go into.
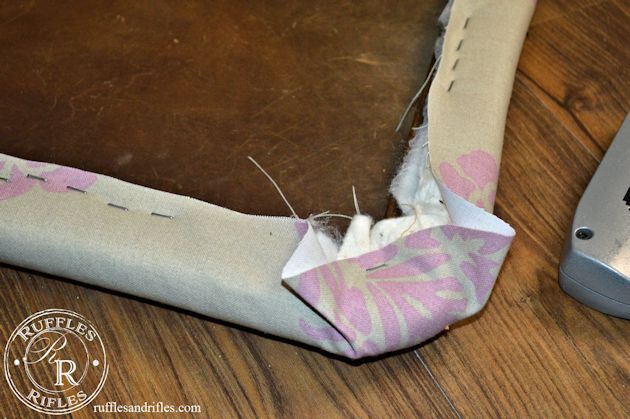
As I rotate, and staple in equal increments across from each side, I am pulling towards the corner as well as pulling the fabric towards me to staple. It alleviates the amateur pucker problems, I have found.
I did the corner of this cushion a little different than normal. I usually try to follow how the original upholstery was taken off. In this case, the very corner was brought in first and then the gathered edge was brought in from there.
And that was it. I think this took me about 20 minutes from start to finish.
My hope is to continue with Part 3 and 4 and so forth, moving into more complicated projects. But in order to do that, I need to find some French chairs, (which takes a small miracles around here. So any local readers, let me know if you spy any around).
If you have any questions for me, don’t hesitate to ask! Thanks again for stopping by!
2 Responses to re Upholstery 101 – Part 2