

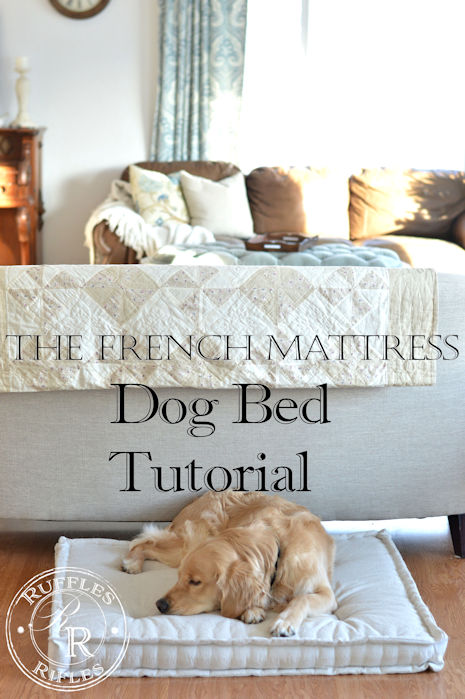
French Mattress Dog Bed and Tutorial
Before I jump into today’s post and a fun creative piece, I want to take time again to thank you for all the encouragement I’ve received from you all on the last two posts. I laid my heart out there for you to see, and your response has been overwhelming. Thank you for your following, for your comments, likes and support along the journey. Parts 2 & 3 of The Journey are coming soon, but today, I want to share a creative endeavor that I finished about a month ago. But, we finally have enough sunlight to photograph! I am so happy, you have no idea!
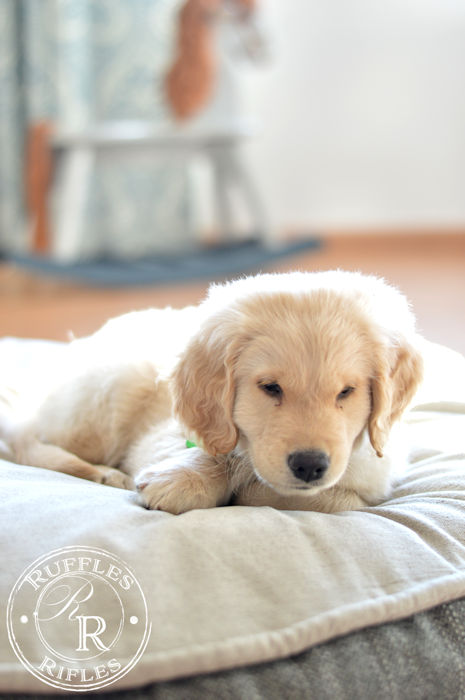
If you remember back to this summer, I told the story about our sweet dog Caspian. How we brought home the dog we never thought we’d get, and how he broke our hearts with his own broken heart. (You can read his story here if you missed it.) We continue to enjoy his sweet demeanor on a daily basis, we’re grateful for every day with him. I really have no complaints against him, except for the fur. I’m pretty sure we could create our own Golden Retriever once a week with the fur shed everywhere. But, I love his personality, so the payoff is the fur.
Before we brought Caspian home, we purchased all the things you’re supposed to buy for a dog. Including a soft dog bed from Costco. He loved to perch upon it, he was such a small fur ball in the midst of a large bed. But, he wasn’t completely house broken, and within a few weeks, I had to throw out that dog bed (if you know what I mean).
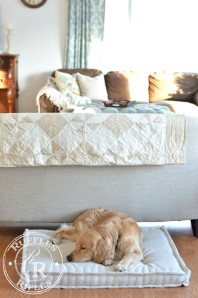
So he went without a bed for quite a while, but I would catch him laying on some of the throw pillows that were from time to time discarded on the floor. I get it, a pillow is softer than the floor. I knew he would appreciate another bed. But I was a bit dismayed by what most dog beds looked like. I know, I’m funny like that. I want the kids toys to not be all bright colored plastic or look like a preschool and I don’t want my house to look like a dog kennel either. I care about the overall beauty of the house while also including family members in the overall scope of our home. Kids and dog included.
So when I saw Sarah at She Holds Dearly do a post on making a French Mattress for her window seat, that’s when I was inspired, actually smitten with an idea. I could make a French Mattress Dog Bed! Caspian would be happy and comfortable, and I would be happy because it would look cohesive with our home. I read through Sarah’s tutorial, however, I made several changes, because, well, I rarely go by directions when it comes to creativity.
What You Need:
- Foam (mine was 30×36; it wasn’t high density, it was the stuff they sold at the supermarket for campers and hunters)
- Spray Adhesive
- Batting (loftier is better, but I just used what I had on hand)
- Drop Cloth
- Sewing machine, scissors, thread
- Upholstery Thread
- A really long needle (how do you like that for a technical term?)
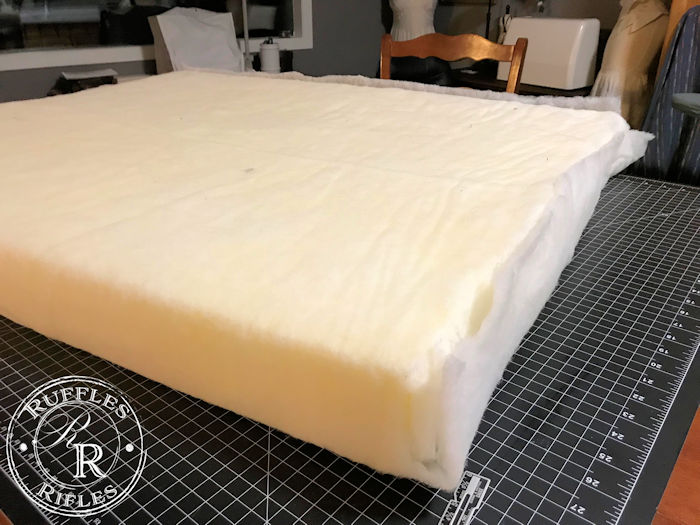
1. First cut your foam to the size you want. We have a large breed dog, so I cut it (using an electric bread knife designated for cutting foam) to 30×36 inches.
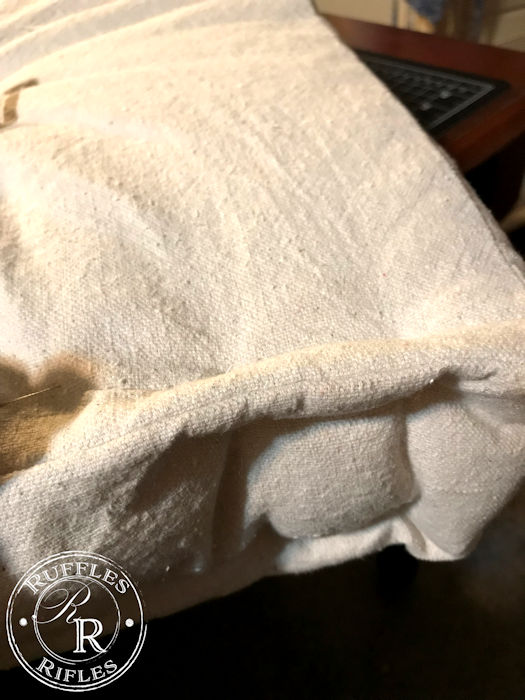
2. Wrap the foam in batting, carefully spraying the adhesive (use plastic or drop cloths for overspray, it is sticky!). Loftier is better to create more of an edge, but I used low loft because that is what I had.
3. Cut your drop cloth with seam allowances. I cut two rectangles 32″ by 38″ leaving room for seam allowances and extra fabric room for the welting and tufting. Then for the edges I cut 2 rectangles, one was 38″x 4″ and the other was 32″x 4″.
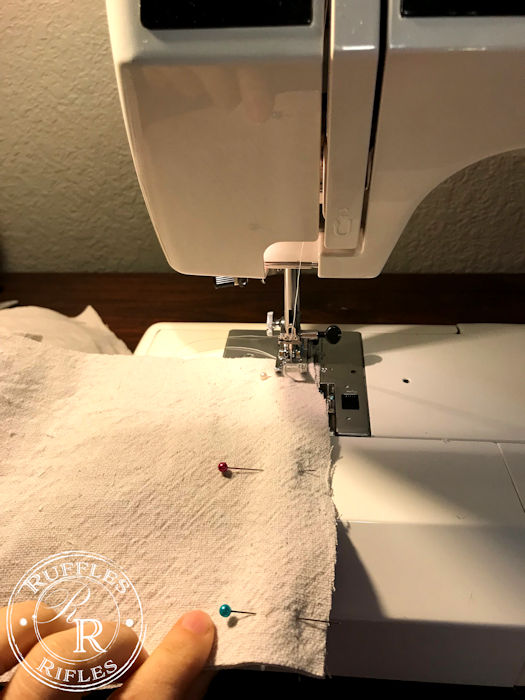
4. Sew your edge rectangles together on the narrow edge until you have a complete circle alternating lengths.

5. Attach the top and bottom to the edge piece leaving a 24″ gap to put the foam in. But the cushion inside your sewn cover. Hand sew the opening shut.
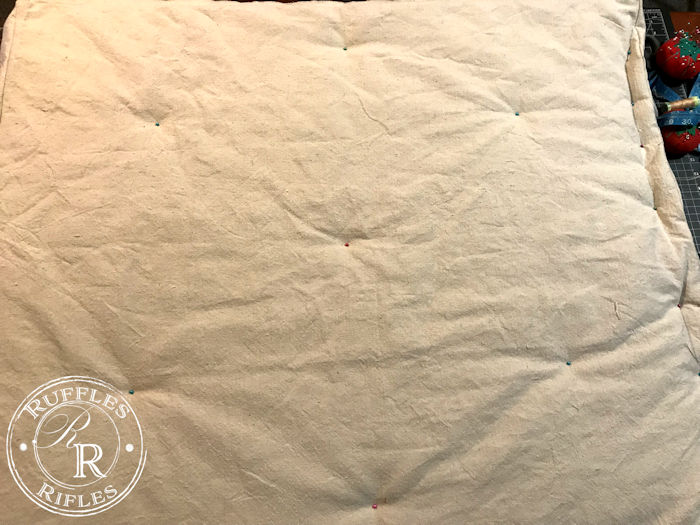
6. Mark where you want your tufts. You can do a lot or a little. I didn’t want a lot, and I wanted them staggered, so measure to figure that out. Place pins to mark your spots. I did my tufting first (most tutorials do it last). I had a lot of extra fabric around the edges, so I wanted less gap and tufting takes up room.
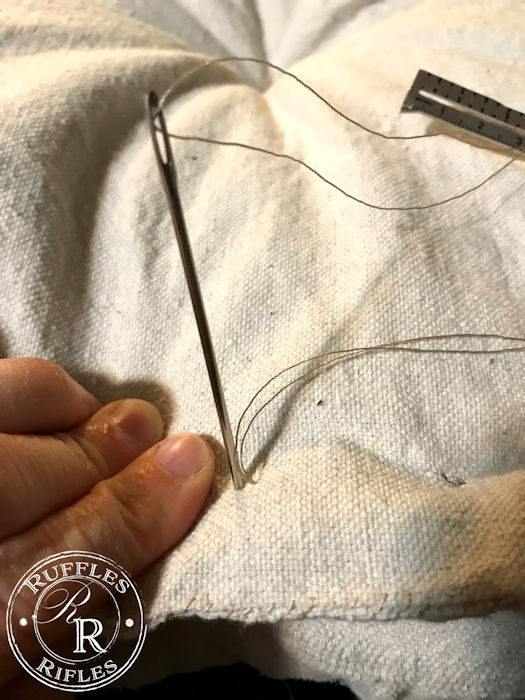
7. Stitch up and down through the foam several times with upholstery thread and your long needle to create a star shape. Pull tight and tie.
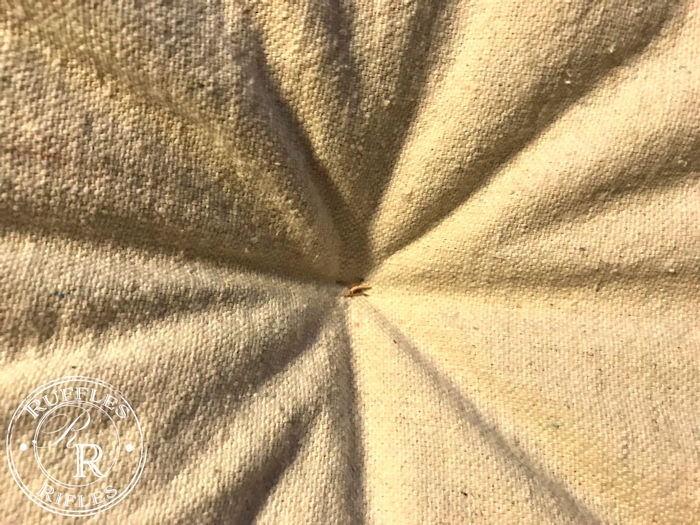
8. Repeat where your other tufts are marked.
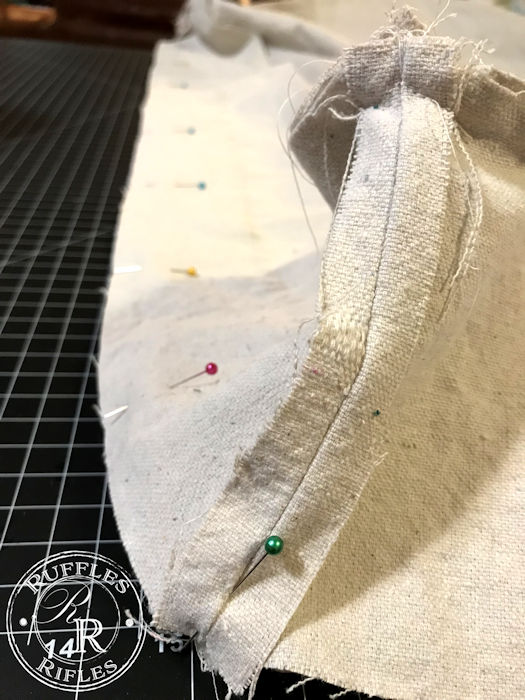
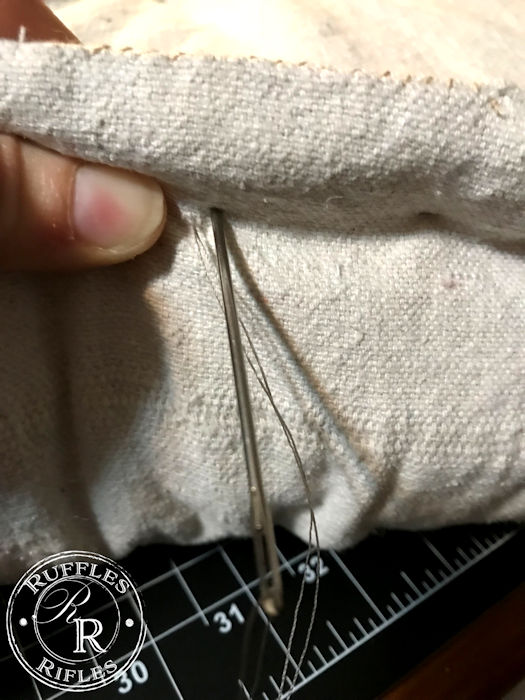
9. For the edge welting, I placed my stitching about 1″ in from the edge and each stitch 1 1/2″ apart from each other. Be sure to grab the batting and even the edge of the foam to stitch through. Each stitch was about 1/8-1/4″ in length. Start by going up.
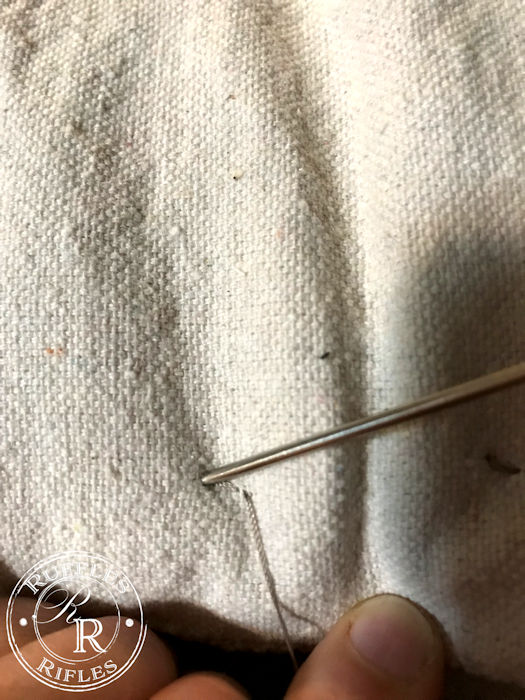
10. Stitch down.
11. Then stitch back up again in the same place.
12. Stitch down again, but instead of going through the bottom, thread through the fabric and batting horizontally another 1 1/2″ to start your next stitch. Continue to pull tight, until you have gone all the way around.
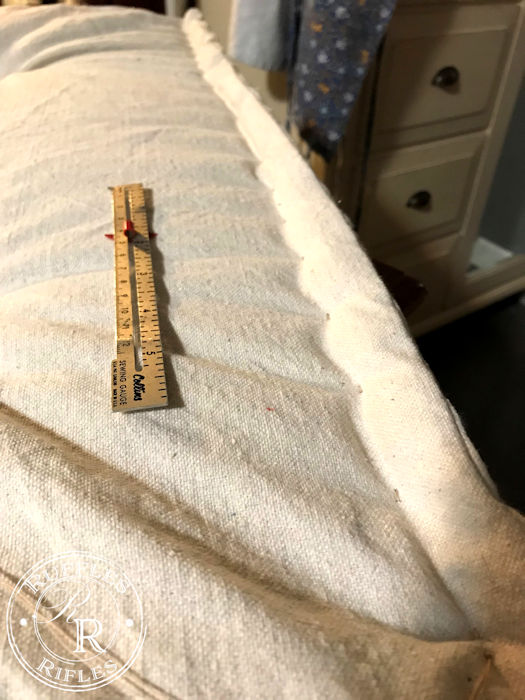
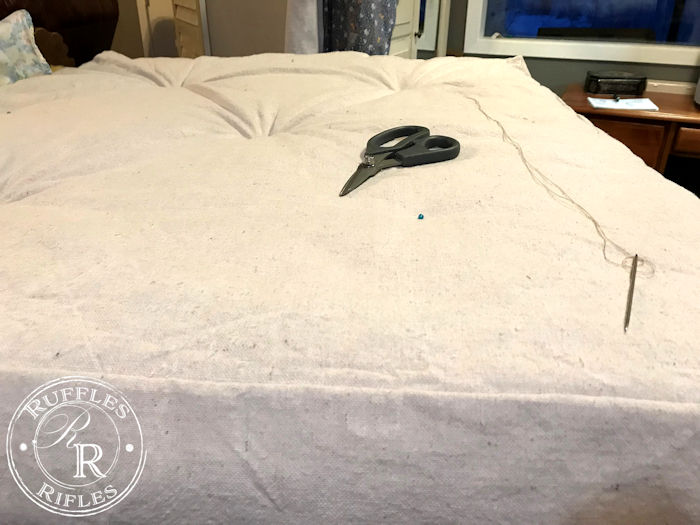
13. Flip the cushion over and start on the opposite side. You will be doing the exact same thing there, however, you need to be sure your top stitch and bottom stitch are congruent to each other so that it makes the French Mattress ridges. This is what makes it.
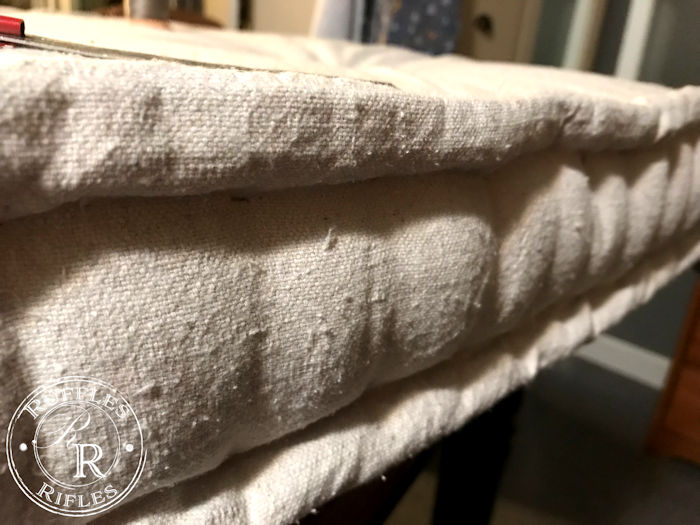
(I am sorry for the sad quality of photos for the tutorial. I did it in the dark in January, because January is always dark, even in the day time. And I didn’t grab my nice camera, but I hope you can still see what you need to see.)
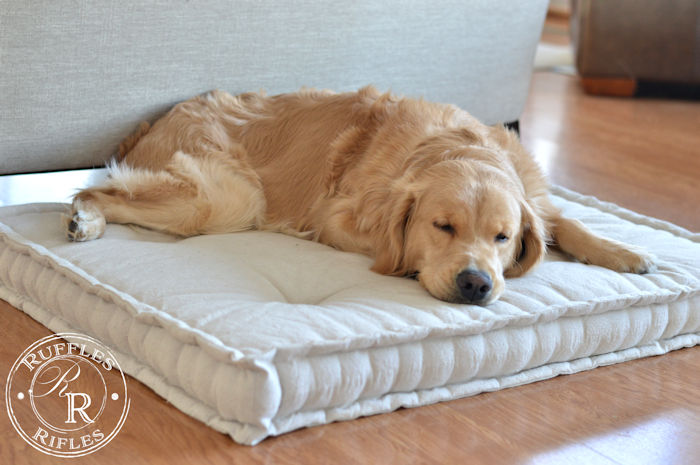
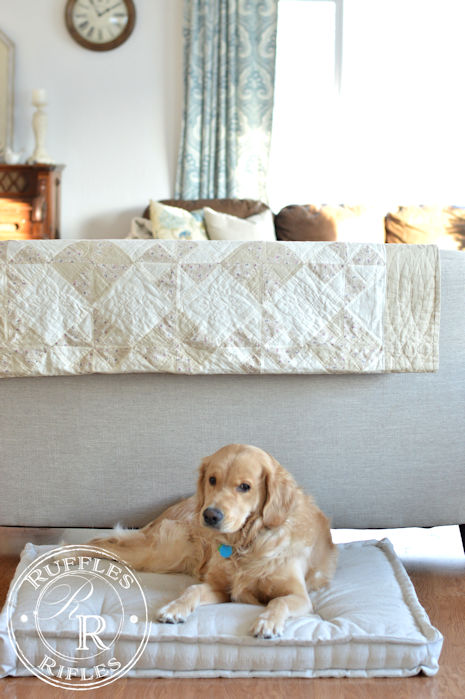
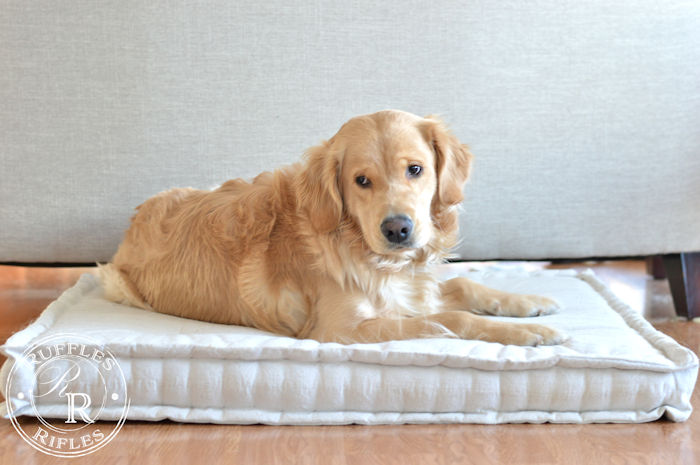
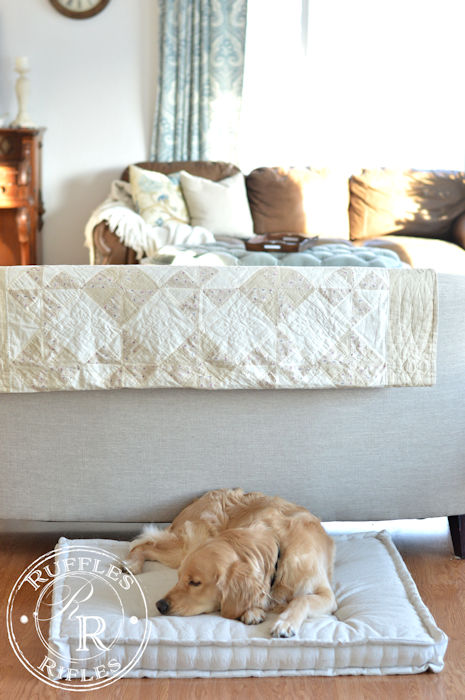
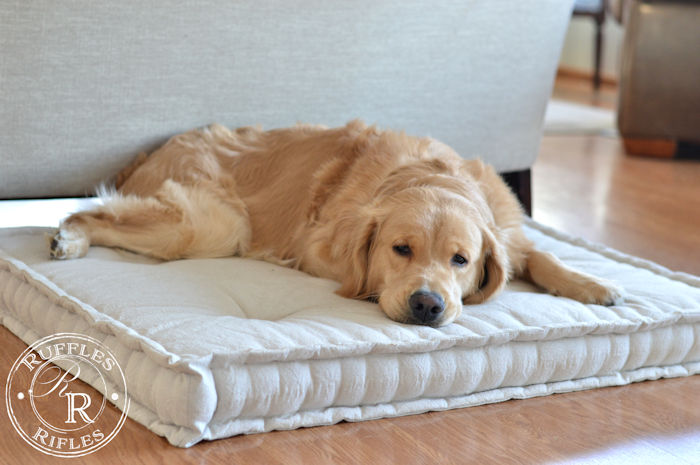
Congratulations! Now you have the classiest dog bed. Plus your dog will love you forever. Caspian doesn’t like getting off his bed. As you can tell by the photos, he is quite relaxed and happy with his new bed.
Thanks for stopping by,
Cheryl
Sharing with:
7 Responses to French Mattress Dog Bed and Tutorial