


A Set of Coasters and Tutorial
Hello everyone. Today I wanted to share a simple, 10 minute sewing project that could make some great little Christmas teacher gifts, or coffee or tea drinker gifts, or you could just update the coasters in your home. These are very quick and easy to make, and I think even someone who qualifies themselves as a beginner sewer can succeed in this project.
Also, before I get started, I just want to encourage you all, that I am on social media, Facebook, Pinterest and now Instagram as Ruffles and Rifles. Follow me there and if you like something, Pin it, share it and get the word out.
I had two things that helped inspire this little coaster project. First off, it’s quickly turning to winter, and we seem to have large groups over often and I always end up serving coffee and tea. I used to get out tea cups and saucers, but soon realized, no one every took the saucers.
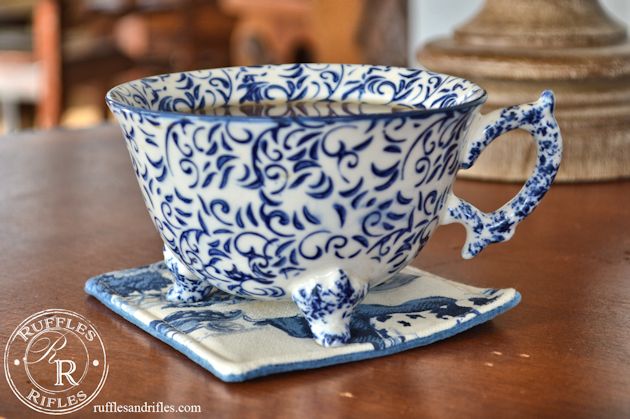
I have had some nice coasters over the years, but eventually, they get lost or ruined. I guess they’re too tempting for little hands to take and create a Frisbee golf coarse throughout the house.
My second piece of inspiration, was the fact that I had these little 8×8 sample squares I have accumulated from fabric.com. Most of the pieces I like are no longer available, so I might as well use up the small amount I do have.
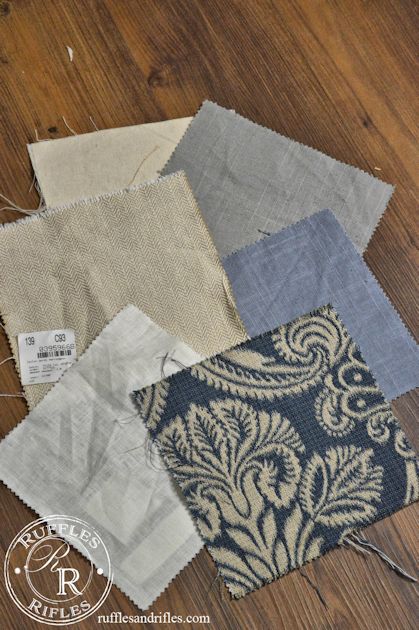
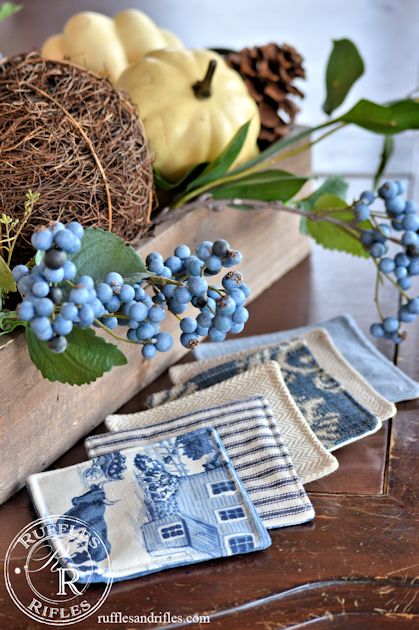
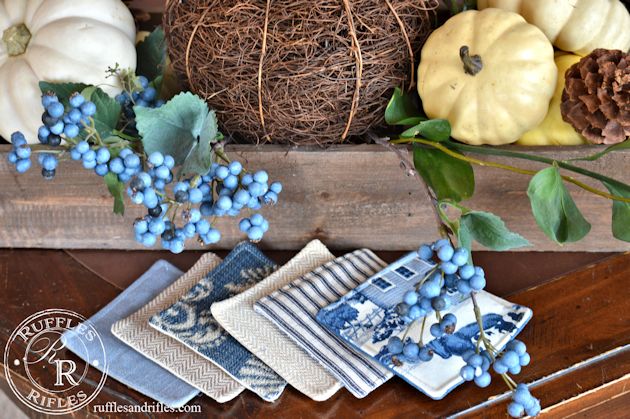
I made the coasters with different fabrics on the back and front. You could use the same fabrics, or do a fun set of coordinating coasters like I made.
Here’s what you need:
2 scraps of fabric (at least 4 1/2″ x 4 1/2″) – per coaster
Thin batting or interfacing (I used thin quilt batting)
Sewing machine
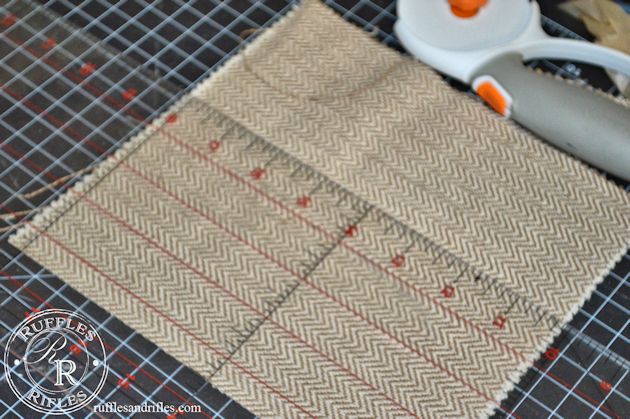
Start by cutting two pieces of fabric into 4 1/2″ squares. I had mostly home décor weight fabric. Then lay out one piece of fabric over the batting as a pattern and cut out a piece of batting or interfacing the same size as the square.
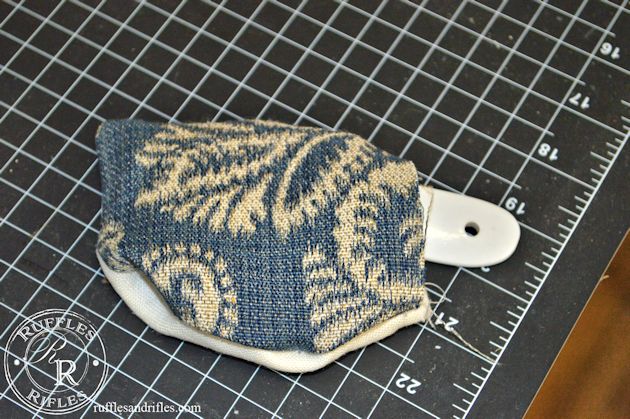
Lay the three pieces together. Put the batting on the bottom with your next fabric facing up, and the other piece of fabric on top facing down (so the right sides of the fabric are facing one another).
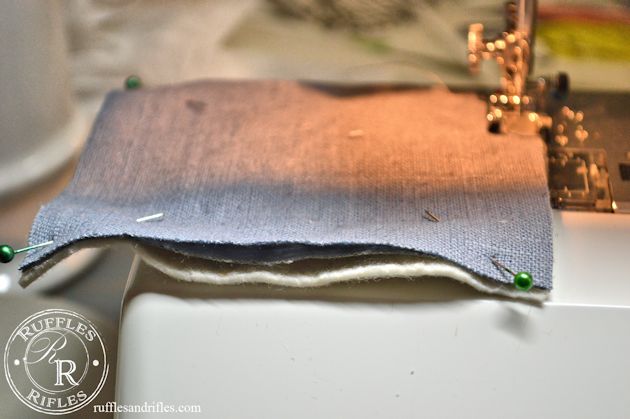
Stitch these together with a 1/4″ seam allowance. I stitched on all four sides, leaving a gap of about 3″ to turn right side out. Be sure to back stitch as you start and finish. Clip off all four corners in a triangle shape near the stitching (but don’t clip the stitching!).
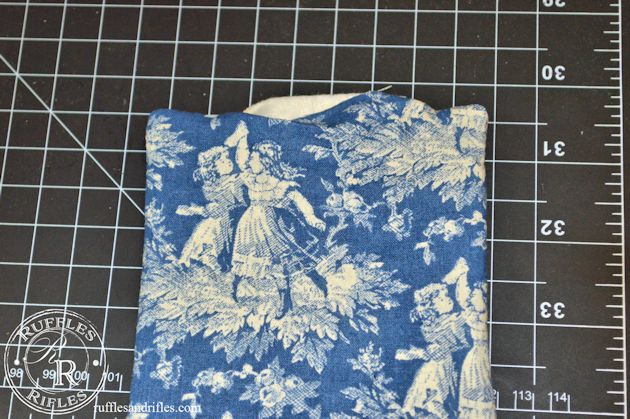
Turn the coaster right side out. Use a corner turner (I love the Clover corner turner) or carefully use a blunt end of the scissors, to turn your corners out to a nice point.
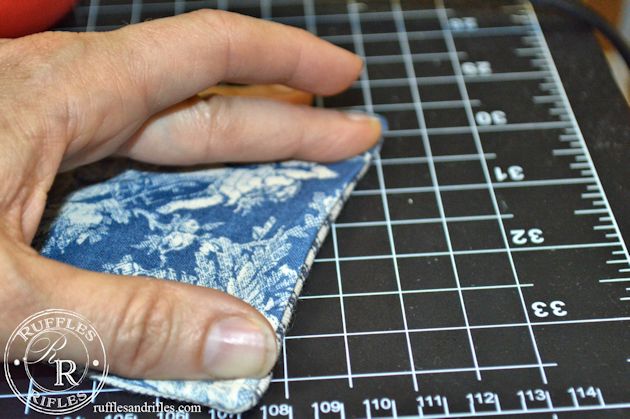
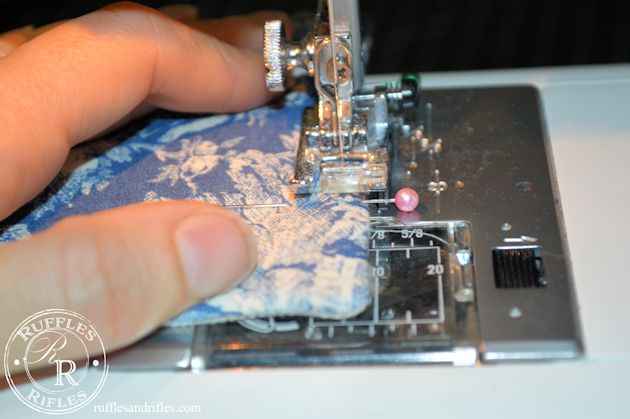
Turn your opening in 1/4″ and pin. Sew to close the opening and top stitch all the way around for a finished look.
Lastly, don’t forget to press it to set the seams.
One variation on these coasters is you could also quilt them a beautiful set for a gift (Christmas idea!). Wouldn’t a set of four homemade coasters, quilted and tied up in twine be so cute?
And that’s it! So incredibly easy, and it uses up little bits of fabric you couldn’t stand to throw away! A win win.
Have a great day, everyone! Thanks for stopping by.
2 Responses to A Set of Coasters and Tutorial