


Vintage Railroad Crossing Sign
When I embarked on my vision of a vintage train station in our entryway, with our restored Depot Bench taking center stage, I knew I had to have some appropriate signs to adorn the wall above as well. I have some family photos on the train tracks, but to create a little more interest to the eye, I wanted some signs. I eventually want to make a depot sign as well, but this I believe is a good start to the over all vision. I saw a wonderful vintage looking railroad crossing sign on Pinterest, but it was $120.
My thought, I can do that, and probably for less than $5.
I started out with a round piece of plywood. I actually scored it at a thrift store. It was an apparent DIY-Gone-Awry, my best guess is an attempt at a footstool. A round piece of plywood, with a piece of foam and light weight cotton fabric stapled underneath, with four bun feet attached. I snatched it up, knowing the four bun feet alone were worth four times the asking price. I knew it was a great piece to salvage and re-purpose.
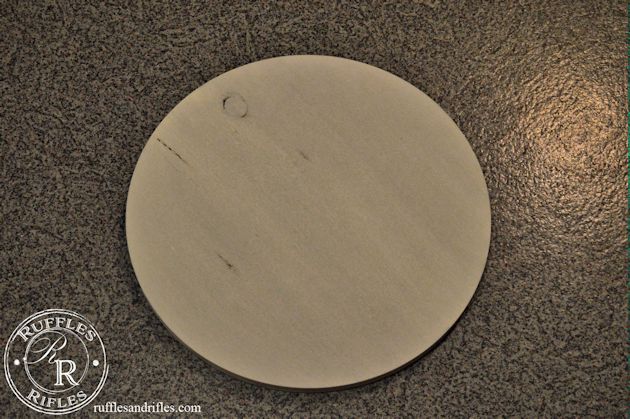
So I took the DIY-Gone-Awry all apart. Then I lightly sanded the piece of round plywood and first added a coat of MMS Milk Paint in Curio so that it could have a darker base when scuffed up. Then I added a layer of MMS MP in Linen, and then a coat of Grainsack. I wanted the outer layer of white to be cooler in nature and I knew Linen would be too warm, but a good inbetween color.
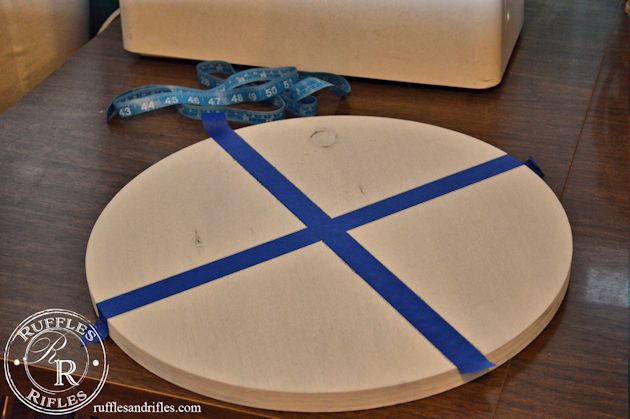
Then I used blue painter’s tape as a guide to make the X in the middle. I used a ruler to find the middle, and made an X, checking to be sure the space at the end of the X was all fairly even. Then I used a pencil and traced the X for lines to paint in.
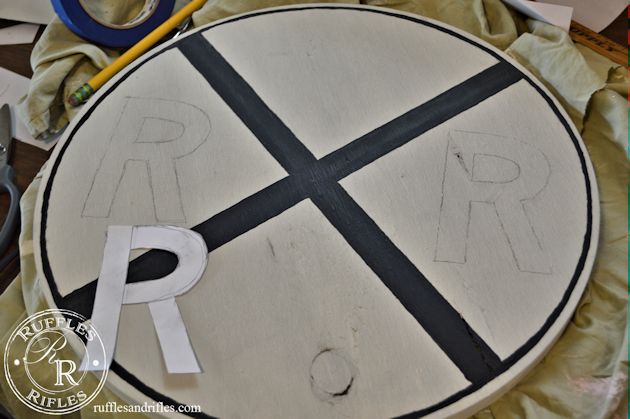
I used black acrylic paint and a small good brush and carefully followed the lines filling in the X. I let the X dry before moving on.
Then I made myself a very archaic protractor with a needle, twine and a pencil and made a circle near the edge of the sign. I drew an adjacent line about 1/4″ in. I knew it wasn’t perfect, but I didn’t want it perfect (I know, shocker), because I wanted it to look weathered and handmade anyhow. Not made by a modern factory. I painted in the thin border with black paint as well.
Then I made myself an R pattern to trace on both sides of the X. Now the easiest was to go about this would be to find a font you like, blow it up and print it up. But, with the move, the printer and computer were not speaking to each other (I guess it was stressful for more than just the people in the house), so I gave up and free-handed my R. I traced it on both sides and again, painted carefully within the lines.
I then painted the outer edge of the sign in the black acrylic paint as well.
I liked the look thus far, but I was going for an aged, weathered look so took out the medium sanding block and carefully and strategically scuffed up areas of the sign. I wanted to leave the matte finish so I didn’t apply any wax or oil.
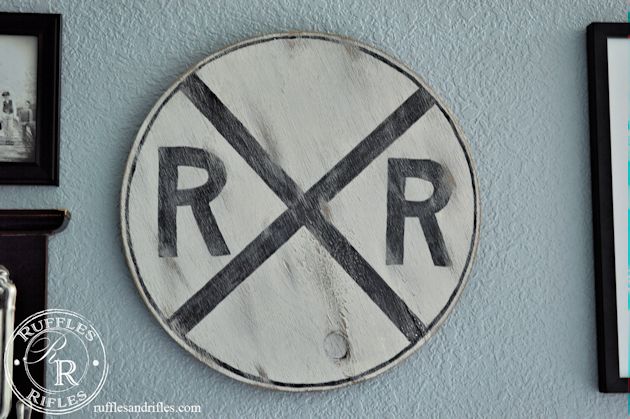
My husband attached two hanging brackets to the back and now it sits securely and happily above the depot bench in our entry way. And I love it!
As always, if I you have any questions and want to give a go at making your own sign, don’t hesitate to ask.
Creative blessings!
Cheryl