

Recreate: Achieving the Grain Sack Look
Hi there. Before diving into this tutorial, I just wanted to give a big thank you to all who have been reading and following my blog. This has been quite the journey, and I am so blessed by your encouragement along the way! I wanted to put word out there, a hand full of people have told me they thought they signed up for the email subscription to my posts, however, if you’re not getting emails, you did not sign up properly. There are two ways to sign up, the pop-up, or on the side bar it says “Sign up for Subscriptions”. Fill those boxes out. Then you will receive a confirmation email. When you receive the confirmation email, you need to then confirm that you want that subscription by hitting the confirmation button. Thanks again, friends!
So, earlier this week I showed you the slip covers I made for the three “new” bar stools. I put them up for sale two days ago and sold them yesterday. That’s the life of swapping furniture. I really loved the barstools, however, they still seemed a little too fussy for wanting to have a welcoming home when I have small children. So, I’m going back to all wood and will be picking the “new” used ones up sometime next week.
My original intention was to give a tutorial on how to upholster them with iron on vinyl, but since that plan failed, I am simply going to share with you how I get painted images without a fancy shmancy machine (like a Cricut).
All you need are:
Acryllic paints
Drop cloth (or other heavier weight fabric)
A printer
Laminate paper
A cutting board of sorts
Exacto knife
Pouncer paint brush
Tape to achieve stripes
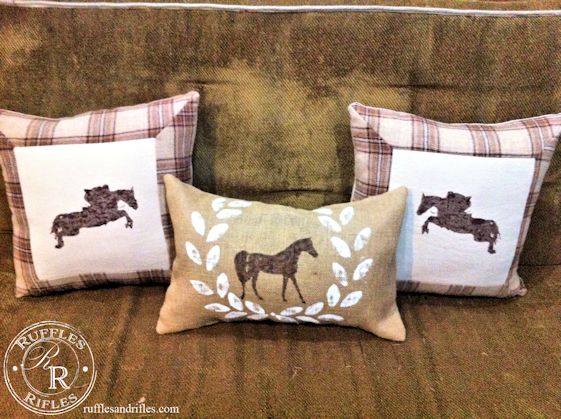
I have achieved this look on several different projects from upholstered seat covers, to throw pillows, a flag and even an apron (which I will share on a later posts).
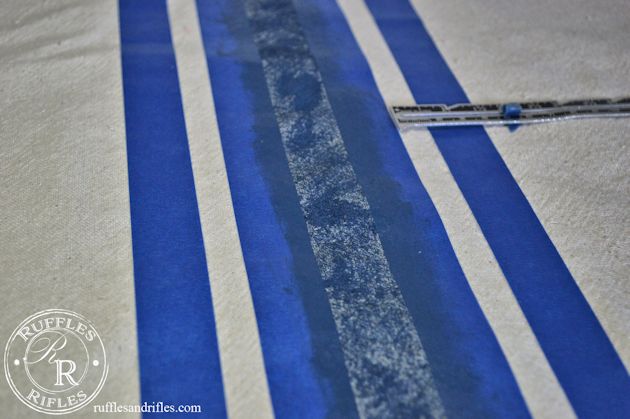
To get the stripes look, you just need place your tape in straight lines (that means using a ruler). You can do any width and as many stripes as you like. Using your pouncer brush and a little paint (it’s better to go light and come back around, otherwise it can get really splotchy).
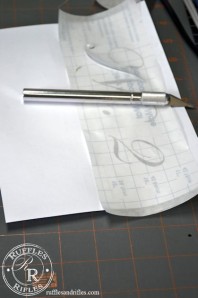
Next, print out your image on the printer.
Tape it to the back of the laminated paper. The paper is semi-see through. So you just cut along the outer lines so that your image will punch out. (Be sure to cut out your image on some sort of cutting board so you don’t destroy your table!) Save all the small circles to make letters like “A” and “O” or important parts to the image.

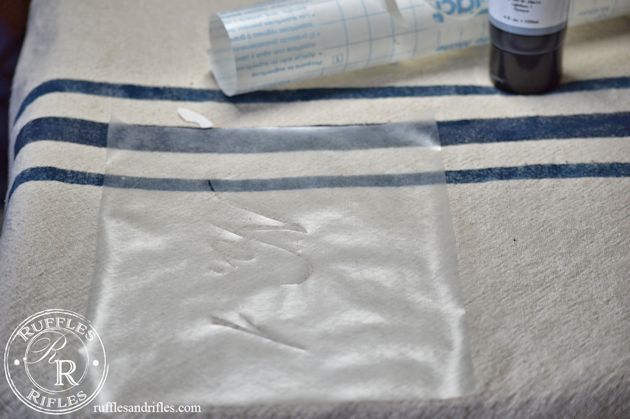
Once your image is cut you can pull of the back and stick the laminate directly on your fabric.
Using your pouncer brush and a very little paint, stencil in your image. When you’re done, remove the sticky paper.
And you’re done! It’s really quite easy. As far as the washing, if the thing you’re making needs to be washed, know that some of the paint will wash away. But not all of it. I haven’t used a fabric medium, yet, mostly because no local stores carry it, and I forget to order it when I’m making orders on Amazon. I would be interested to see the difference that makes.

And there you have it, a beautiful transferred imaged with simple materials. Oh just imagine all the things you can make!